


I've always wanted to host a pumpkin carving party. In years past, our house was just too small and when we finally had a big enough place, well, I didn't get my act together quickly enough. I'm happy to report this is our year! I'm planning to have a small group of friends, along with their kiddos, over to our house for snacks, dressing up, and carving (and painting for the smaller kids)! Today I'm teaming up with Canon USA to show you how the girls and I made our homemade invitations!
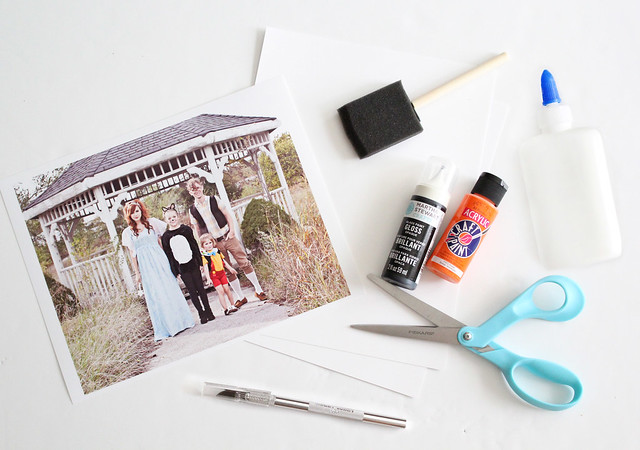
Supplies:
*photo you don't mind cutting up (I printed mine with my PIXMA MG7120)
*paint and paint brushes
*scissors
*glue
*exacto knife
*cardstock
*laminating sheets (optional)
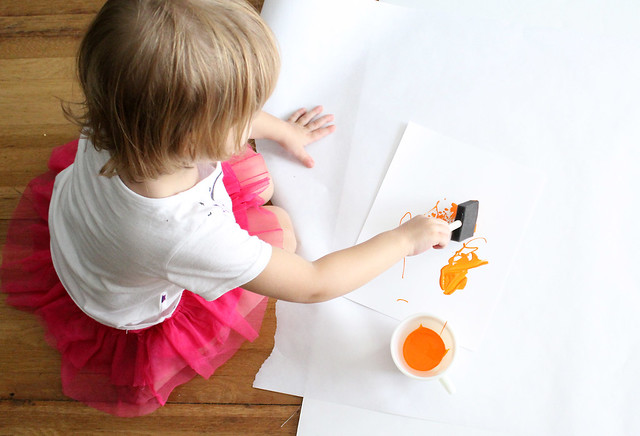
We started the process by painting a sheet of cardstock orange. Poesy especially enjoyed this part-- the girl LOVES to paint!
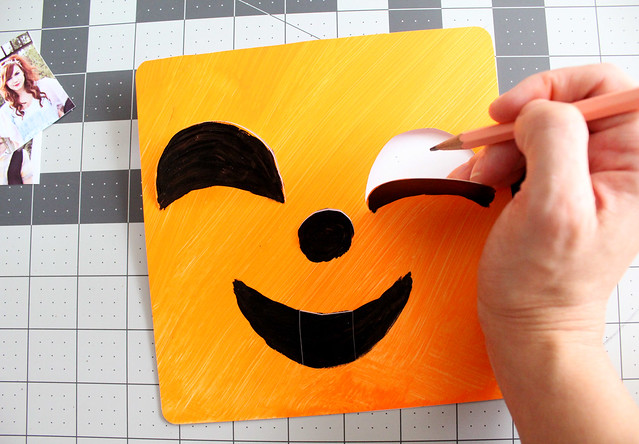
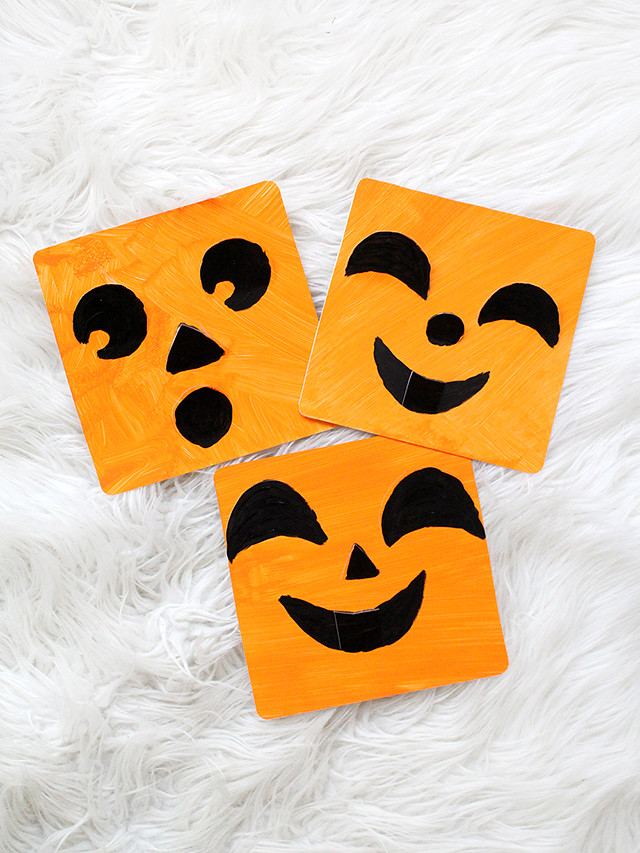
After the sheets were dry, I painted jack-o-lantern faces on the sheets and set them out to dry.
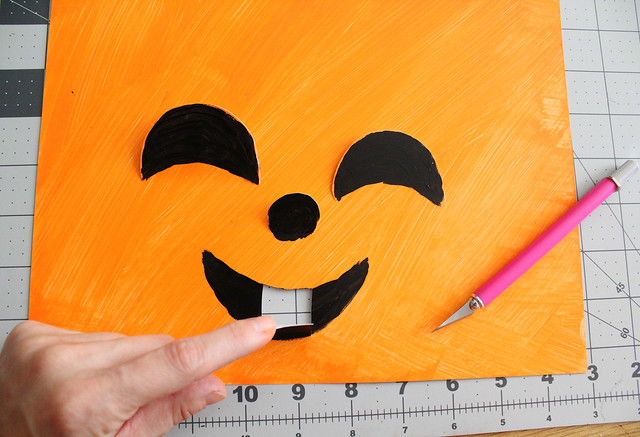
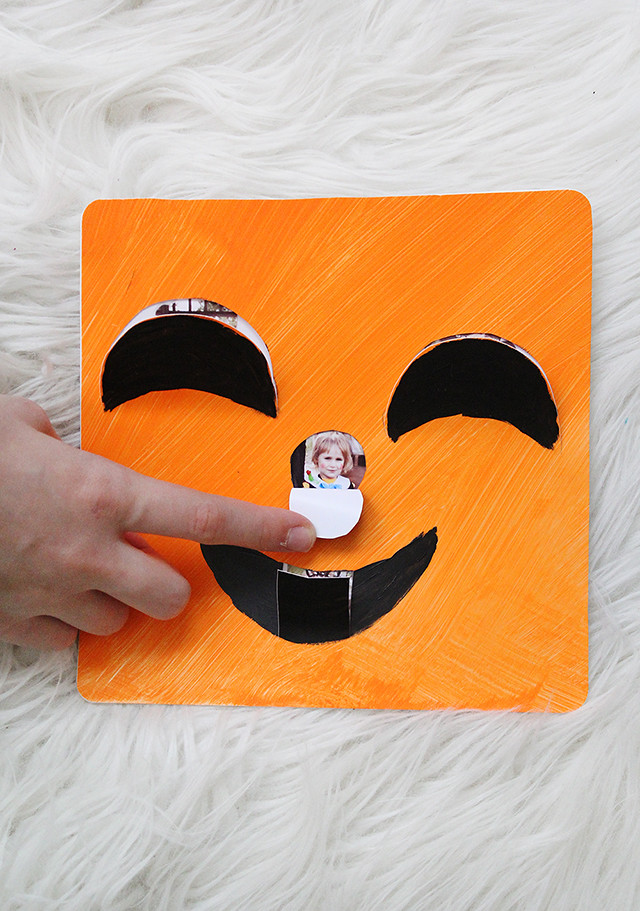
When everything was dry, I brought the faces over to my self-healing mat and used my Exact-O knife to cut around the eyes, nose, and mouth. Make sure to leave a portion attached so they open up like little doors!
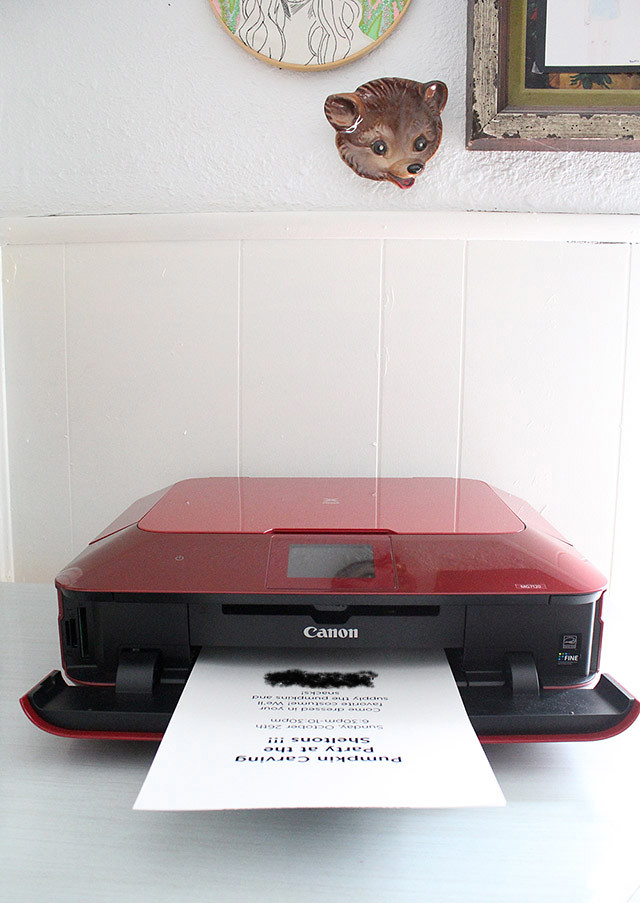
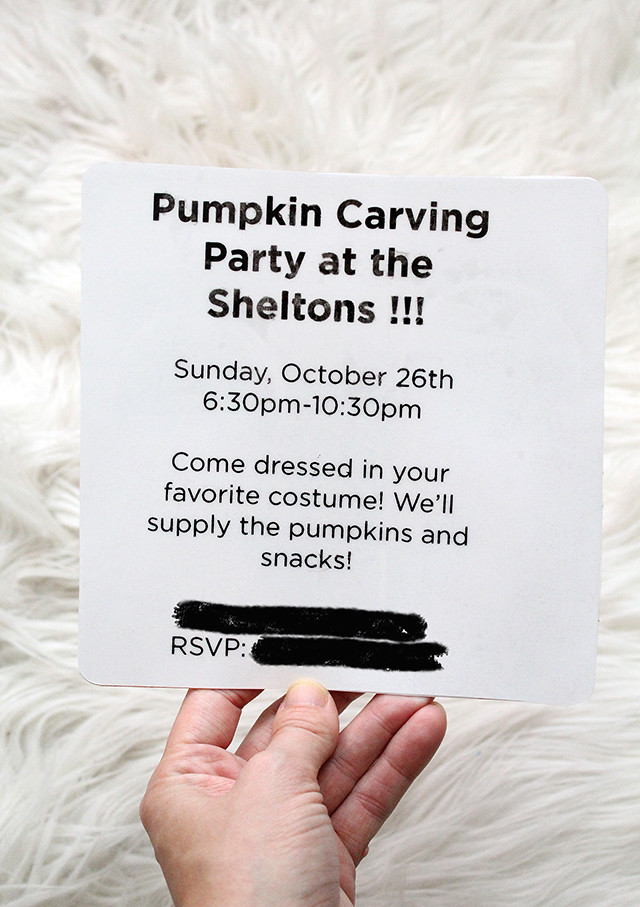
Next, I used my PIXMA MG7120 to print up the backs of the party invitations. Easy peasy!
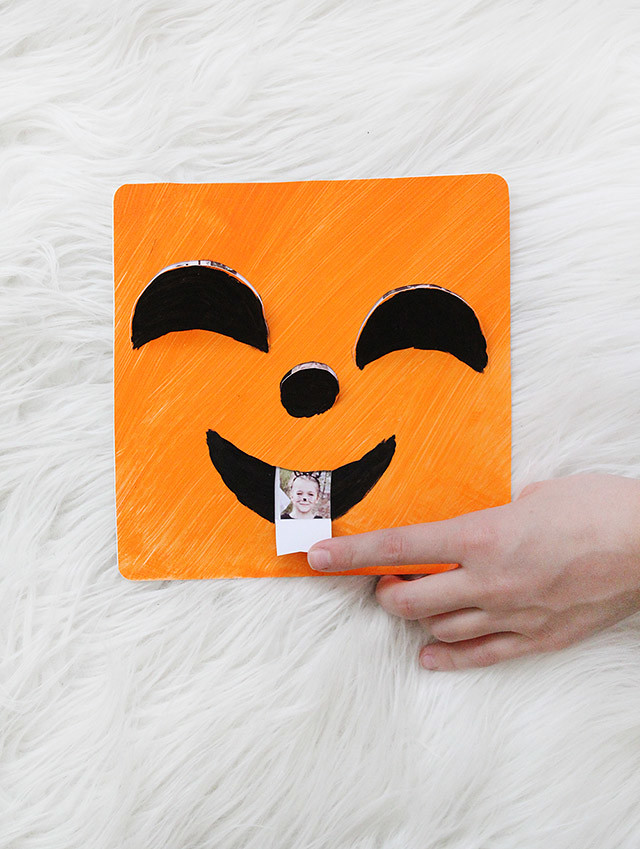
Once those were printed, I trimmed around the pumpkins and matched the pieces of paper. Place your pumpkin card on top of the invitation card (words facing down) and trace around the holes for the eyes, nose, and mouth.

Position your photos were they will go and glue in place. Once those are dry, place the pumpkin on top of the white paper and glue that in place. Now, just let them dry and hand them out to your future guests!
I chose to laminate mine (you can see the bubbles on the back part with the words-- oops!!) so they would look extra nice. If you choose to do this, make sure to laminate your pumpkin face BEFORE you carve it (haha) with the Exact-O knife.
I'm super excited about this party! I can't believe my year is FINALLY here! Now it's time to go buy all the snacks and supplies! xo.

Such a cute idea! Defo saving this post for next year :)
ReplyDelete(oooh that ryhmed)
x tink x
allabouttink.co.uk
You blacked out your address and phone number in the picture of the invitation, but you can read both of those items in the picture where the invitation is coming out of the printer. You might want to fix that!
ReplyDeletethanks, Kat! All fixed up! <3
DeleteMy oh my, these are just so so cute x
ReplyDeleteholljc.blogspot.co.uk
Those are so cute -Hanna Lei
ReplyDeleteAnother great post! Good luck with your party. <3
ReplyDeleteEmory
helloscarlettblog.com
potomactradingpost.blogspot.com
The invites are super cute and so is the idea! Maybe when we have a permanent and big enough space I can look into this. It sounds like a lot of fun.
ReplyDeleteChristen
http://christenlouise.blogspot.com
These are adorable! It's so easy to organize parties with a facebook invite or an email you don't always take the opportunity to send something special in the mail. I think it's a great way to set the tone of the party and let guests know you are excited to see each and everyone one of them.
ReplyDeleteso adorable!
ReplyDeletexx nikki
www.dream-in-neon.com
what a fun whimsical idea perfect for this time of year :)
ReplyDelete