GIRLHOMEABOUTFAQDIYOUTFITSCREATURESSHOP
Showing posts with label sponsored. Show all posts

Friday, April 26

Our Kitchen Renovation Part 2

Kitchen Reno Part 2 Kitchen Reno Part 2
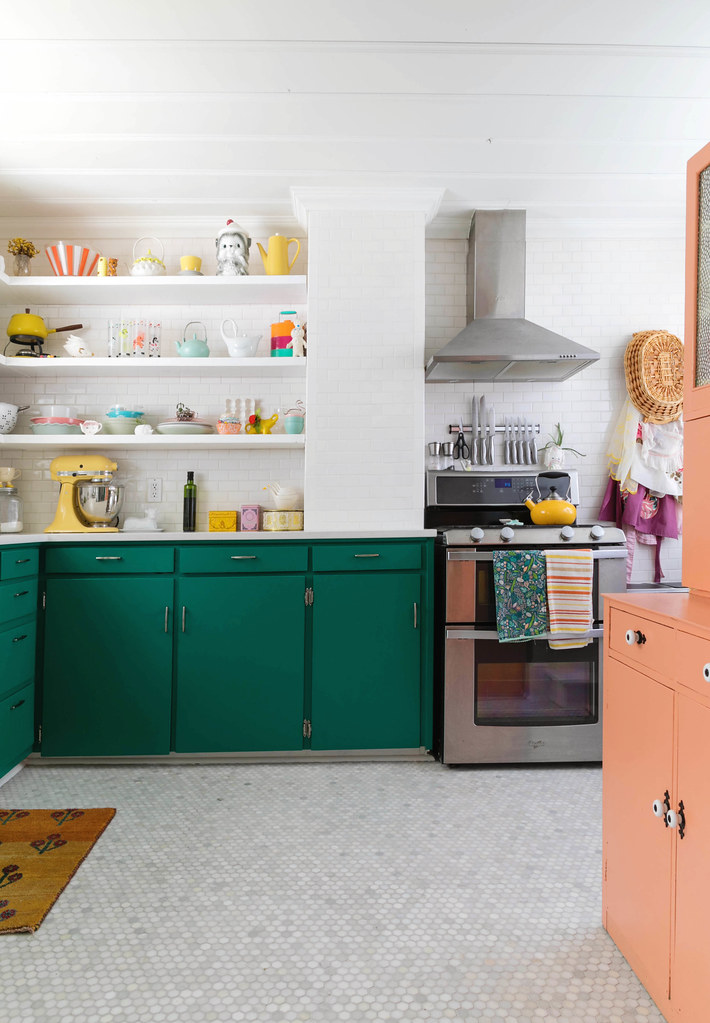
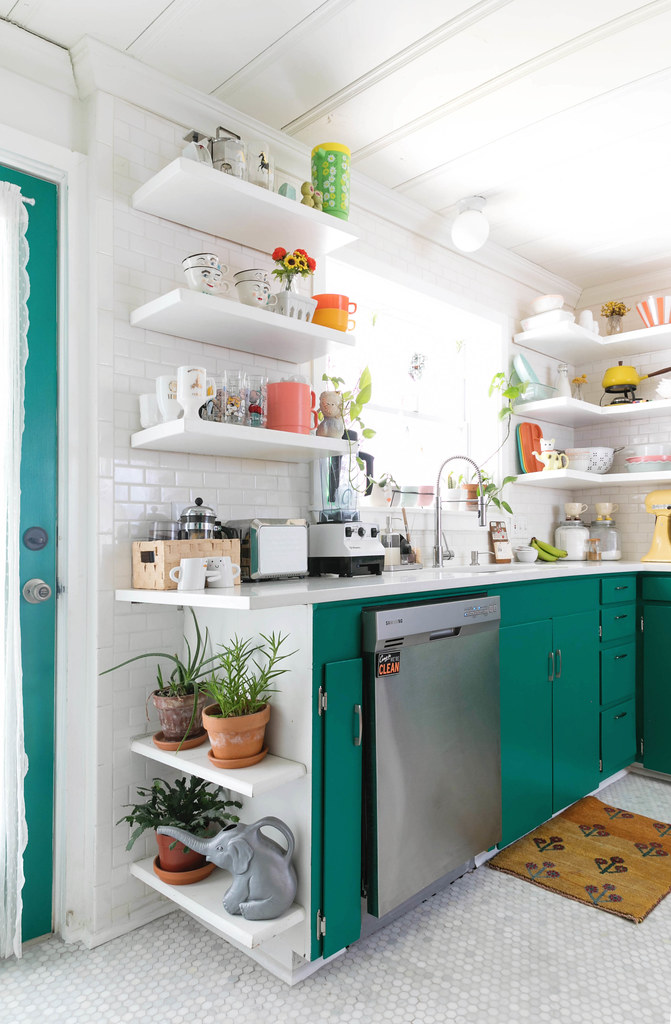
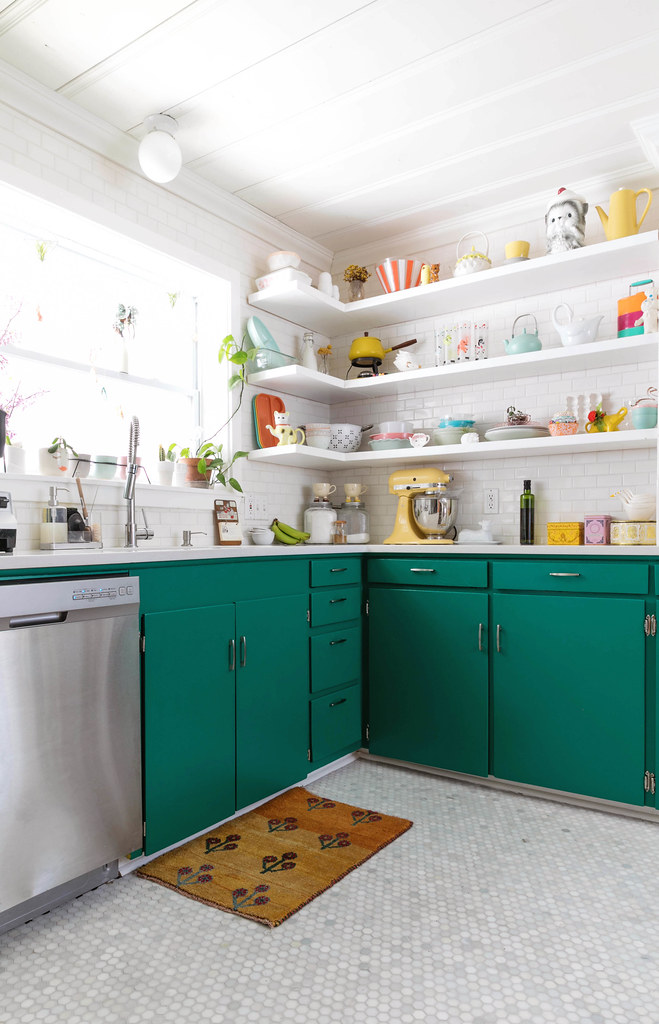
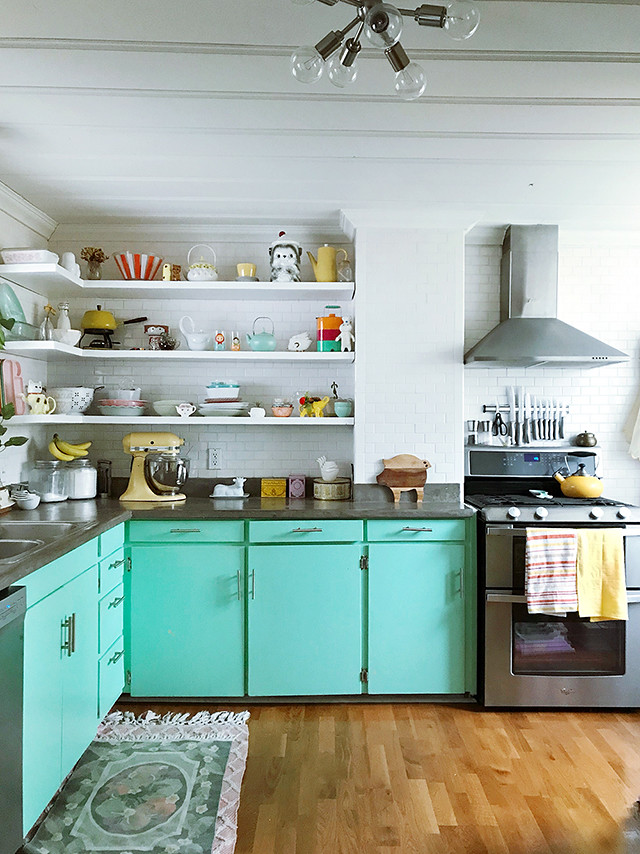
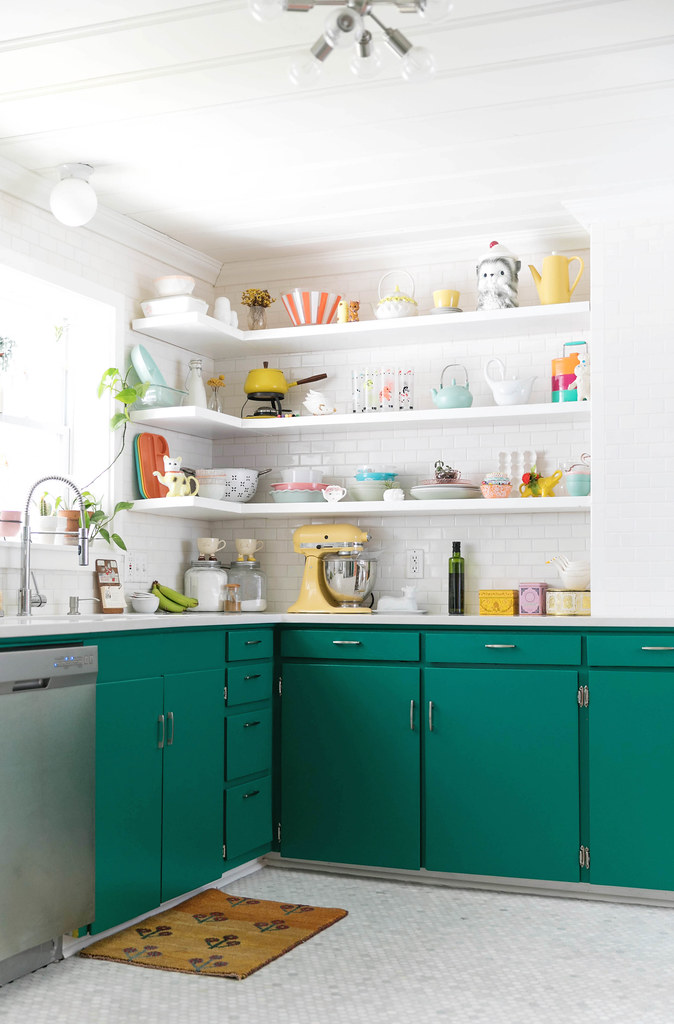
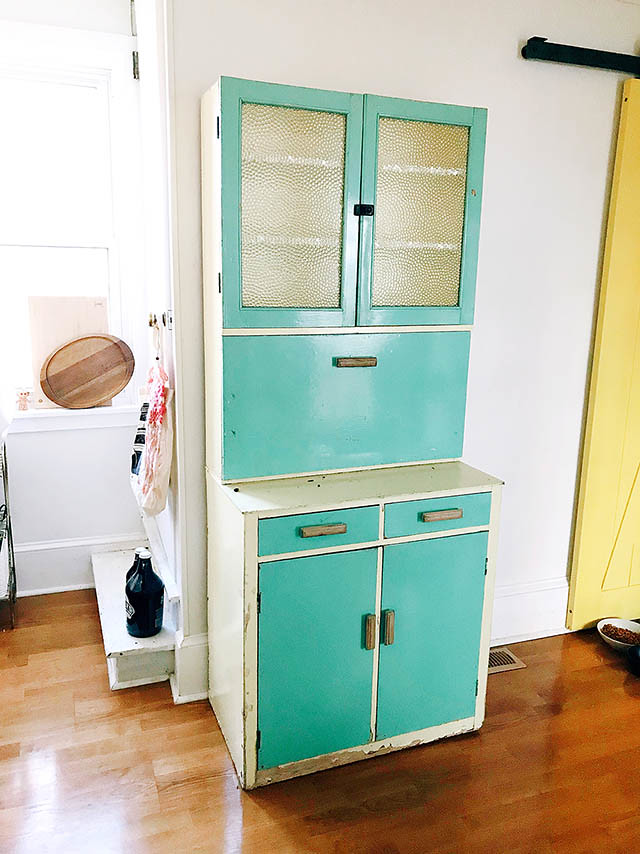
I'm so excited to finally show you our (mostly) finished kitchen! Do you like how I keep throwing "mostly" in there? Are you ever really done dreaming in your spaces? Usually not. In the future we'd like to have a proper pantry built and maybe even take out part of the wall along our back staircase (it lives behind the coral hutch), but that's a whole lot of Phase 3 talk and I'm ready to take a break from kitchen projects for a bit. 😉

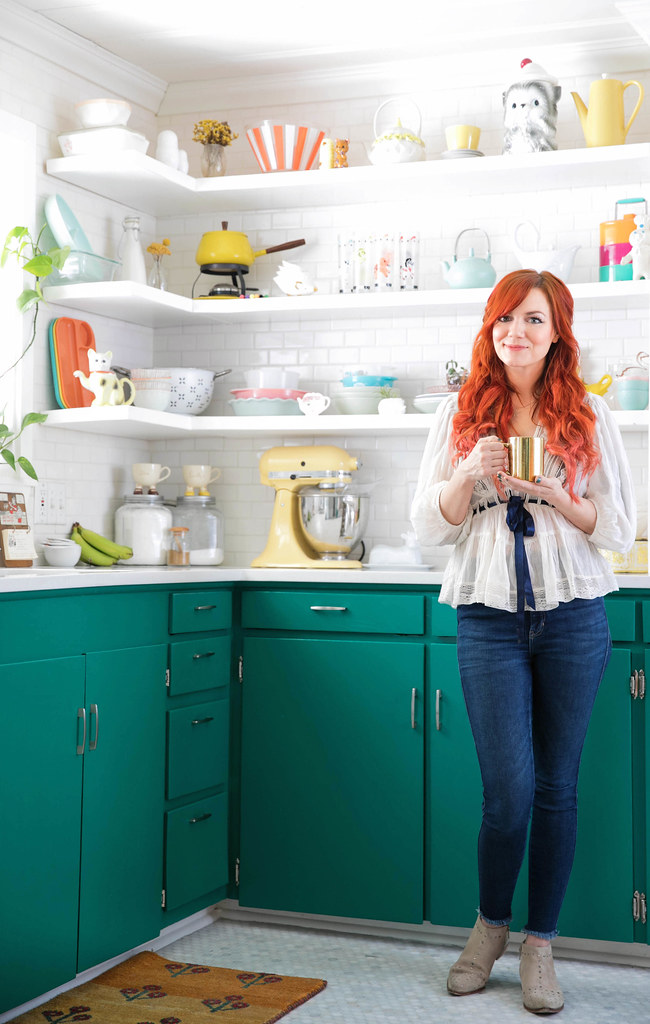
Okay, so getting back to the current state of the kitchen... I'm SO pleased with how everything came together! The counters, the flooring, the new colors: it all feels so fresh and pretty, and it also still feels like ME. Hey, I worry. What if you make big decisions and end up having major regrets? It's a real concern. Anyway, I'm happy to report that I have 0 regrets thus far. That's definitely something to celebrate!

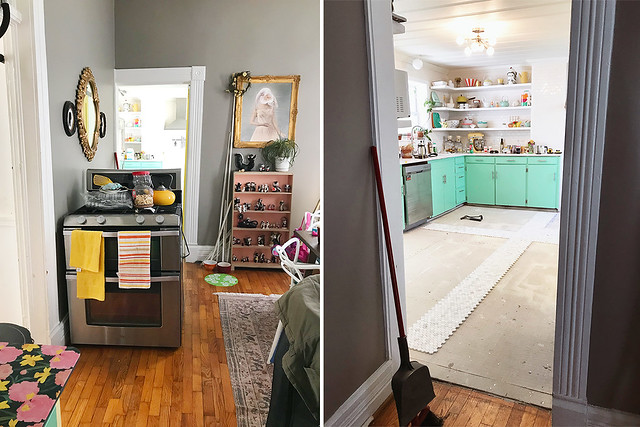
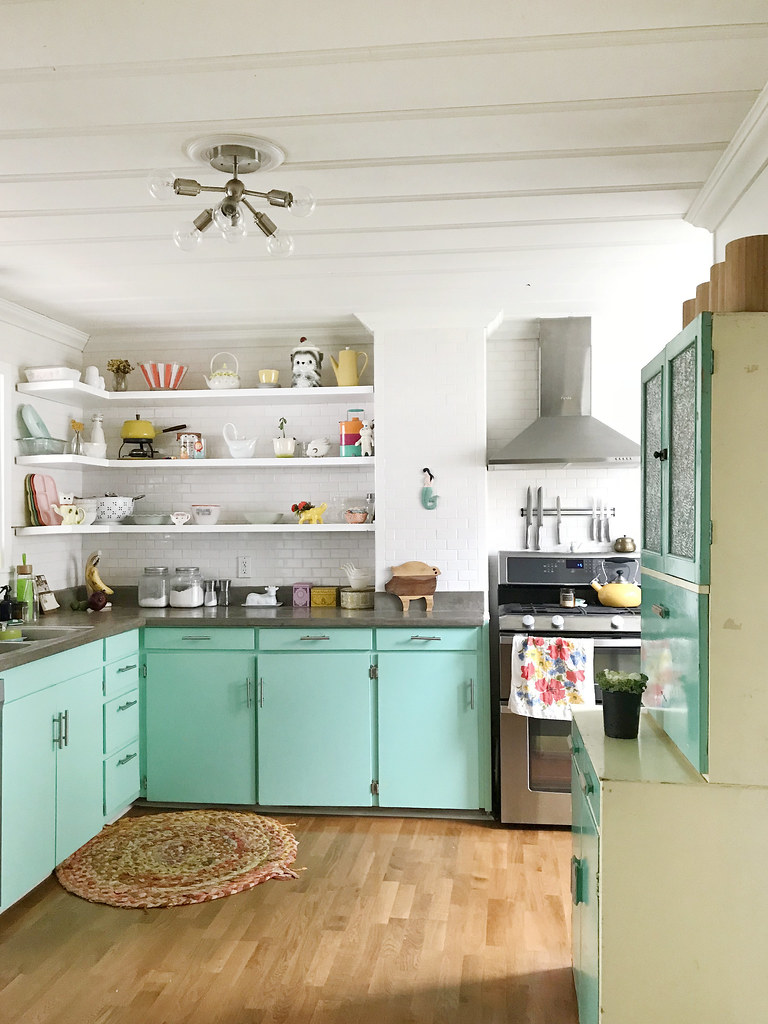
If you remember from my Part 1 post, I partnered with Surplus Warehouse, a home improvement warehouse store that specializes in flooring and cabinetry, for a portion of this kitchen project. I think before I go any further, I should share a little bit of behind-the-scenes. I feel like a lot of times blogs seem to wave a magic wand and there's *poof* a before and after set of pics. Renovation isn't easy, and don't let anyone tell you otherwise. We hired professionals to remove our old counters, install the new ones with a new sink and garbage disposal, lay the tile and grout, rehang and paint the cabinets, and it was still hard. Being without a kitchen for weeks is hard. The rest of the stuff you opt to do yourself to save money can be hard. Obviously it's worth it, but it's still hard. Let's get into our "before" and a glimpse at the process.
Kitchen Reno Part 2 Kitchen Reno Part 2 Kitchen Reno Part 2 Kitchen Reno Part 2 Kitchen Reno Part 2 Kitchen Reno Part 2
A lot of people on social media were encouraging us to keep the aqua paint color, but if you scroll up, you can see how the new flooring changed the tone of the blue. Always trust your decorating gut. You're the one who lives in the space, not a person on Instagram who thinks made the wrong choice. Because this used to be the A Beautiful Mess studio, I get a lot of push-back any time I decide to change something... even after all these years. I want my home to reflect me, not a sea of strangers with opinions. I don't love this expression, but in this case it's truly applicable: YOU DO YOU.

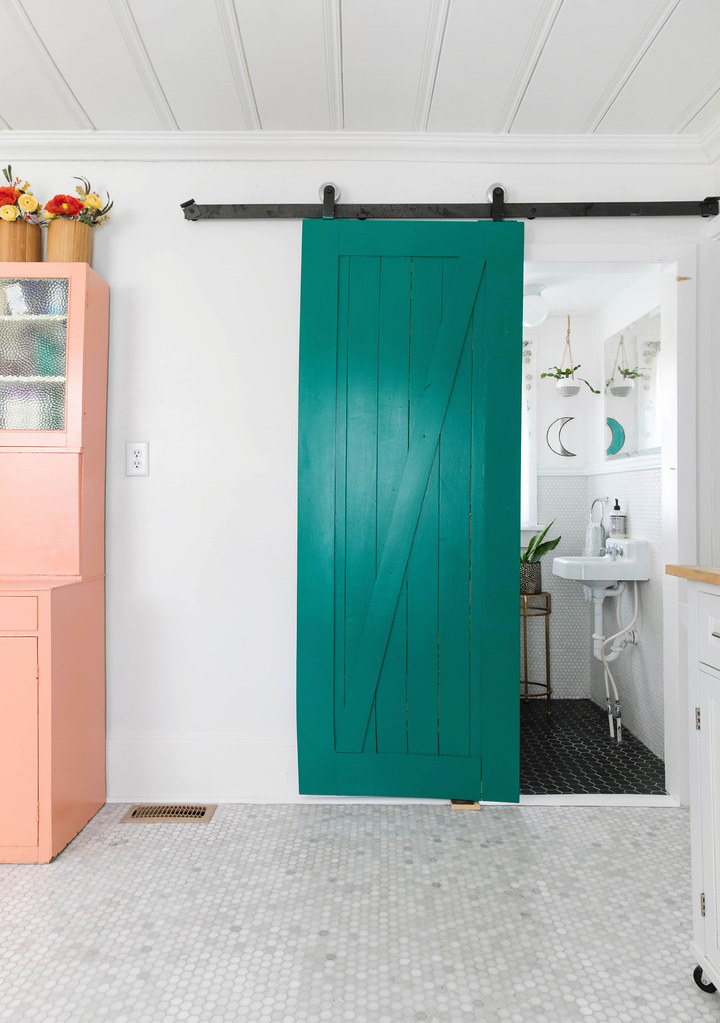
We chose to finish the kitchen DIYing anything we were qualified to do, which was basically just a lot of painting. The yellow barn door, the back door, the hutch, the new quarter round trim, and white walls all needed a fresh coat of paint. Can we just talk about white walls for a sec? They're so fresh and bright and make a space look clean, but the minute you touch up one part of your house, you realize how much EVERYTHING ELSE needs painted. 😂 The struggle is real.

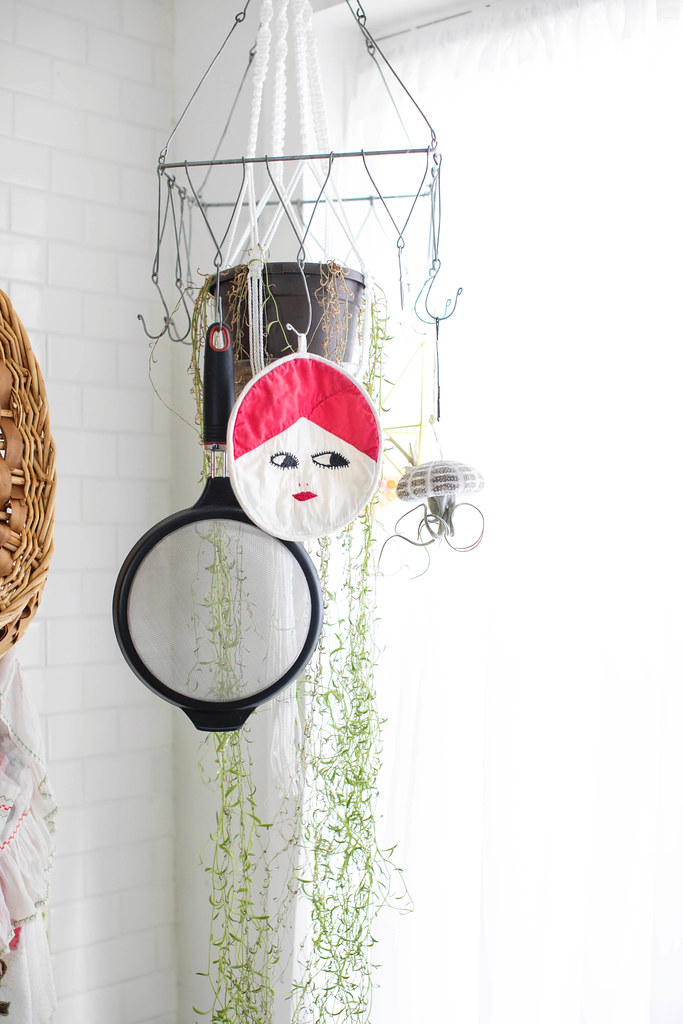
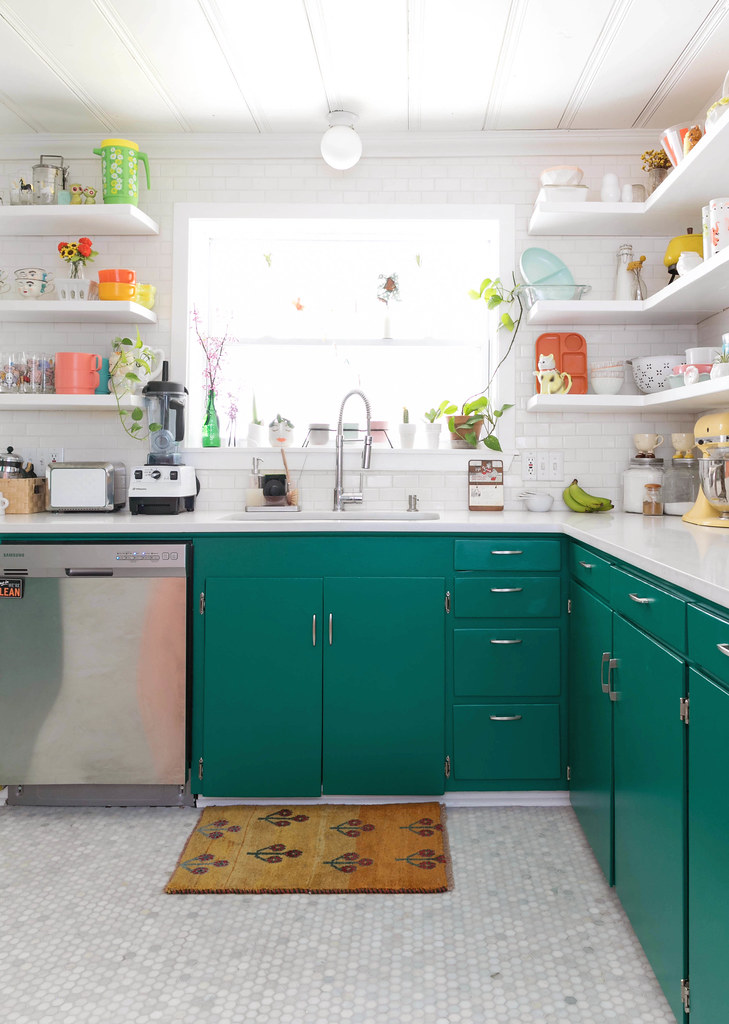
It took us the better part of 2 weeks to finish painting all of those things because, ya know, work and life take top priority. We crested the finish line, though, and now I get to share a gallery of photos all shot by Janae Hardy.
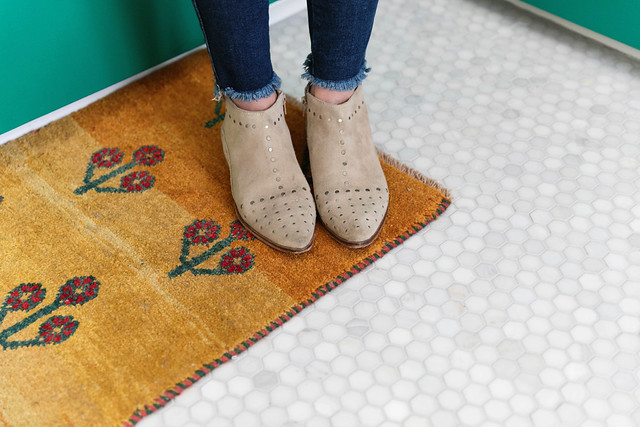
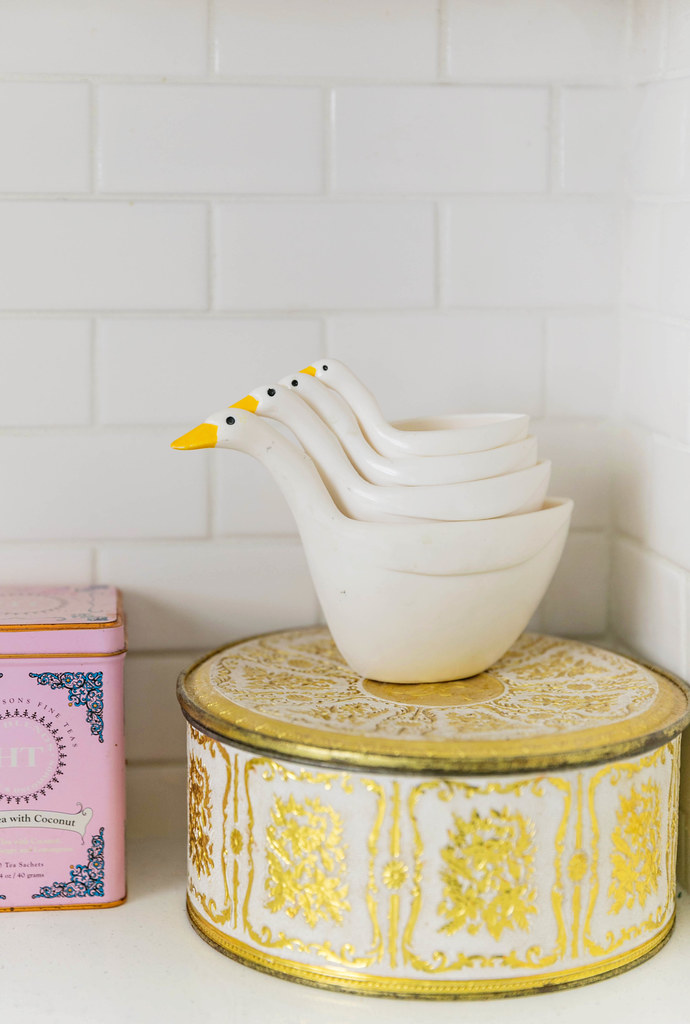
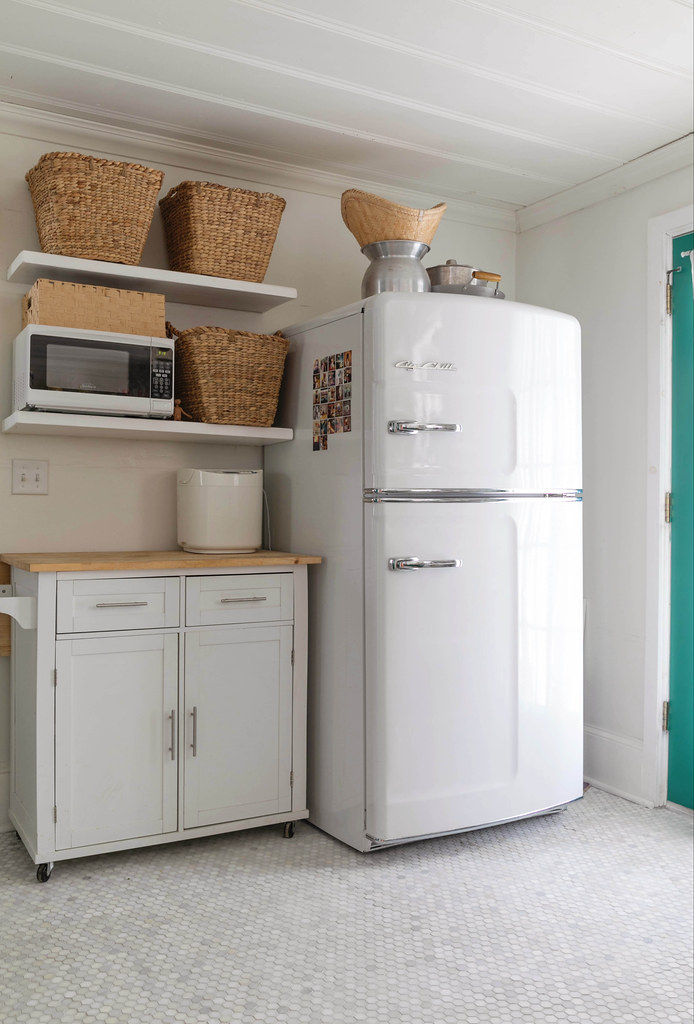
Kitchen Reno Part 2 Kitchen Reno Part 2  Kitchen Reno Part 2  Kitchen Reno Part 2 Kitchen Reno Part 2 Kitchen Reno Part 2 Kitchen Reno Part 2 Kitchen Reno Part 2 Kitchen Reno Part 2 Kitchen Reno Part 2 Kitchen Reno Part 2 Kitchen Reno Part 2 Kitchen Reno Part 2 Kitchen Reno Part 2 Kitchen Reno Part 2 Kitchen Reno Part 2
I want to give a major shoutout to Arthur, the manager at Surplus Warehouse, before I wrap this up. We ended up having an issue with our grout and we couldn't find the same product anywhere in Springfield. He ended up driving to Rogers, AR to get us what we needed. That's a 4 hour round trip just to make sure we had the proper grout. So, as you can tell, it's been a pleasure working with Surplus Warehouse on our flooring. Major thanks to them.

We are SO pleased with our kitchen updates! It has all the elements I was going for: bright, colorful, eclectic with quality products. Oh, and the whole space feels so much bigger. Nailed it!

Now that the kitchen is done, I think I might take a breather from home projects for a bit. It's has been so lovely here in MO lately, I think it's time to get back to the garden. In the meantime, feel free to hit me with any questions you have about kitchen renovations!

Wednesday, April 17

Our Kitchen Renovation Part 1

Kitchen Reno Part 1

Hey, friends! I'm excited to be sharing this big project we've been working on for months! If you remember, last year Johnny and I officially bought this lovely historic house we'd been renting for a couple of years. Our landlords were very gracious in what they let us do to the house as far as painting and wallpapering went, but as any renter knows, you don't pour the big bucks in until you own the home. That brings us to our first official home renovation: the kitchen! I do want to start out by saying that this was already the nicest kitchen in any house I've ever lived in, so it's not that there was anything "wrong" with it. Johnny and I wanted to change some things aesthetically, and in doing that, invest in quality products that would help increase the value of our house.

Kitchen Reno Part 1

We knew we'd have to go in phases because kitchen updates are not always easy on the wallet. Phase 1 for us was having the old formica countertops ripped out and replaced with quartz. If you're curious about the old concrete skim coat, you can find that DIY here. It really was a clever project, we were just ready for something a little more classic.

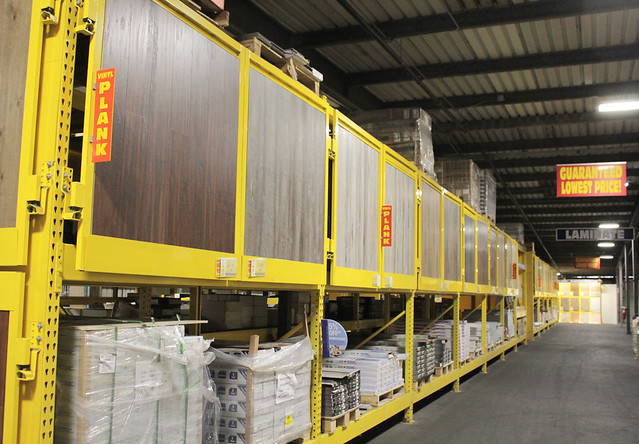
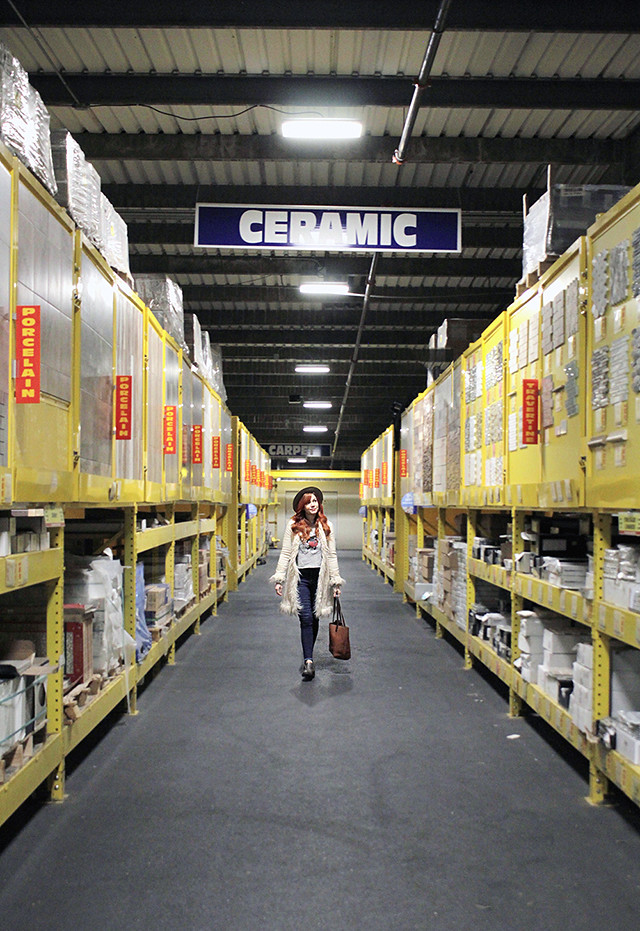
After the counters went in and the tile backsplash repaired (we hired professionals for all of it), Surplus Warehouse, a home improvement warehouse store that specializes in flooring and cabinetry, reached out to me about working together. Could Phase 2 really happen so quickly? We went over to check out the selection since they are literally down the street from us, and were pleasantly surprised. When you walk in, they have a full, nice showroom. I was instantly excited, and honestly, it makes me so happy to be using a local company for our remodel!

Kitchen Reno Part 1 Kitchen Reno Part 1

We met with the store manager, Arthur, and he took us back to the warehouse and explained a bit about flooring, and let us ask a bunch of questions. For a person who sometimes gets overwhelmed in large home improvement warehouses, I felt surprisingly at ease in the aisles. Everything was clearly labeled so I knew what I was looking at. They even had signs that recommended what types of projects (backsplash, flooring, etc) to use specific types of tile for. That was a big help for me. I've never gotten to renovate a kitchen before and I was a little afraid of making a rookie mistake.

Kitchen Reno Part 1 Kitchen Reno Part 1 Kitchen Reno Part 1 Kitchen Reno Part 1

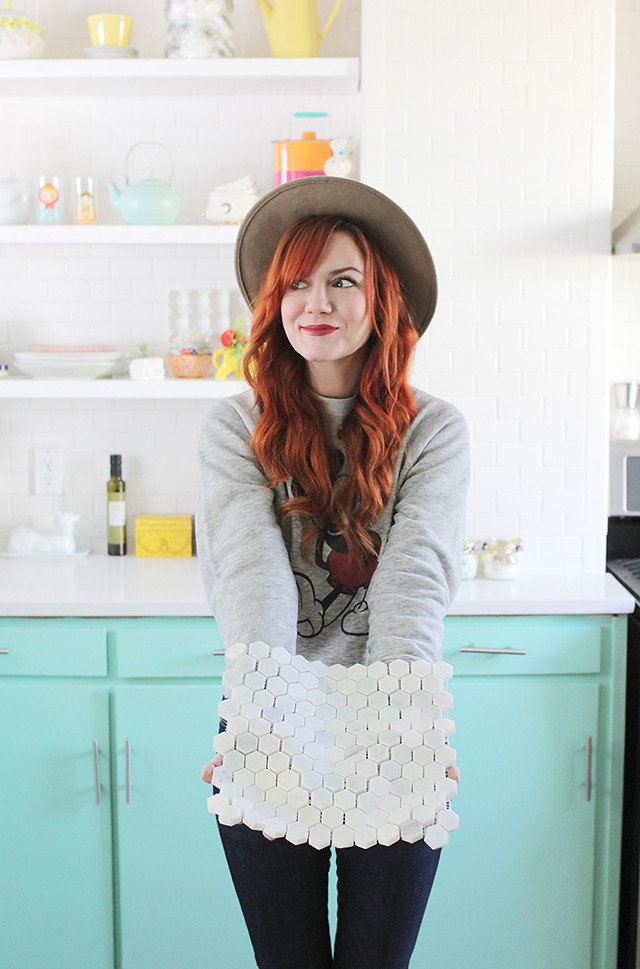
We took a couple of samples home to see how they felt in our kitchen. After spending way too many days looking at different penny tile design options on Pinterest, Johnny and I agreed on the marble hexagon tile. Ha! Sometimes you just have to really overthink something to come back around to the simpler option. Johnny placed our order with Arthur and we set up an installation date with our contractor! It was happening!

Kitchen Reno Part 1

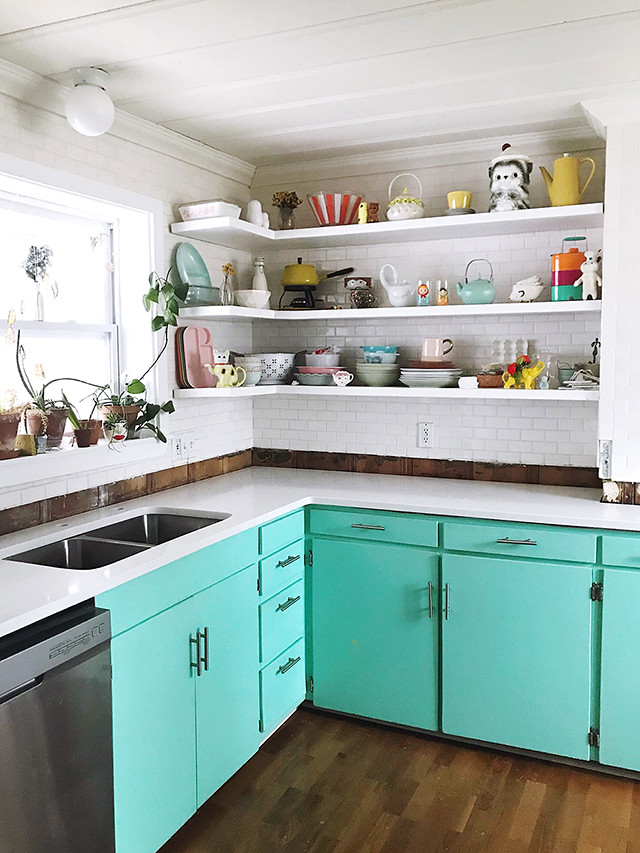
Here is our "before" photo. Again, I think this kitchen is great, we were just ready to personalize it and make it feel even more like "us". I can't wait to write out part 2 and show you the finished product. Soon, friends!

*Special thanks to Surplus Warehouse for working with us. We're so excited to have this opportunity!


Wednesday, October 25

DIY Fruit Bouquet

Fruit Basket
Tick-tock, tick-tock... do you hear that?  Halloween is getting SO CLOSE!  I'm looking forward to the parties coming this weekend and the actual trick-or-treating next week.  I'm also excited to be teaming up with Edible Arrangements® today to turn my little Poesy into a fruit bouquet just in time for Halloween!  Making this costume was super easy and super fun, so let me take you through the steps!

Fruit Basket
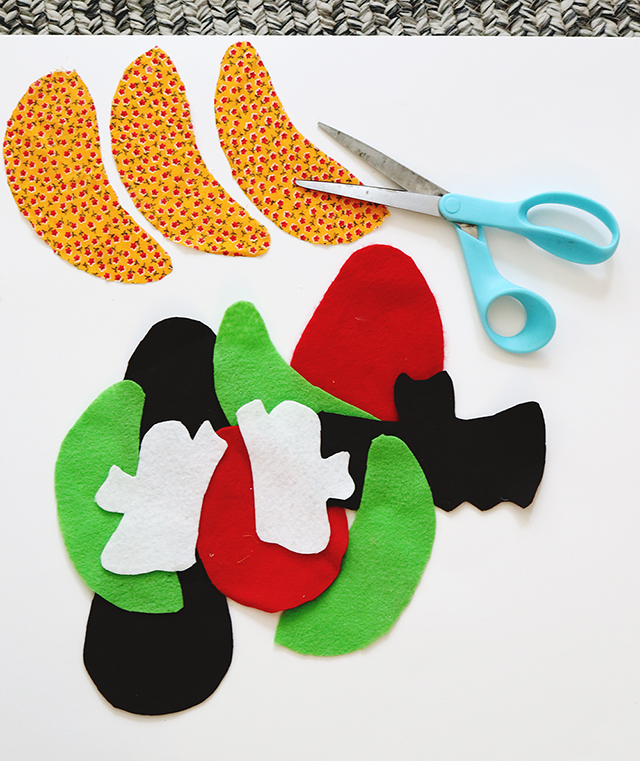
First, I cut out felt shapes for the strawberries, honey dew, and chocolate covered strawberries, bats, and ghosts.  Since I wanted an extra pop of color for the cantaloupe, I used a printed fabric and glued it onto some poster board so it would stay upright.

Fruit Basket
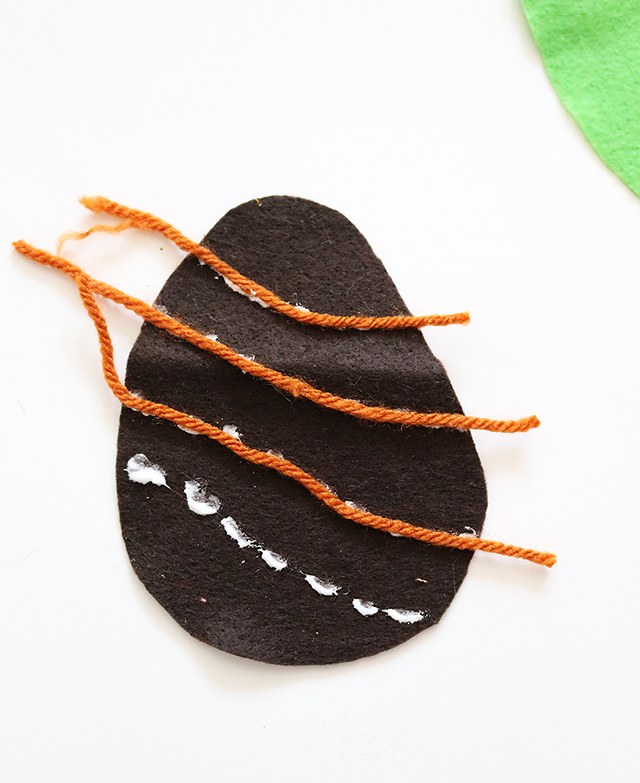
I used some craft glue and yarn to give the chocolate strawberries a little more dimension and detail.  Once the glue dried I simply trimmed the edges.

Fruit Basket
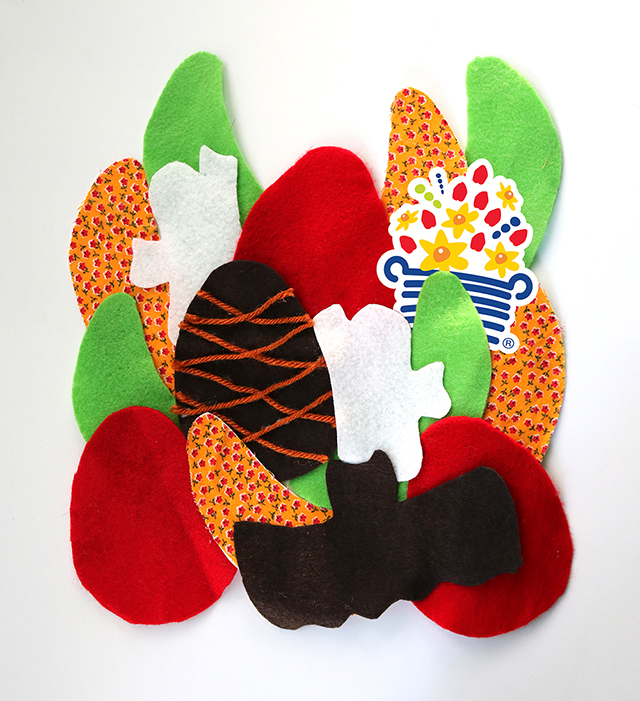
When I finished cutting all of my shapes, I glued them together to make the arrangement.  Once the glue dried for this step, I safety pinned the fruit to one of Poesy's tee shirts and threw together some adorable accessories (including a little felt cut-out for her strawberry hat) to complete this simple and fun costume!

Fruit Basket Fruit Basket costume Fruit Basket Fruit Basket
Who could ask for a better costume model, right?  Poesy had a blast dressing up and having her picture taken.

Edible Arrangements® is typically my favorite way to tell someone "thank you" or "I'm thinking of you" but their bouquets and arrangements are also great for parties... such as a Halloween get together!  Check out their site to see all of the delicious things they offer!


Wednesday, October 11

Kindness is Power- Carissa's Story

avene hope
It makes me so happy to partner with companies who are trying to change the world through kindness and action.  That's why today I'm working with Eau Thèrmale Avene in sharing Carissa's story here on my blog.  Carissa went through years of being bullied because of her skin condition (eczema) and NO child should be picked on and harassed, especially because she was born with a disease with no cure.  October is National Bullying Prevention month, and this is a cause that is near and dear to me.


Through Eau Thèrmale Avene's Kindness Campaign, you can purchase special kits where 100% of the proceeds will go to raising bullying prevention awareness.  Let's help protect our littles from bullying.  Check out the full video of Carissa's story right here. #AveneHope


Thursday, January 5

Snail Mail Is Making a Comeback With Bond

Bond
In the year of 2017, I am making it a personal goal to send more physical mail.  I'm usually pretty great at checking in on friends through social media or texts, but I want to take that to the next level.  It warms my heart any time a friend takes the time to send me snail mail, and I want to do that for others.
Bond is making that incredibly easy for me!  Poesy sketched up a little picture of our family and I uploaded that into the Bond app to create personal stationary for our family!  After that, all I had to do was type in a personal message and they sent off my note to a happy recipient.  Yes.  I did just say that you don't have to go to the post office.  This app is going to help me stay connected to friends and family that I don't see nearly enough.  Oh, and save me from myself when it comes to procrastinating and allowing a letter to sit on my entryway table for way too long!

Bond Bond Bond
I think this is such a cute way to keep in touch with loved ones!  Bond will definitely be helping me to keep a big goal of mine this year... plus, it's a wonderful way to showcase Poesy's art with the grandparents and get some of her artwork back on the fridge where it belongs!

You can send your first note for free after you download the Bond app!  It's a great way to try out a new service and decide if it's for you.  Enjoy the snail mail!