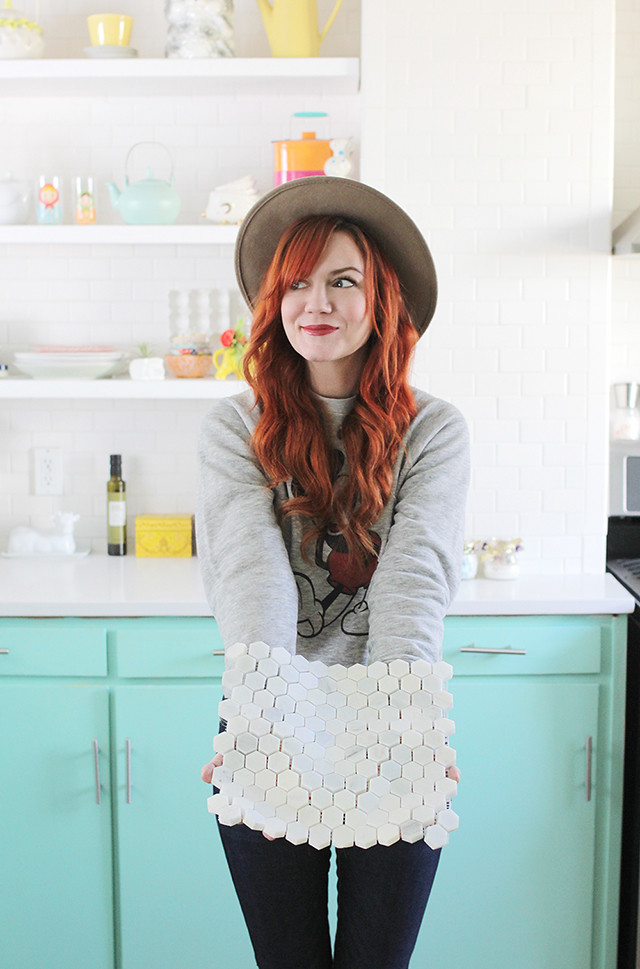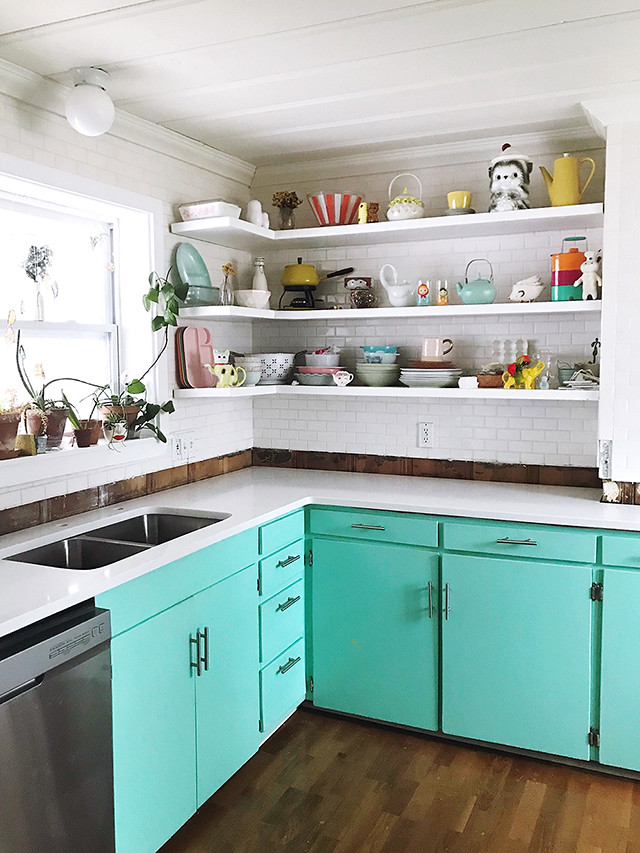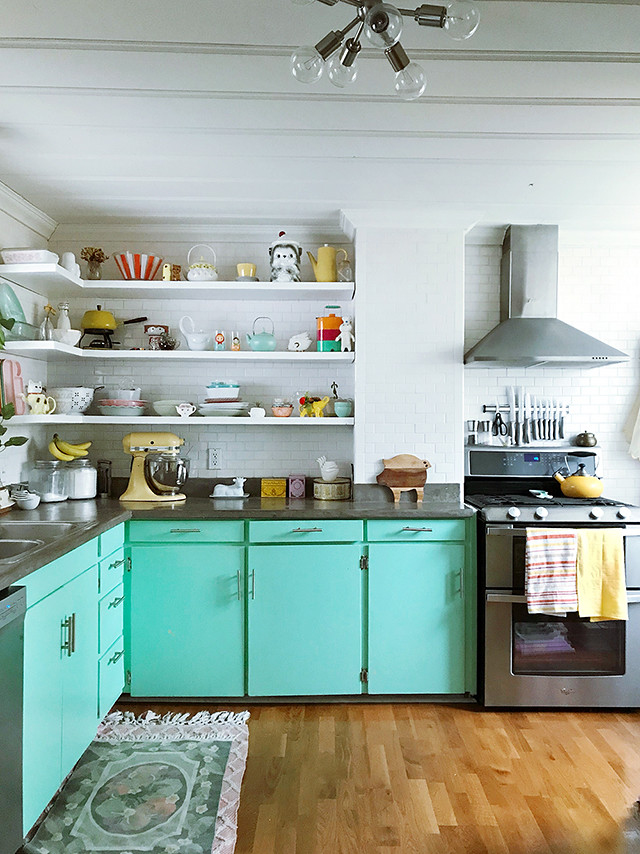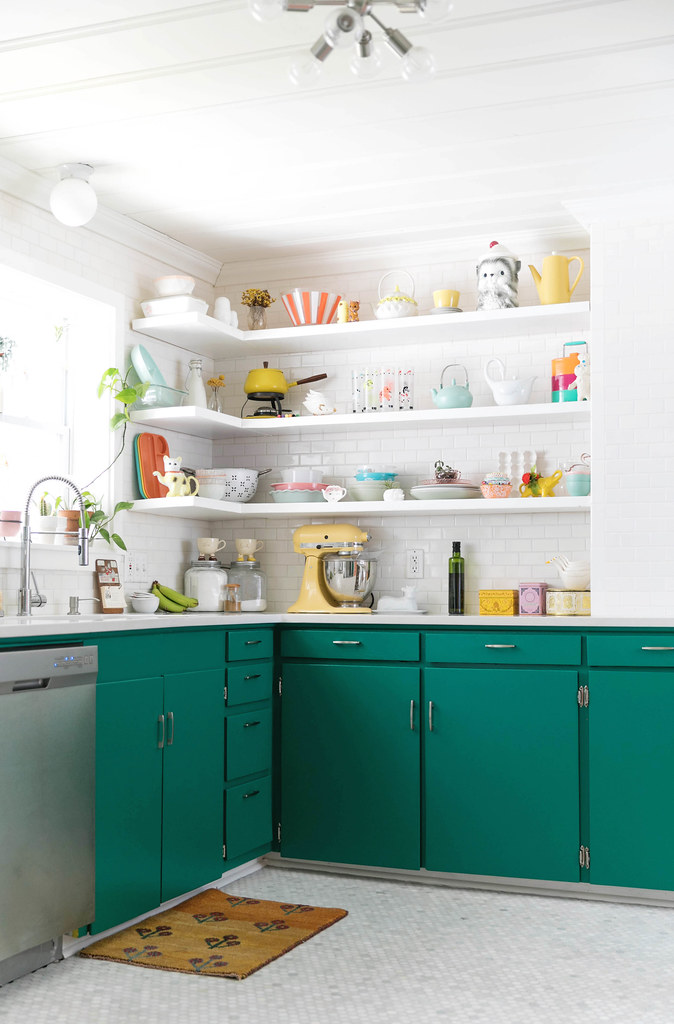

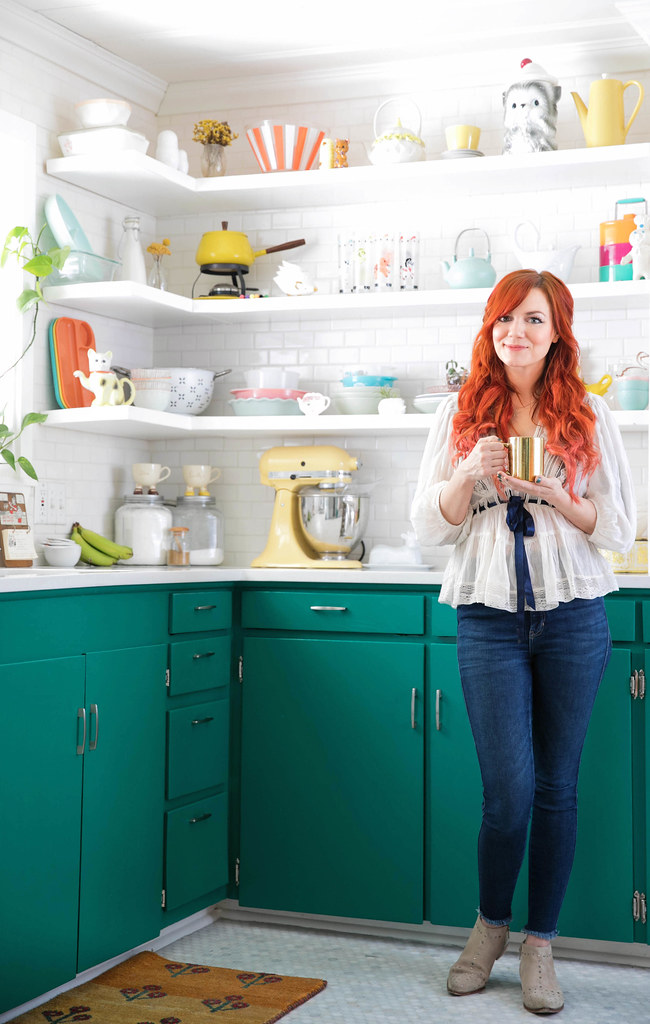
I'm so excited to finally show you our (mostly) finished kitchen! Do you like how I keep throwing "mostly" in there? Are you ever really done dreaming in your spaces? Usually not. In the future we'd like to have a proper pantry built and maybe even take out part of the wall along our back staircase (it lives behind the coral hutch), but that's a whole lot of Phase 3 talk and I'm ready to take a break from kitchen projects for a bit. 😉
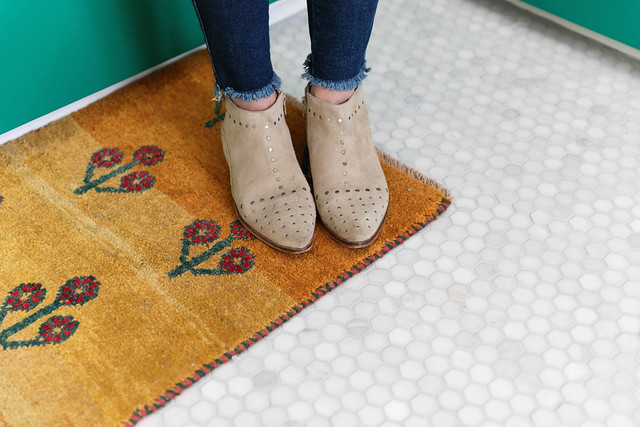
Okay, so getting back to the current state of the kitchen... I'm SO pleased with how everything came together! The counters, the flooring, the new colors: it all feels so fresh and pretty, and it also still feels like ME. Hey, I worry. What if you make big decisions and end up having major regrets? It's a real concern. Anyway, I'm happy to report that I have 0 regrets thus far. That's definitely something to celebrate!
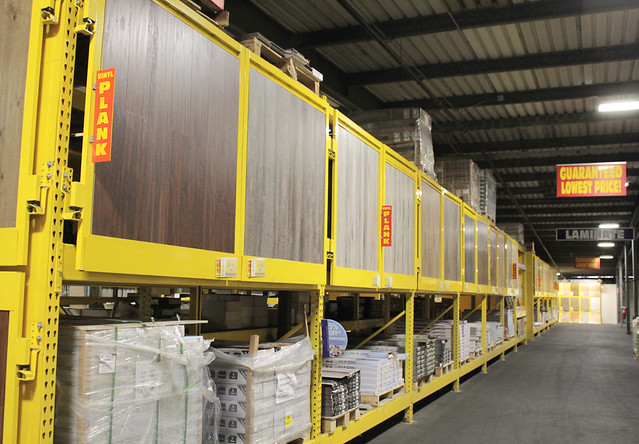
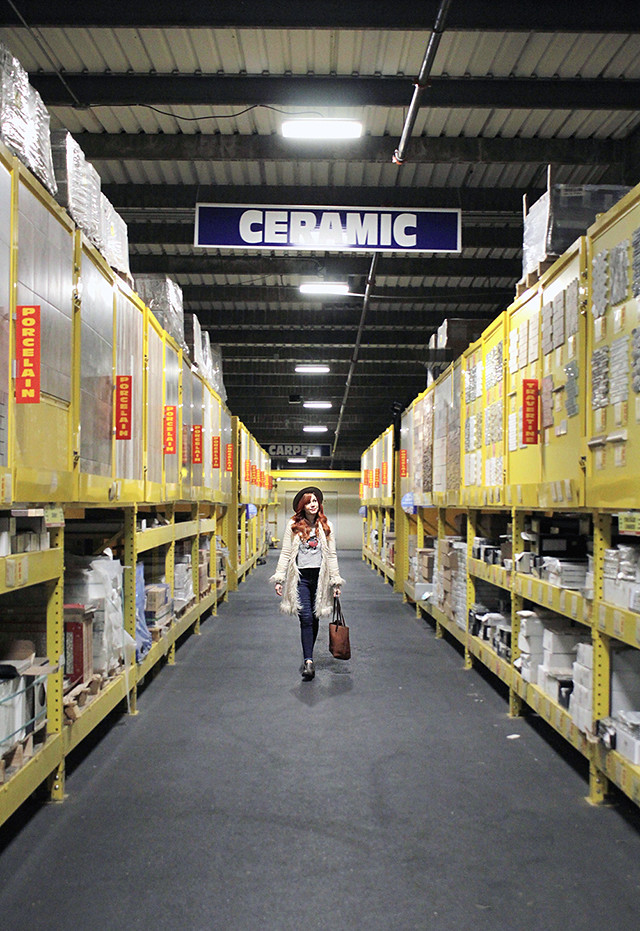
If you remember from my Part 1 post, I partnered with Surplus Warehouse, a home improvement warehouse store that specializes in flooring and cabinetry, for a portion of this kitchen project. I think before I go any further, I should share a little bit of behind-the-scenes. I feel like a lot of times blogs seem to wave a magic wand and there's *poof* a before and after set of pics. Renovation isn't easy, and don't let anyone tell you otherwise. We hired professionals to remove our old counters, install the new ones with a new sink and garbage disposal, lay the tile and grout, rehang and paint the cabinets, and it was still hard. Being without a kitchen for weeks is hard. The rest of the stuff you opt to do yourself to save money can be hard. Obviously it's worth it, but it's still hard. Let's get into our "before" and a glimpse at the process.
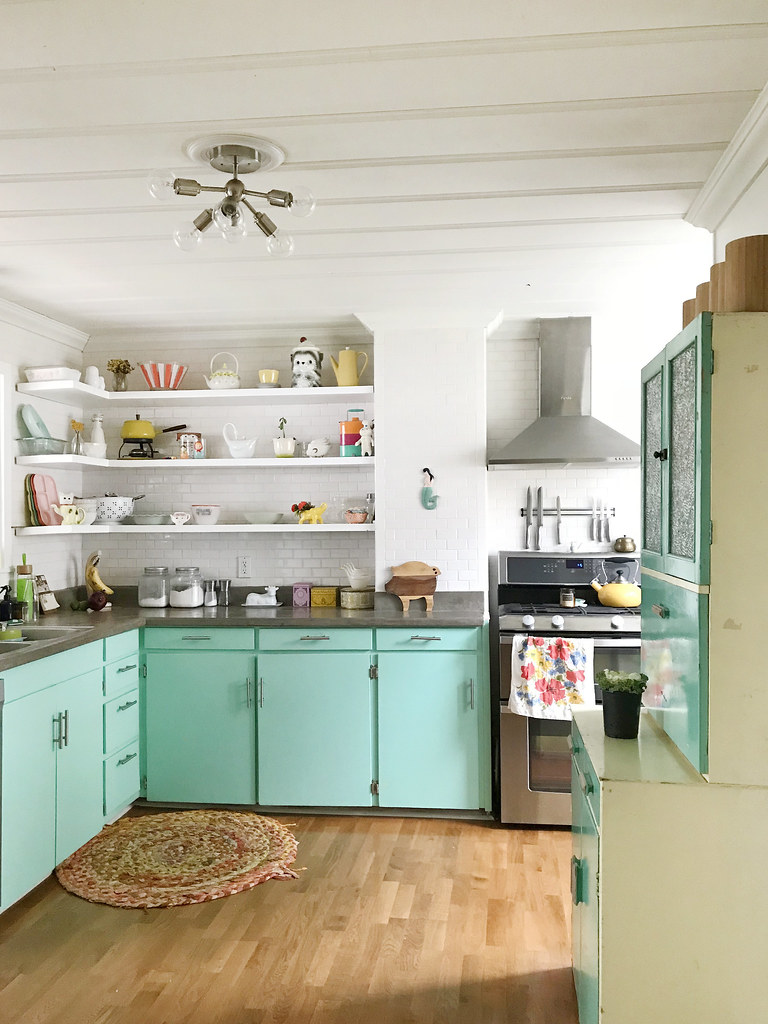
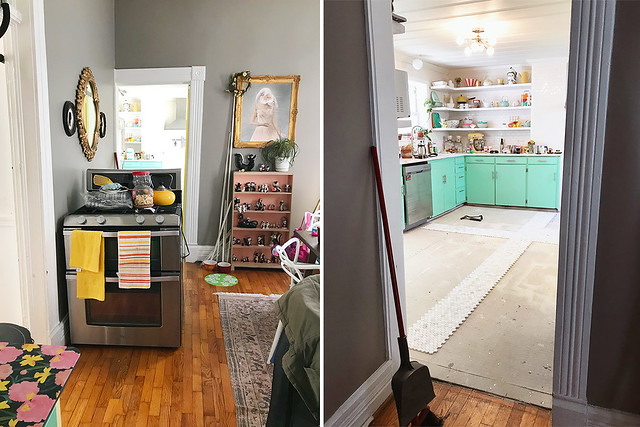


A lot of people on social media were encouraging us to keep the aqua paint color, but if you scroll up, you can see how the new flooring changed the tone of the blue. Always trust your decorating gut. You're the one who lives in the space, not a person on Instagram who thinks made the wrong choice. Because this used to be the A Beautiful Mess studio, I get a lot of push-back any time I decide to change something... even after all these years. I want my home to reflect me, not a sea of strangers with opinions. I don't love this expression, but in this case it's truly applicable: YOU DO YOU.
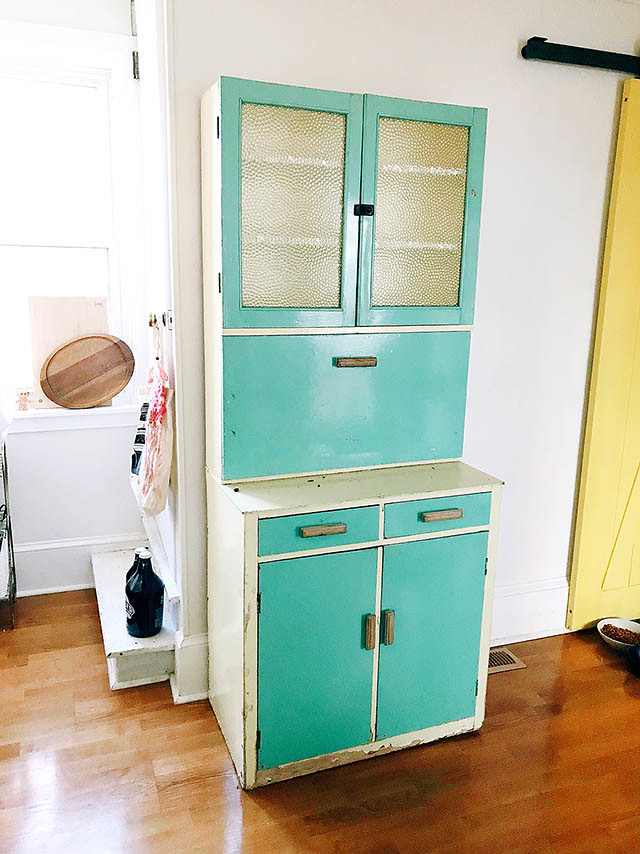
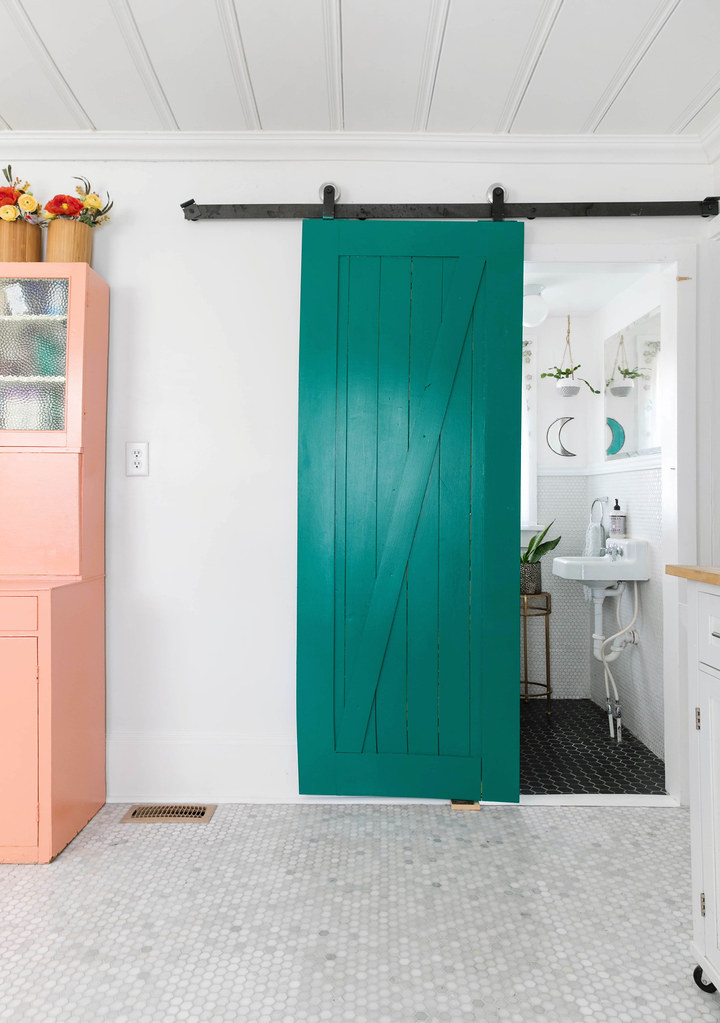
We chose to finish the kitchen DIYing anything we were qualified to do, which was basically just a lot of painting. The yellow barn door, the back door, the hutch, the new quarter round trim, and white walls all needed a fresh coat of paint. Can we just talk about white walls for a sec? They're so fresh and bright and make a space look clean, but the minute you touch up one part of your house, you realize how much EVERYTHING ELSE needs painted. 😂 The struggle is real.
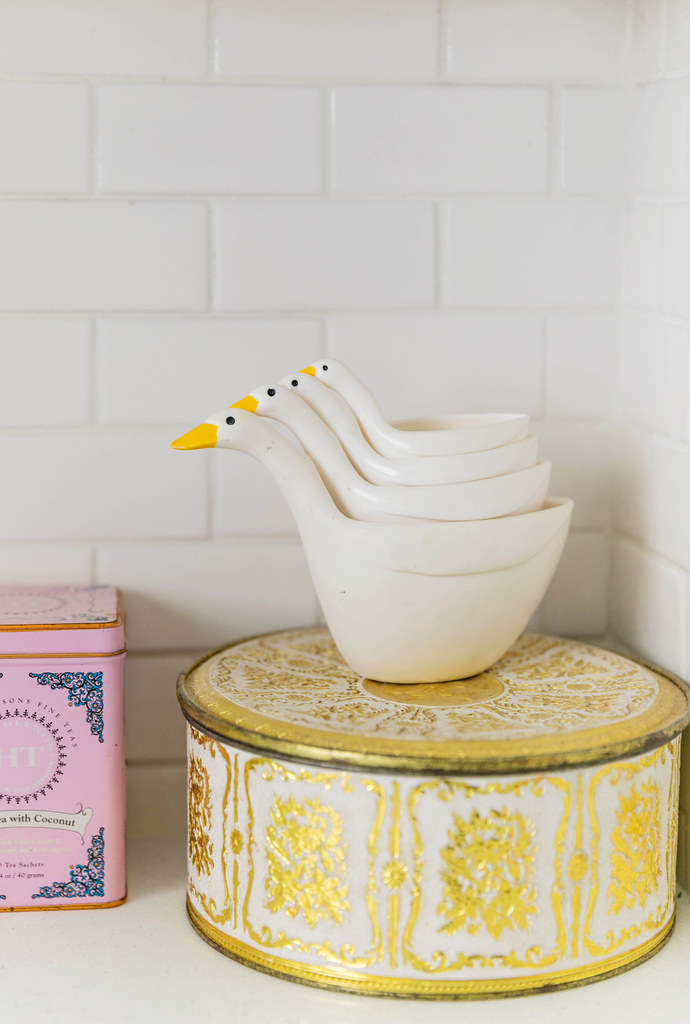
It took us the better part of 2 weeks to finish painting all of those things because, ya know, work and life take top priority. We crested the finish line, though, and now I get to share a gallery of photos all shot by Janae Hardy.
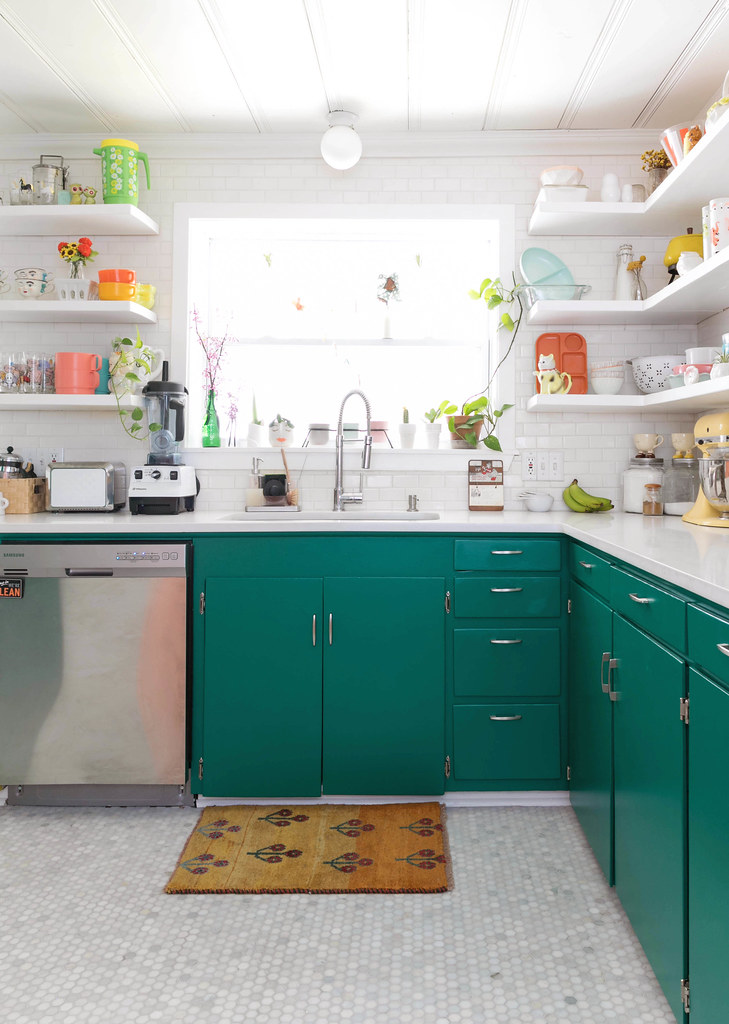


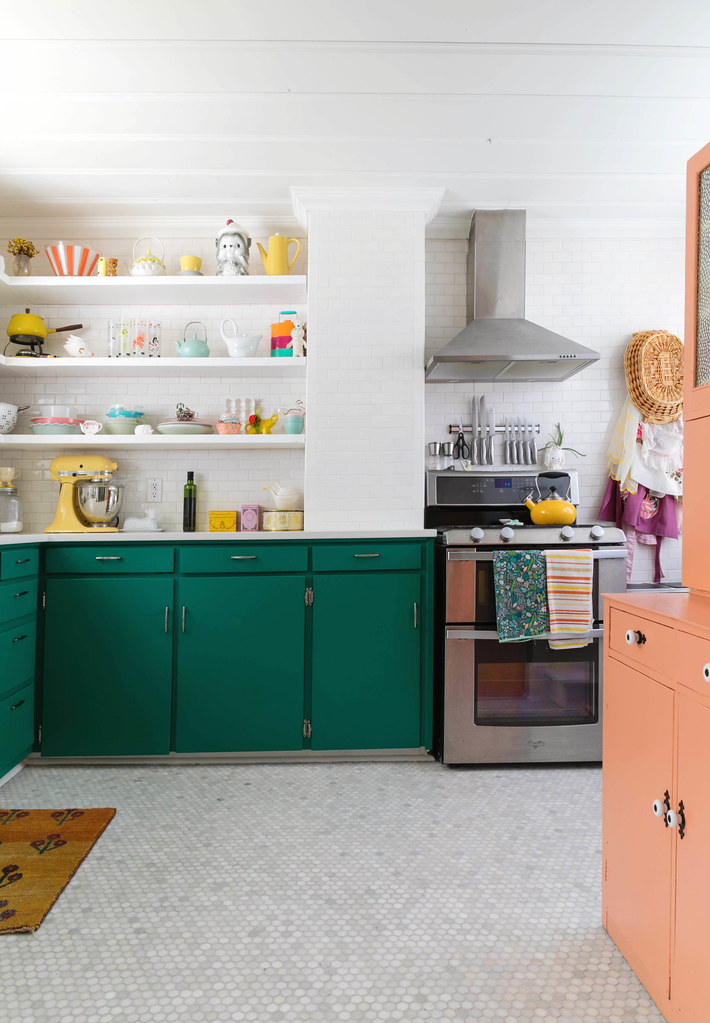
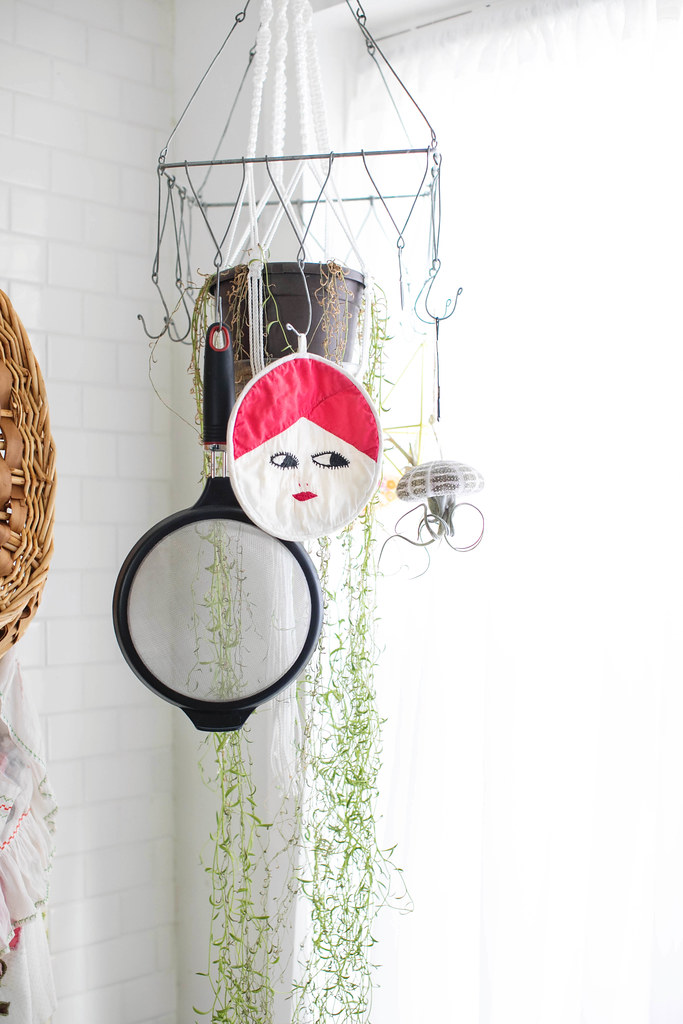


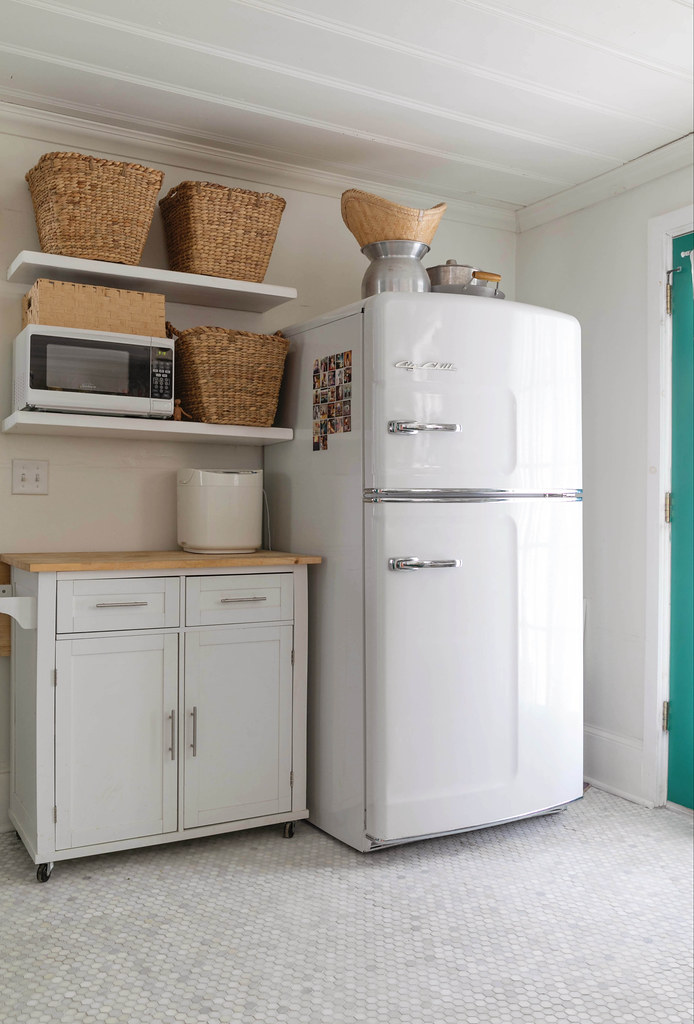
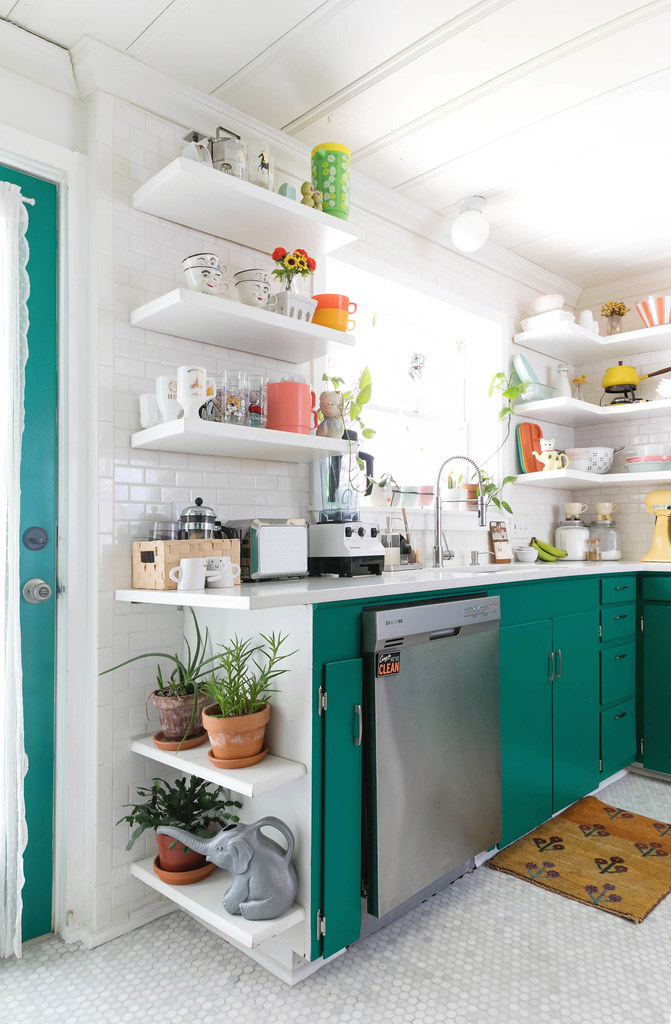


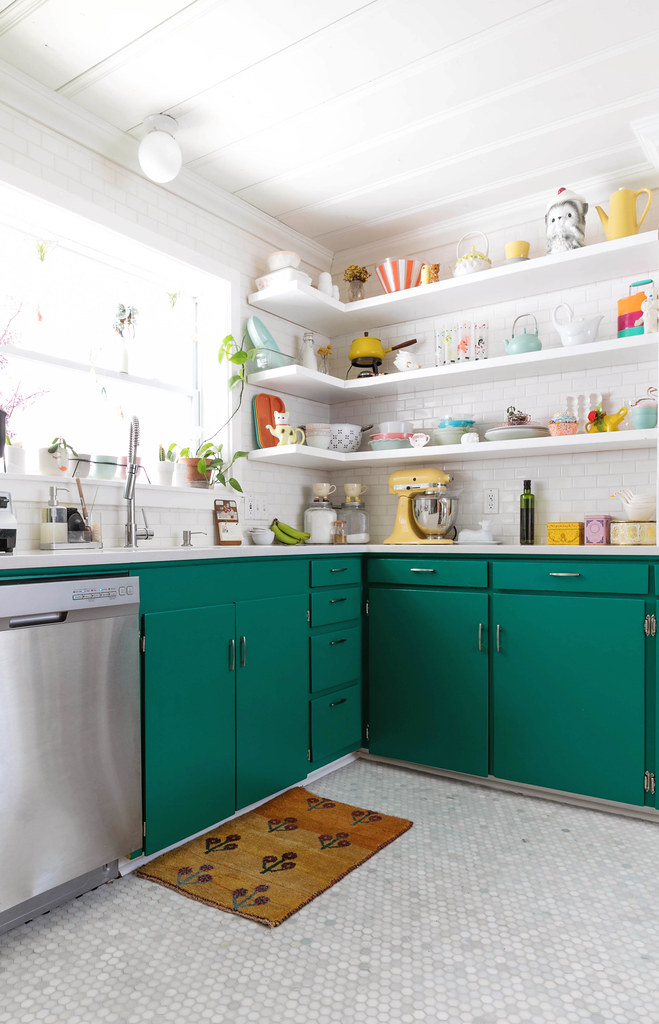
I want to give a major shoutout to Arthur, the manager at Surplus Warehouse, before I wrap this up. We ended up having an issue with our grout and we couldn't find the same product anywhere in Springfield. He ended up driving to Rogers, AR to get us what we needed. That's a 4 hour round trip just to make sure we had the proper grout. So, as you can tell, it's been a pleasure working with Surplus Warehouse on our flooring. Major thanks to them.
We are SO pleased with our kitchen updates! It has all the elements I was going for: bright, colorful, eclectic with quality products. Oh, and the whole space feels so much bigger. Nailed it!
Now that the kitchen is done, I think I might take a breather from home projects for a bit. It's has been so lovely here in MO lately, I think it's time to get back to the garden. In the meantime, feel free to hit me with any questions you have about kitchen renovations!


