GIRLHOMEABOUTFAQDIYOUTFITSCREATURESSHOP
Showing posts with label studio. Show all posts

Monday, February 16

Where You Will Find Me These Days // My Sewing Area

Sewing Studio
Being that the nature of my business is hand sewing, I've never paid a great deal of attention to my sewing machine area.  It wasn't until last year that I even bought myself a spool holder-- that's how little I machine sewed.  I had some colors of thread in a box and that was it.  The end.  Since I've been putting so much time into this ecourse you keep hearing me talk about (we'll be announcing our release date soon!), I've realized how much I love machine stitching.  It feels so good to create a pattern and sew something from scratch.  I adore it.  Anyway, I had a video shoot this weekend so my sewing area of the studio is sparkling clean (thanks to a best friend and a steam mop).  What better time to share?!  Here's a peek at what it looked like before.  Nothing much to speak of.  Here's where we are now:

Sewing Studio Sewing Studio Sewing Studio Sewing Studio Sewing Studio Sewing Studio Sewing Studio
I love having a space devoted to machine sewing.  You can see my office area and hand stitching corner right here and here.  Thanks for letting me share!  xo.


Wednesday, January 14

DIY Geometric Unicorn Wall

DIY Geometric Unicorn Wall
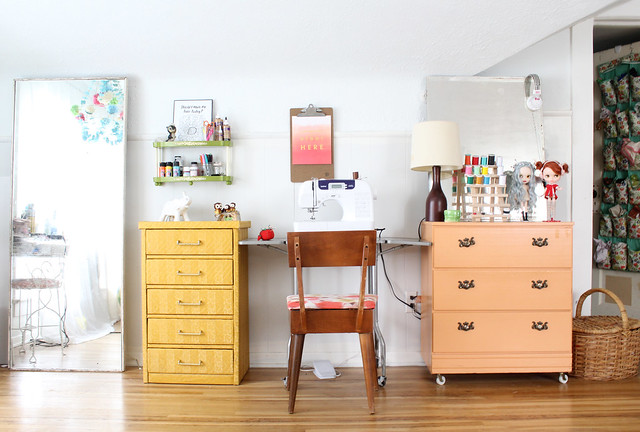
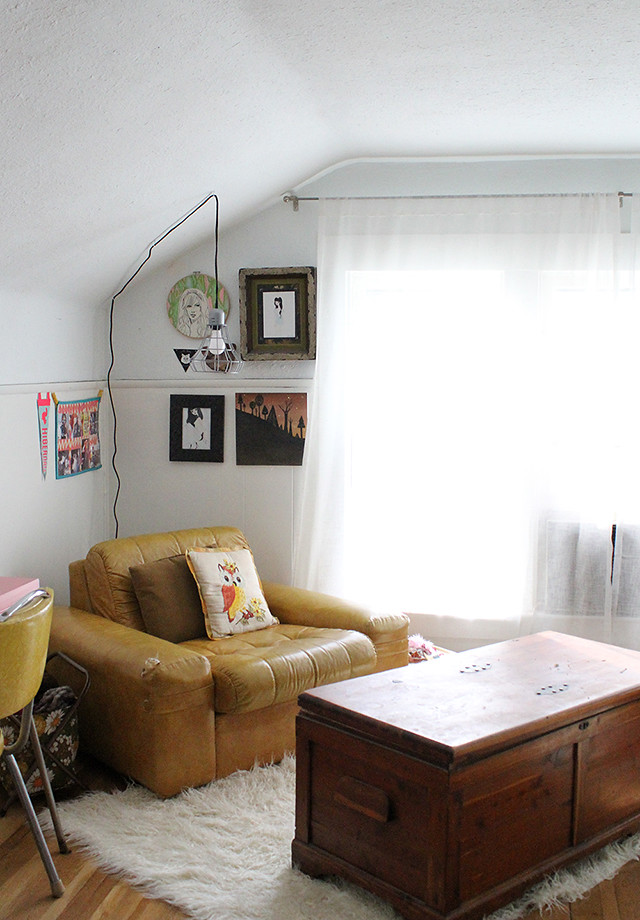
I recently started working in a separate studio space outside of my house a couple days a week. I still work from my home most of the time, but it’s nice to have the option to leave and be able to focus without interruption. The first thing I wanted to do was set up a space that was inspiring and very “me”, so painting the room was #1 on my list. I decided to do something extra fun-- give my space a giant unicorn. I mean, I love pink and I love unicorns, so it seemed like a no-brainer. I’m partnering up with  ScotchBlue™ Painter’s Tape today to show you my process!

DIY Geometric Unicorn Wall
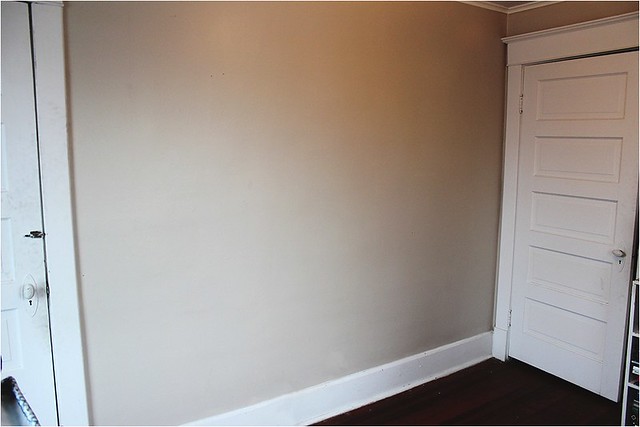
This is what I started with. I decided to paint this wall a bold pink (“Frosted Watermelon” to be exact). It only took me about two hours to completely finish it all with edging. Win!

DIY Geometric Unicorn Wall
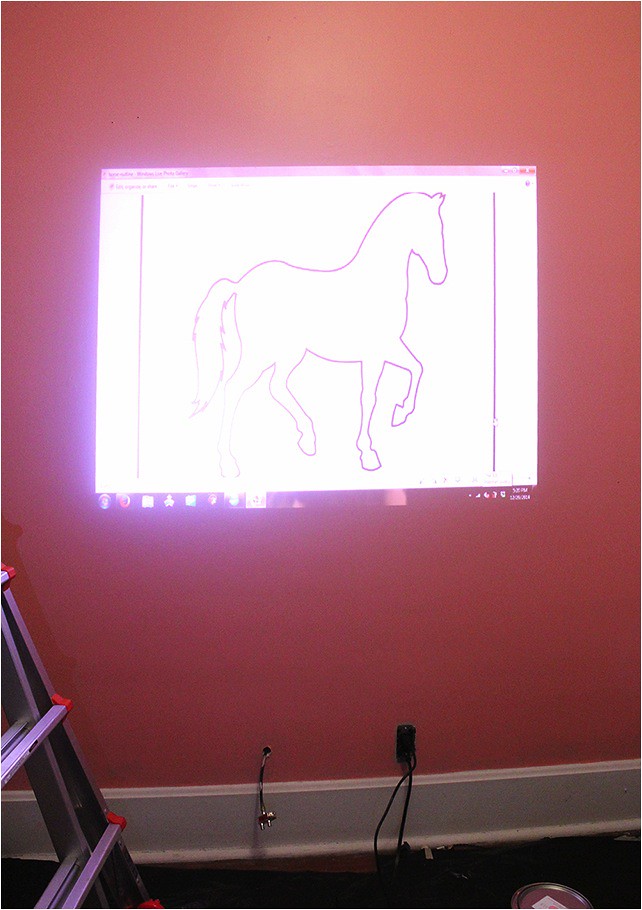
Next, my goal was to project a horse/unicorn image on the wall and trace it, but this room is quite narrow and we couldn’t get the image big enough. Luckily, I spent many, many hours as a child obsessing over and drawing horses, so I took a pencil and went to town free-handing a unicorn on the wall.

DIY Geometric Unicorn Wall DIY Geometric Unicorn Wall
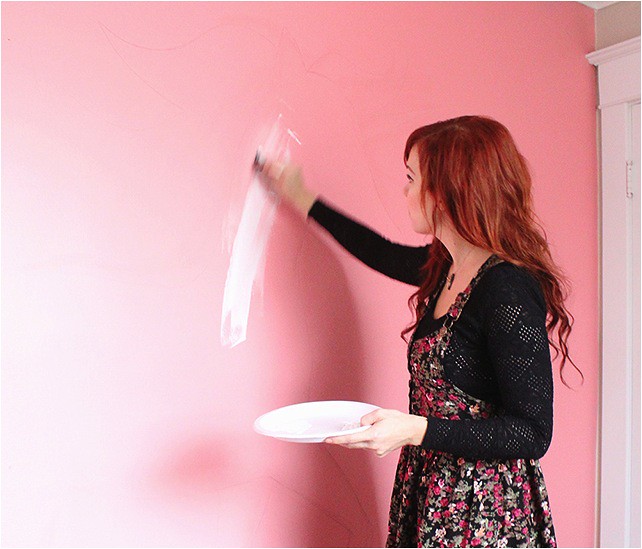
Once I was happy with the shape, I filled the whole thing in with white paint. This took a couple of coats because I was using regular acrylic craft paint.

DIY Geometric Unicorn Wall DIY Geometric Unicorn Wall
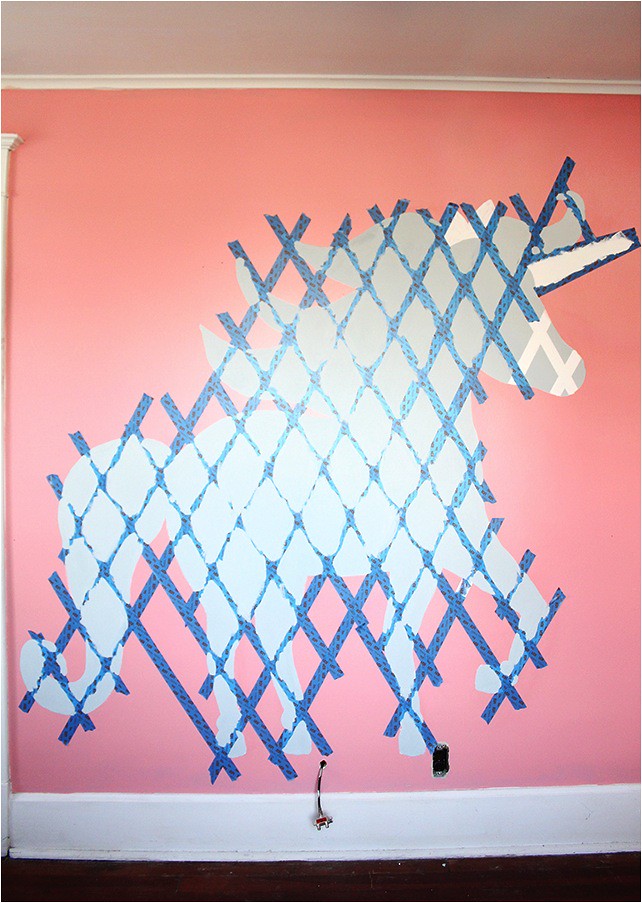
When the white paint was totally dry (it's recommended to wait 24 hours), I began measuring out my  
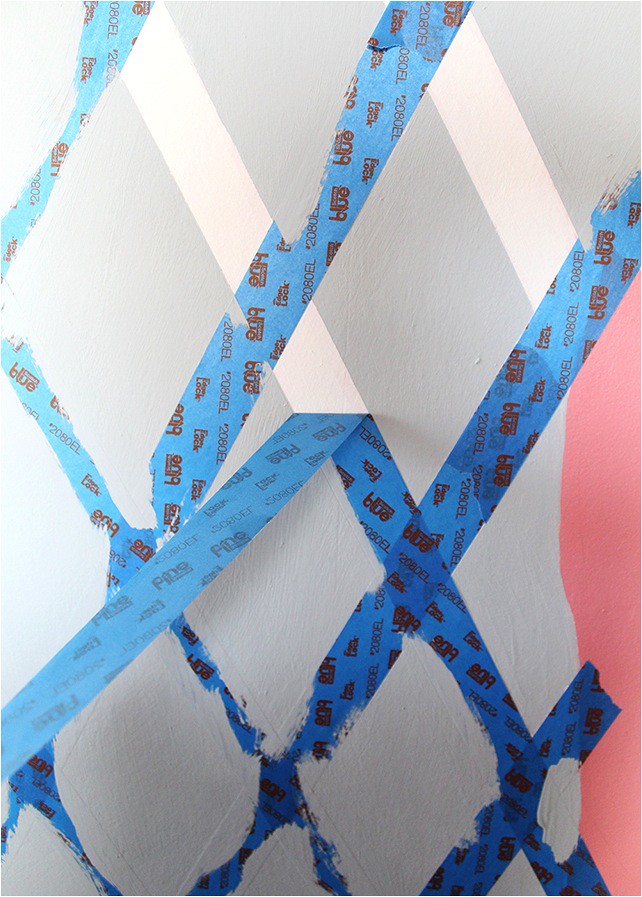
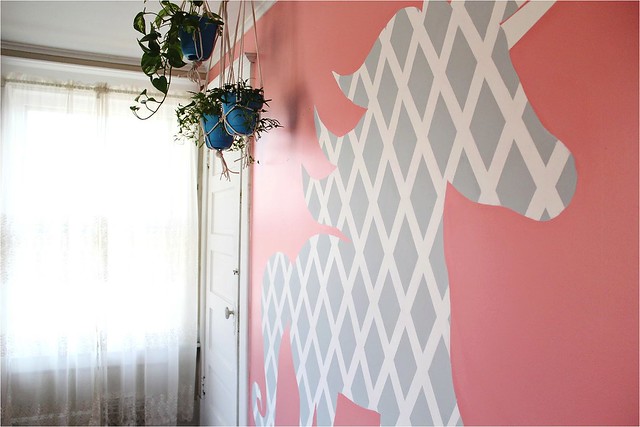
ScotchBlue™ Painter's Tape Delicate Surfaces with Advanced Edge-Lock™ Paint Line Protector 2080EL and started applying to the unicorn. I did a test section initially so I could get a visual on how it was going to look. I found putting the tape on diagonally one way to completion was smart before going the opposite direction. This aids in pulling the tape off quickly in the end.

DIY Geometric Unicorn Wall
Next, I filled in all of the white space with grey paint, and waited for that to dry before I pulled the tape from my unicorn.

DIY Geometric Unicorn Wall DIY Geometric Unicorn Wall
Besides the finished product, pulling the tape off was the best part of this project! Seeing each sharp line take shape with every run of tape removed was so fun!

DIY Geometric Unicorn Wall DIY Geometric Unicorn Wall DIY Geometric Unicorn Wall DIY Geometric Unicorn Wall DIY Geometric Unicorn Wall
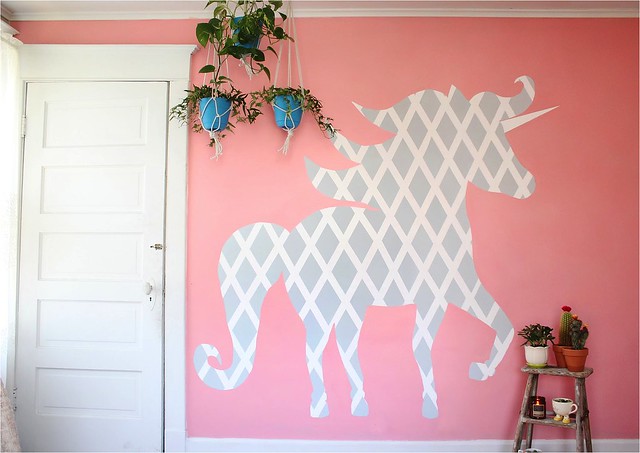
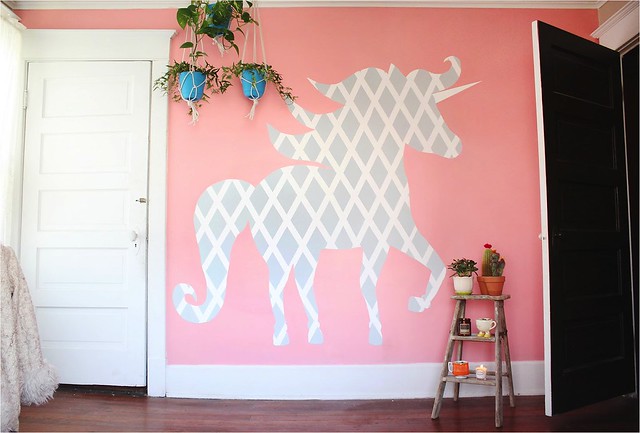
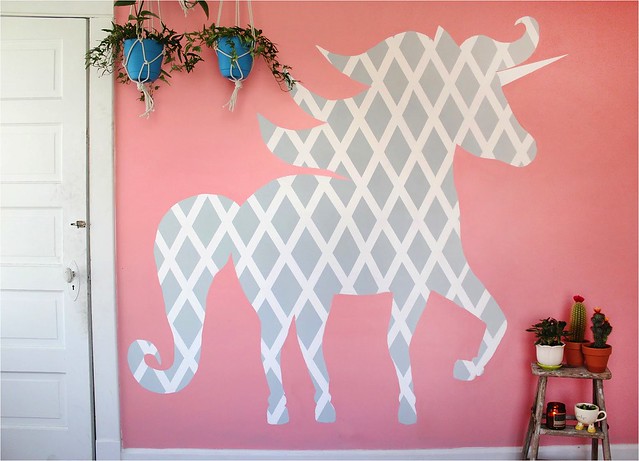
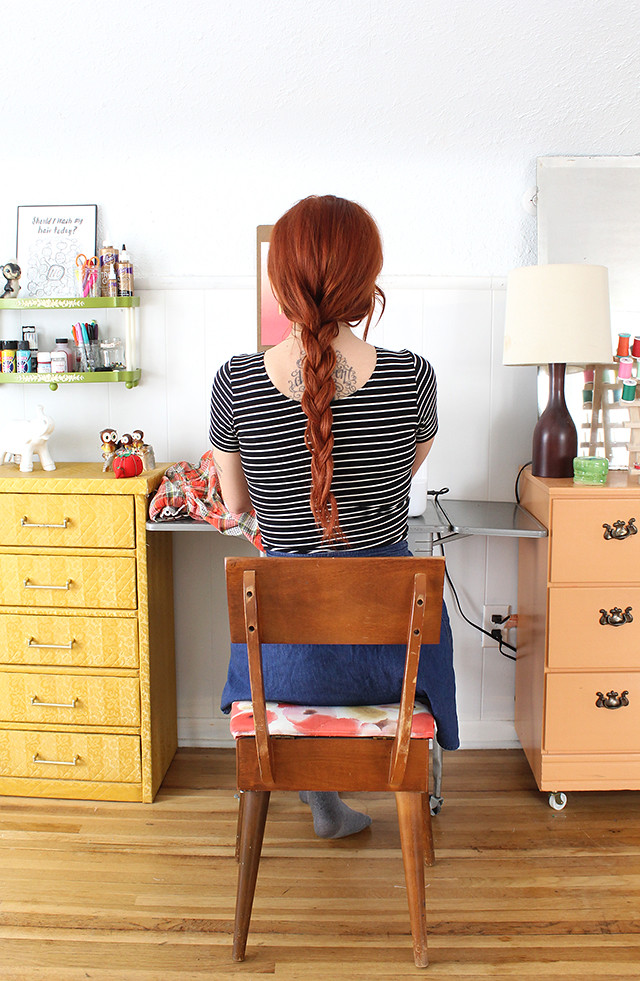
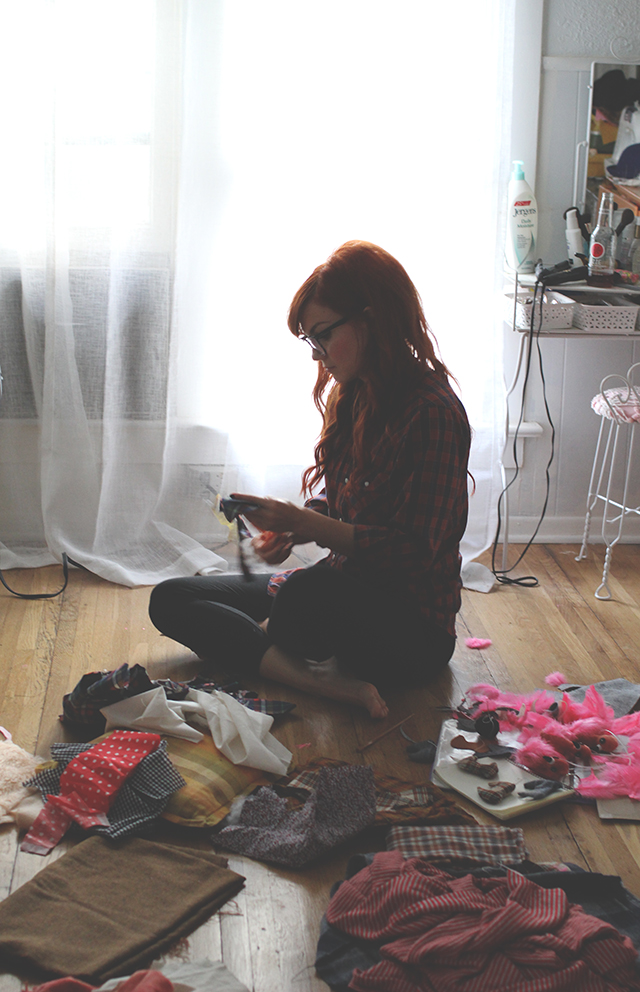
I love this unicorn and the fact that it looks like a giant wall decal, but worked out to cost a lost less than a decal this size would! Now, if you’ll excuse me, I’m going to get back to sewing in my new studio space! xo.


I am proud to be a 3M sponsored blogger, and, as part of my responsibilities, I get the opportunity to evaluate ScotchBlue™ Painter’s Tape. Opinions are my own and additional products used in the project were selected by me.

http://soch.us/rOLK-1Z5nWFacebook, Pinterest, Twitter

Monday, November 24

My Little Sewing Corner

Where I work Pt 2 Where I work Pt 2 Where I work Pt 2
When I switched up my desk area, I rearranged my (hand) sewing spot as well.  My studio side of the room had all the furniture basically pushed against the wall, which made the floorspace for projects long and narrow.  Once I eliminated the corner desk, I knew it was the perfect place for a cozy sewing spot, AND it allowed me more floorspace to work on larger projects.  Whenever I'm hand stitching animals, this is where you will find me.

Our bedroom has an issue with lighting since it is such a long space, so I bought a hanging light to suspend above the sewing area.  Now I don't have to constantly move a lamp over or strain my eyes.  Honestly, I should have done this years ago.  It's so much more motivating when you can actually SEE what you are doing.  My stuffing stays in this old cedar chest that was passed down to me from my mother, and I hung some of my favorite art on the wall.  I left a few blank spaces so I can add more as I find it.  

I've spent a good little chunk of time here lately as I'm speedily stitching up ornaments.  My goal is to have them in the shop the Monday after Thanksgiving (Cyber Monday).  I'll keep you posted on all that.  For now, back to hand stitching!


Thursday, November 21

Practice Makes Perfect or Something Like That

As I make and remake these little animals, I'm constantly reminded that being "good" at something is maybe a little bit of talent, but it's a lot of practice.  I spent a couple of hours last night tweaking a bunny pattern and in the end it was just kind of a flop (har har).  But it's okay!  Not everything I dream up in my head translates the way I expect it to, and the more I do this thing I'm doing, the more I learn and the better I become.  I wrote this post a long time ago about how I used to just think certain people got to be "good" at things and for some reason, I didn't feel like I was good at anything... until I figured out that the world isn't chock-full of lucky ducks.  It's lots of people who work hard at what they love.  And I like that.

So, here's a "real" glimpse of what my studio looks like right now.  A friend came over last week and said, "So your studio just kinda stays like this until after the rush, huh?"  That is exactly right.  If you were to come over from October-mid December, this is pretty much what it would look like.  :)

I'm tentatively planning my shop update for Tuesday (11/26) and more will be added Wednesday (11/27).  I decided this year it would be nice to give as many people a chance of snagging an ornament as possible, so breaking it up into 2 days will hopefully help that!

I hope you are all having a wonderful week so far!

Monday, February 18

Snapshots: Studio

Confession: I've been tanking when it comes to my new year's resolutions.  It happens every year.  It's a thing.  I never started a journal, I've had about 2 dates so far (counting the one happening later this week), and cutting back the sugar?  HA!  What was that even about??  One thing I have invested time in, though, is the one about total studio organization.  Whenever I get a chunk of free time, I tackle a little bit of my studio/bedroom in hopes that one day it will be totally tidy, organized, and worthy of photos.  I'm gonna make this one happen... even if it means actually taking care of those additional coats of paint I've been avoiding.  ;)