Hi, Skunkboy friends! I'm Jodie, crafter and stitcher of
Lova Revolutionary and author of
Happy Stitch. Summer time is just my favorite and I love a simple pair of canvas shoes to slip on for some quick outings to the park, to take to the beach, and to play with the pooch in! I picked up a pair recently but decided they needed a little something-something to make them extra cute. I thought I'd share this little restyle DIY with you, so you can stitch up a cute pair or perk up a pair you have already!
Supplies: canvas shoes, several colors of embroidery floss, thick hand sewing needle, needle gripper (optional), pencil
Step 1: Simply sketch out your design on your shoes with a regular pencil, careful to leave some space around the edge.
Step 2: Begin filling in your design using some easy embroidery stitches. I used a
back stitch for the solid line and a
straight stitch along the sides of my shoes. Use a
fill stitch to create a solid shape. You may also need a needle gripper-- there are a few different kinds to choose from. Depending on the thickness of your fabric, it may make it easier to pull it through.
Step 3: When you are finished with each floss color, tie a knot on the inside to secure your thread. Since it can be a little difficult to make a knot on the inside, try looping your thread around your finger and rolling it down to meet the inside of the top of the shoe. If you need to, use a dab of clear fabric glue on the inside to hold your knot in place.
Stitch How-To:
Straight Stitch- bring your thread through the back of your design and then down through the top, leave a small space, and then repeat your stitch.
Back Stitch- begin with a single straight stitch. Bring your thread through again from the wrong side of your design, a few centimeters away from where you finished your first stitch. Bring the needle back through the same hole where you ended your first stitch.
Fill Stitch- make a series of long straight stitches, very close together to fill your shape. If you have any fabric showing through, just make more long straight stitches on top. You can also outline your shape with a back stitch or small straight stitches.
**************************************************
Thanks, Jodie, for this adorable DIY! I can't wait to try it out!
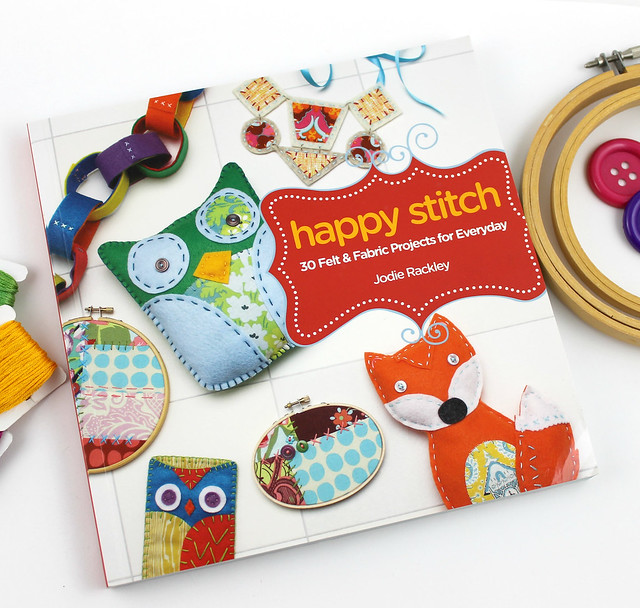
Jodie has also just released her first craft book:
Happy Stitch: 30 Felt and Fabric Projects for Everyday, and she is giving two copies away! If you'd like to enter to win a copy of Happy Stitch, just leave a comment saying why you love crafty projects. :) I'll pick the winners at the end of the week!