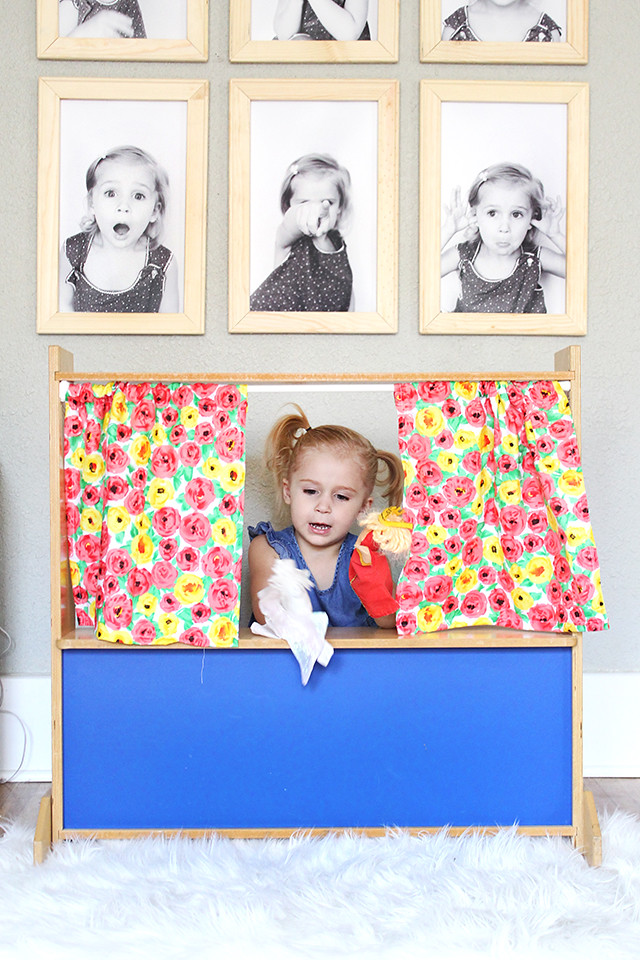
I've been needing to getting around to rotating Poesy's toys again for some time now. Rotating has been a great way to keep her interested in the toys she currently has in her room, which helps with her need to always want new toys. When I feel her losing interest, I simply pull out the (large) box of stored toys and switch things up. It's a great system, except for the part where you are basically rearranging the bedroom every few months. After this month's switcharoo, I found myself with a big, ugly, blank wall. So, today I'm teaming up with
Canon USA to bring you a simple and fun way to fill a large wall!
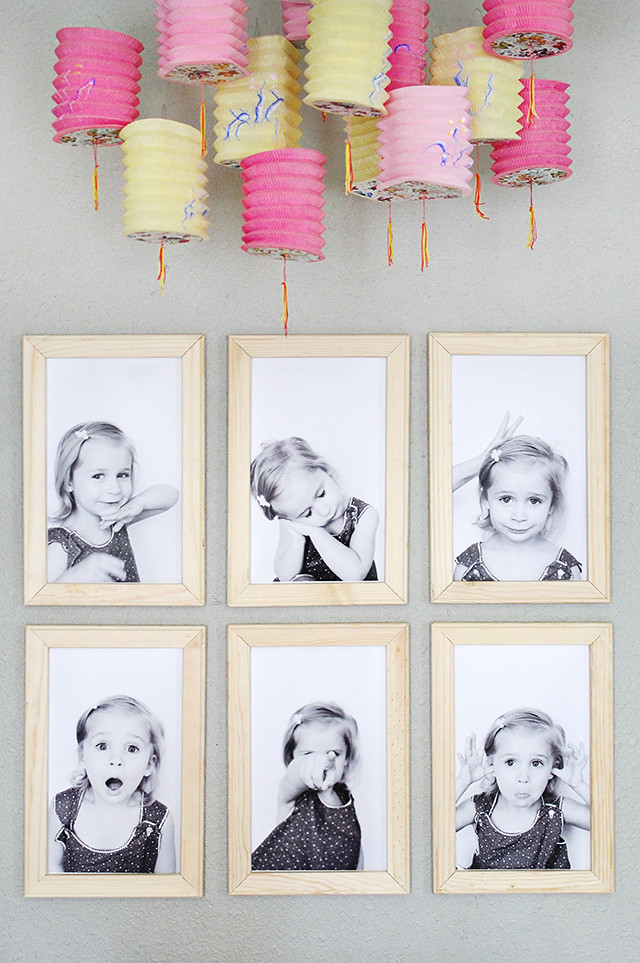
The first thing I did was set up a large white poster board and had a photoshoot with Poesy. I love shooting photos of kids because it's so easy to get real emotions from them. "Poesy, how do you feel when someone takes your toy? Poesy, how do you feel when it's bedtime?" I had SO MANY adorable pictures, it was hard to choose just six!
After I made some decisions, I printed my photos out with my Canon
PIXMA iP8720. This printer prints large photos! I used 13"x19"
photo paper to make these prints!
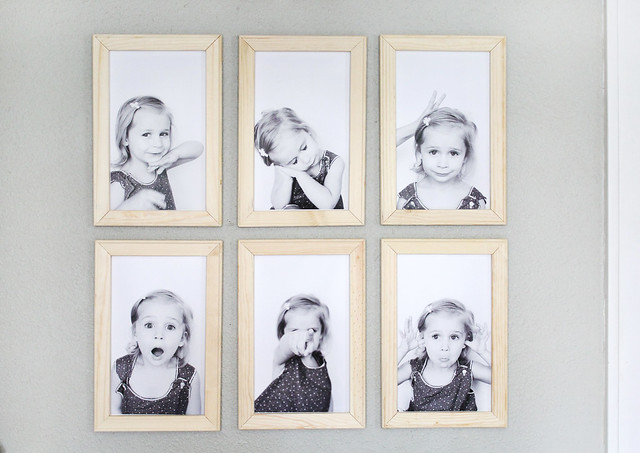
Instead of spending a bunch of money on frames, I went the cheap route and bought canvas stretchers at the craft store. I trimmed the photo to fit the back and used a staple gun to secure them. I added an additional staple at the top for hanging.
The nice part about these canvas stretchers is that you can make them lots of different sizes and each frame only ended up costing about $4! I love budget friendly projects.
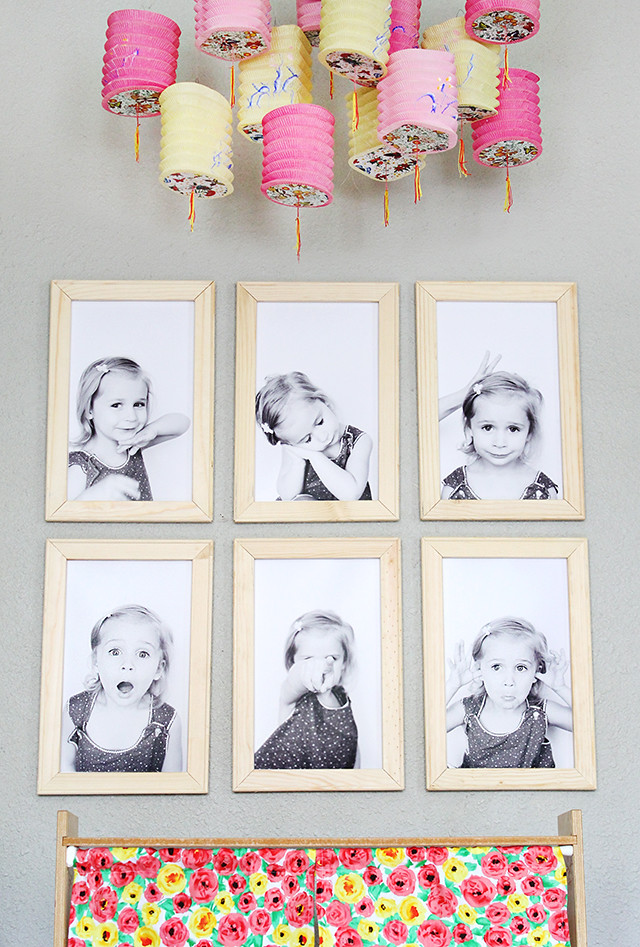
I'm super happy with the way this project turned out! That wall has been needing something special for quite a while and I think this was the perfect fit! So much personality! xo.


Oh my gosh. What a little cutie! Neat idea for cheap frames, too!
ReplyDeleteThis is super cute! I love the way the six large photos look especially in black and white.
ReplyDeleteCarlee
www.thelittlesloth.blogspot.com
Oooo great idea! It's pretty cheap too. You could also paint or spray paint the frames to spice them up a bit!
ReplyDeletex Nada
http://nadabutlove.blogspot.com/
ooo I love how simple and adorable this idea is. I would love to do something like this in my son's room!
ReplyDeletewww.katikonfidential.com
Amazing job gurl!
ReplyDeleteShe is super adorable! What a character! Such a great idea to use canvas stretchers, I think I will try it! :)
ReplyDelete<3a Girl on Rope
she is just the cutest kid around. seriously, can't handle it.
ReplyDeleteOh, it just kills me how cute she is!
ReplyDeleteSuper cute! Also where are those lanterns from?
ReplyDeleteOMG her face in the bunny ears pic...I can't even.
ReplyDeleteShe is just the most adorable little thing I have ever seen! xo
ReplyDeleteI can't even handle how cute this is! Poe reminds me so much of my younger sister when she was little!
ReplyDeleteshe is SO cute i can't deal with it!!!
ReplyDeletexxoo,
nikki
www.dreaminneon.blogspot.com
I love this arrangement, Katie! :)
ReplyDeleteI absolutely love this project! So very sweet and awesome! I would love this will all of my family members.
ReplyDeletexoxo
Taylor
Perfect timing! I was looking for a cheap framing solution for some oddly sized naturalist prints. Thank you so much for this!
ReplyDeleteSeriously, Katie, you are on fire today with your awesome tutorials! What a great idea to use canvas stretchers, I had no idea they even existed (and I took painting in college, so I feel like I should know better...)
ReplyDeleteThose photos are so adorable! What great faces. Also, the lanterns above the photos immediately brought me back to my childhood - I had one in my room that I loved. Basically what I'm saying is I'm going to steal all of this idea :)
This is awesome!!! She's super adorable!!
ReplyDeleteshe is so adorable and the photo frames are lovely! xx
ReplyDeleteAww she's so adorable! All those great expressions! Great DIY idea too.
ReplyDeleteThis has to be the cutest post ever!!! xx
ReplyDeleteHips Like Cinderella
Super cute! I really love this :)
ReplyDeletehttp://lifeisnotapancake.blogspot.nl/
those pictures are super adorable!
ReplyDeleteAnd I love the idea of canvas stretchers to replace frames.
This is ADORABLE! Now, if only I had children... LOL
ReplyDeleteI had a similar-ish photo shoot with my 3 kids at the beginning of the year for our 2014 Project Life title page. I photographed them together, in pairs, and alone, and used a mix to create a Brandy Bunch-esque grid title page.
ReplyDeleteWe recently swapped out the girls' bed in their room for a DIY no-sew teepee, and now that the bunk-bed isn't blocking an entire wall I want to arrange a small gallery wall in the space and this...THIS would be PERFECT! Thanks so much for sharing!!
This is so cute! I love this photos and the canvas stretchers are perfect frames. I wouldn't have ever thought to use them.
ReplyDeleteMana
Fashion and Happy Things
These are so so cute! Who needs to spend money on picture frames!?
ReplyDeleteLove it! Your daughter is absolutely adorable.
ReplyDeleteOmg this is simply amazing :) so cute !!!
ReplyDeleteYou are welcome to check out my blog -- http://www.mlleepaulettegirl.com/
She is hilarious. So many good faces :)
ReplyDeleteSuch a cute idea:) I will remember this when my daughter gets her new room.
ReplyDeleteShe is ABSOLUTELY the cutest!! LOVE this idea!!!! Precious!
ReplyDeleteADORABLE.
ReplyDeleteGosh Poesy is soooooo adorable! Her faces always crack me up!
ReplyDeleteIts a great idea!!
ReplyDeleteThese photos are so adorable! Also, the lanterns above the photos immediately brought me back to my childhood.These photos framed in baby casting frames are very cool.
hmm, those pictures are super adorable!
ReplyDeletephoto frames
This is awesome, So many good faces :)
ReplyDeleteKids photo frame
I love this idea! I think I am going to do this with pictures of my granddaughter. I just have to decide which area to hand them in!
ReplyDeleteI really liked this photo and Picture framing both
ReplyDelete