GIRLHOMEABOUTFAQDIYOUTFITSCREATURESSHOP
Showing posts with label outdoors. Show all posts

Thursday, July 28

Our Backyard Patio Makeover

Patio Makeover
If you follow me on Snapchat (I'm katevonskunkboy), you've probably seen WAY too many snaps of this tiny space.  When we first moved into this house, all of the extra bikes and plastic play toys and things like that landed here.  One sweaty day, I got fed up with how much clutter we had around the house and decided to start selling off bikes we weren't using and baby toys that Poe has obviously outgrown.  Once I had embraced that freeing-purging thing, I unearthed our back patio.  I knew immediately that this would be a space to host many fire pit nights and friend hangs.
Let's take a peek at how it looked before:
Patio Makeover
This space is cute.  It wasn't like, "Ugh.  My eyes!"  But.  My first issue was that our old fire pit was too large for the space and people were cracking their shins on the corners.  Ouch!  Plus, it didn't really match the rest of the decor.  It's a pretty classic looking pit, and I wanted something a little more neutral.  The chairs I got from Elsie's garage sale before she moved and the rug and grill were left here for us.  So... using many of the resources I already had (saving those dollars, man), how would I make this space more... Katie/Skunkboy-esque?
Patio Makeover
The first thing I did in the space was replace the polka dots with some color.  I knew I wanted this area to feel fun and colorful, so a rainbow fence was the obvious choice.  I toyed with painting the large wall rainbow as well, but ultimately I decided it would feel too overwhelming in such small patio.  Once the fence was painted, the black bench felt much too dark.  And hot.  It got SO stinking hot when the sun was out.  Oof.
Patio Makeover Patio Makeover Patio Makeover Patio Makeover
I chose mint for the bench because it's light and airy, and Johnny and I spent many super sweaty nights painting the beige-y/grey walls a clean white.  Flamingos were obviously a must, and I dumped a whole bunch of wildflower seeds in the side yard.  Plants and flowers just make everything lovelier.  It's a fact.  We ended up selling our old fire pit for cheap, and bought this small, cute guy from Lowe's.  It's the perfect size for our marshmallow roasting nights!
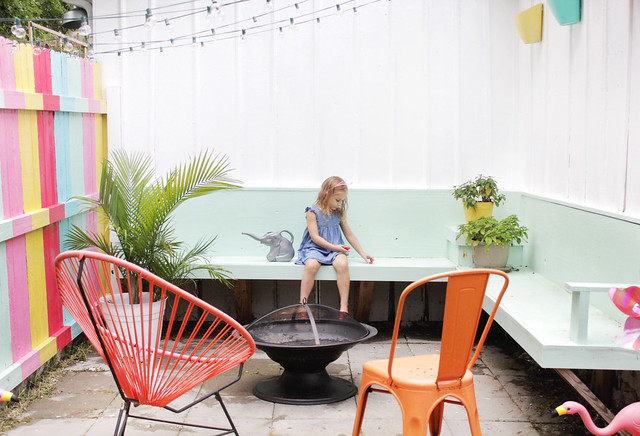
Patio Makeover Patio Makeover Patio Makeover Patio Makeover Patio Makeover
I love the way our back patio is coming together.  I obviously have more to tackle, like getting some plants for those hanging pots and finishing up with the rest of the white paint, but I thought it was time to share my progress... you know, before everyone's all pumpkin spice/fall everything and I'm like, "Look at my summery patio!"  ;)

Now!  It's time to plan my next patio night with friends!  xo.


Monday, June 2

Our Backyard (Mini) Makeover

Our backyard has been in some serious need of TLC since the weather has warmed up.  I was very focused on our garden and cleaning up the front part of the house last year, and I haven't even really made it to the backyard.  Sure, we have some play things and a little fire pit, but it isn't the type of area that makes you want to throw a party or have a BBQ.  Little by little, I've been cleaning up, raking leaves, and finding little pieces of furniture here and there to make it a little more cozy.  Today I'm teaming up with Scotch Duct Tape to show you how I dressed up a little corner of our backyard.

Let's start with a before photo, shall we?

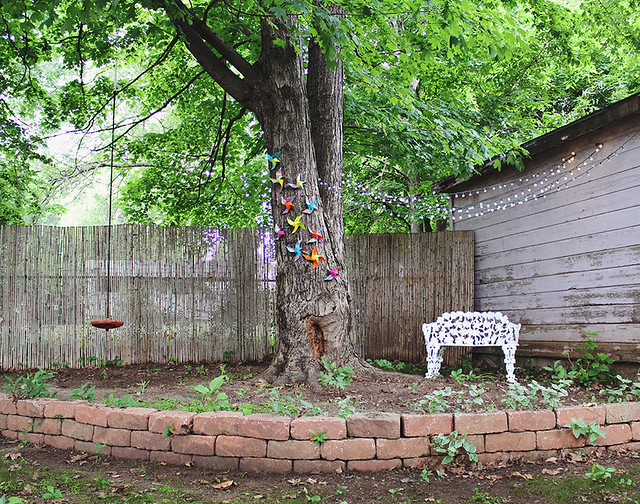
Nothing special here.  Our backyard is super shady because of the large old trees that cover it entirely, so even when the sun is at its highest point, the yard is shady and nice.  I really like that part about it (even though it makes growing grass somewhat tricky).  The trees do love to spread their leaves when the seasons change, though, and as you can see, I still had a bit of raking to go.

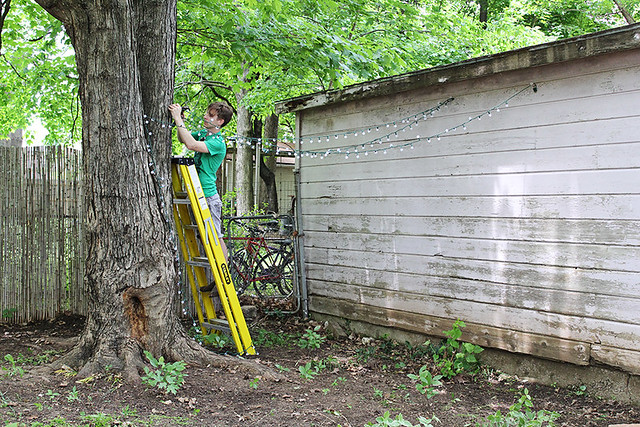
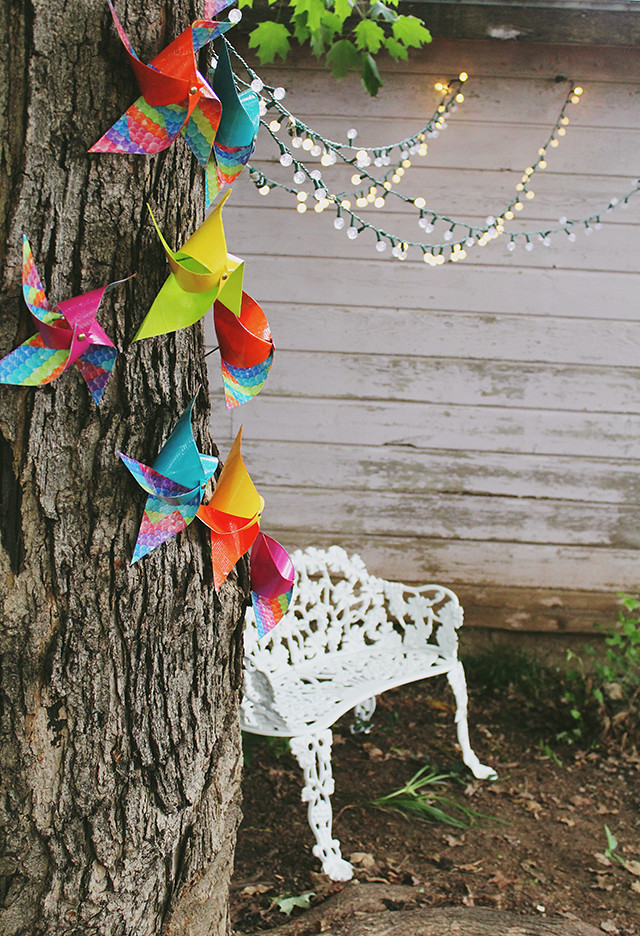
Johnny helped me hang three strands of outdoor lights from Target.  We don't have outside power, so we just run an extra long extension cord into the house for power.  I snagged a really cute old iron bench off of Craigslist for a good price, so we popped that right under our cozy mood lighting.

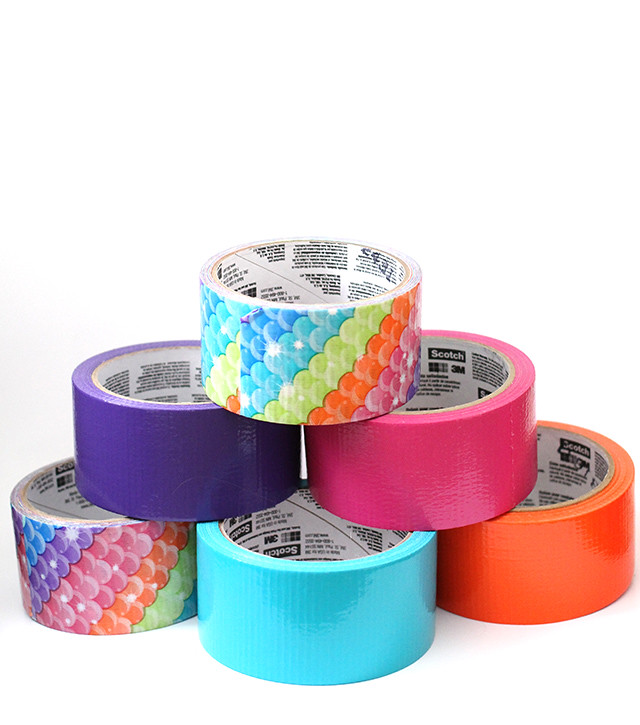
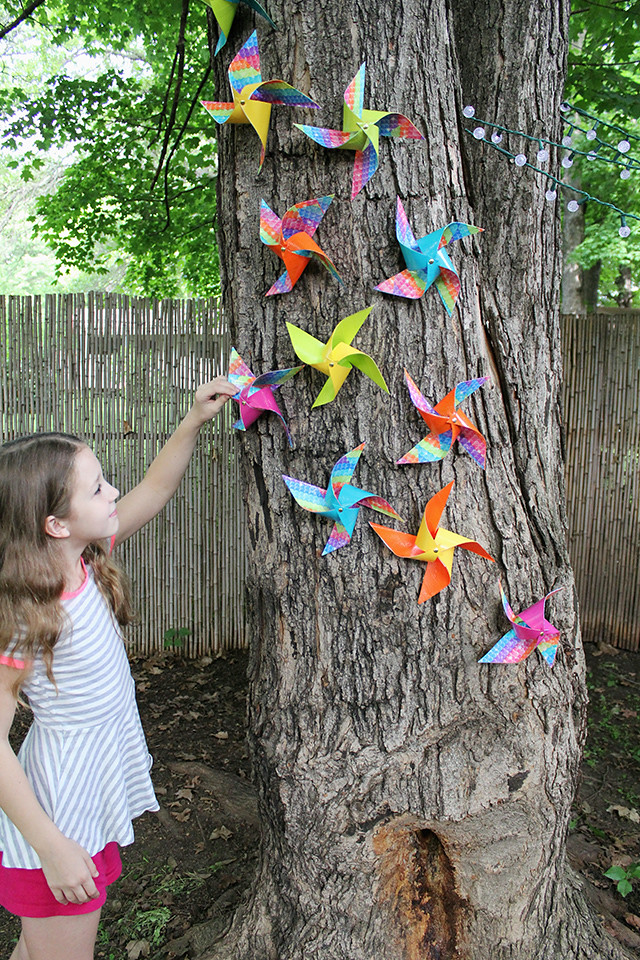
Now for the part that really wowed the kiddos: pinwheels!  I knew color was important for this space, so the Duct Tape I used was Sunshine Yellow, Blue Turquoise, Tangerine Orange, Green Apple, Hot Pink, and Rainbow Scales.  Here's how:
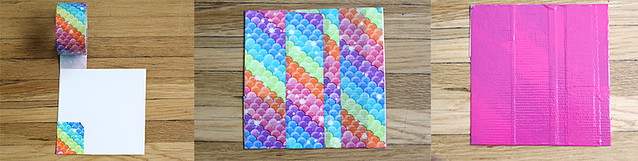
Start with a paper square.  It can be as large or as small as you want.  My square was about 7"x7". Wrap a layer of Duct Tape all the way around.  You want to seal the paper inside the tape completely. Once you have covered the paper entirely, add a contrasting color to the back of the square.

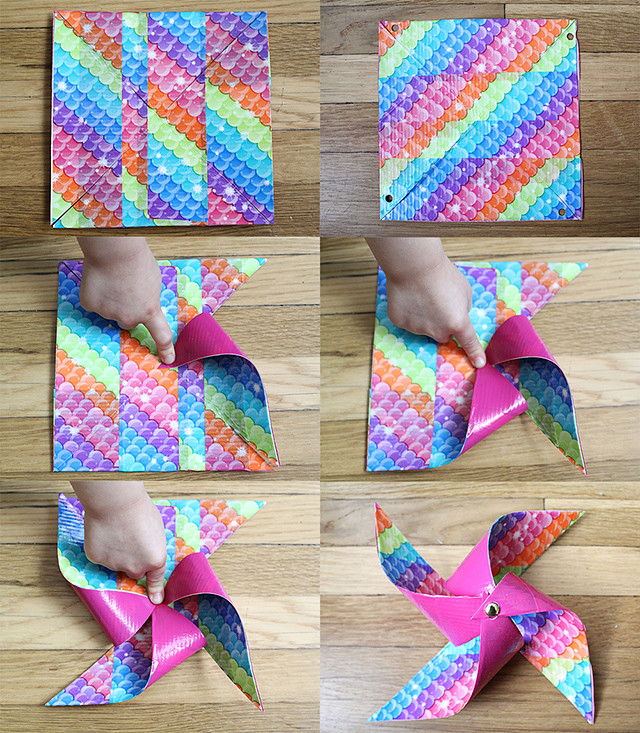
Now, fold one corner in half to the other corner.  Repeat.  These are your cutting guidelines.  Cut along each line toward the center, but do not cut all the way to the center.  You want it to stay together!

You now have mostly detached triangles.  In the top left corner of each triangle, punch a hole with a hole punch.  In order going clockwise, bring each punched corner to the center and secure with a brad.

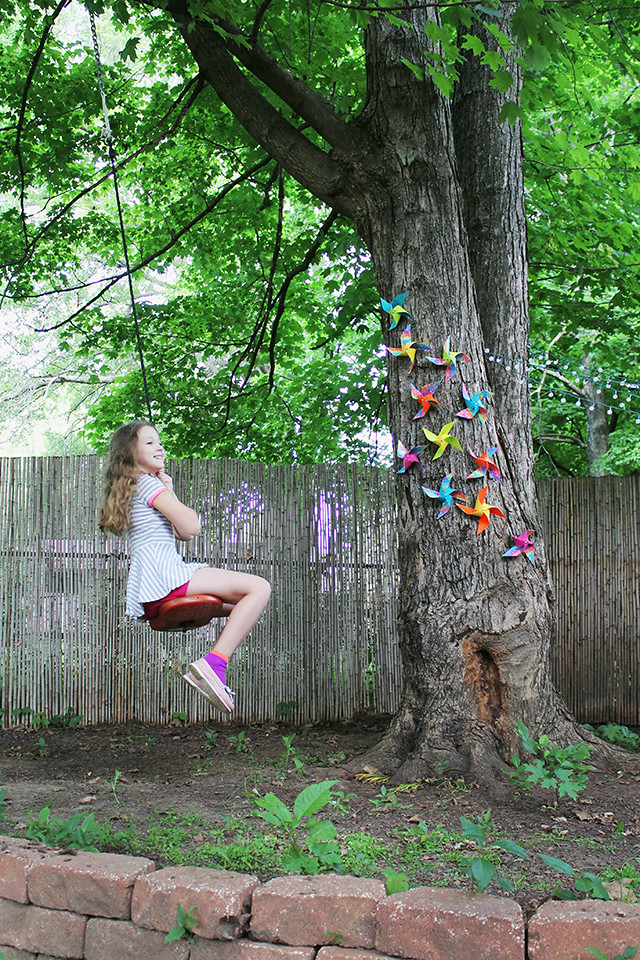
When you're all finished, nail these into a tree or attach to a fence!  While I was nailing, I found it was easiest to take the brad out, nail through the center and reattach the brad.  If your nail head is large enough, you can remove the brad entirely and just let the nail hold the whole thing in place!

Hope said the pinwheels make it feel like we're having a party everyday and I couldn't agree more!  The bamboo along the fence was there when we moved in, so we added an extra panel of behind the bench for more privacy.  It's super dreamy out there at night-- now we just need to add a little extra seating and have some guests over!  xo.


I am proud to be a 3M- sponsored blogger, and, as part of my responsibilities, I get the opportunity to evaluate new products from Scotch® Duct Tape. Opinions are my own and additional product used in the project were selected by me.