Our backyard has been in some serious need of TLC since the weather has warmed up. I was very focused on our garden and cleaning up the front part of the house last year, and I haven't even really made it to the backyard. Sure, we have some play things and a little fire pit, but it isn't the type of area that makes you want to throw a party or have a BBQ. Little by little, I've been cleaning up, raking leaves, and finding little pieces of furniture here and there to make it a little more cozy. Today I'm teaming up with
Scotch Duct Tape to show you how I dressed up a little corner of our backyard.
Let's start with a before photo, shall we?
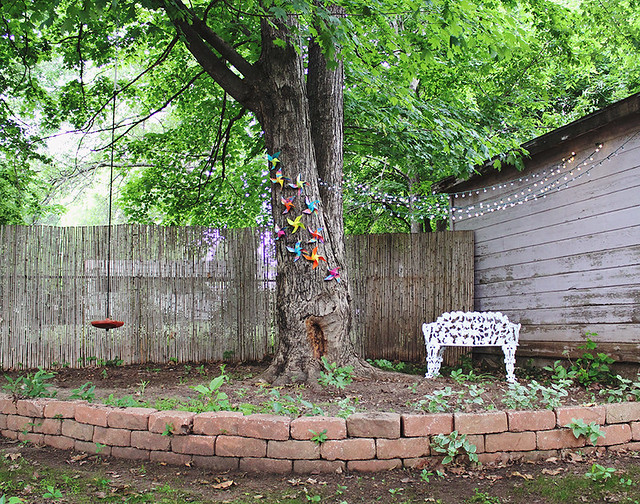
Nothing special here. Our backyard is super shady because of the large old trees that cover it entirely, so even when the sun is at its highest point, the yard is shady and nice. I really like that part about it (even though it makes growing grass somewhat tricky). The trees do love to spread their leaves when the seasons change, though, and as you can see, I still had a bit of raking to go.
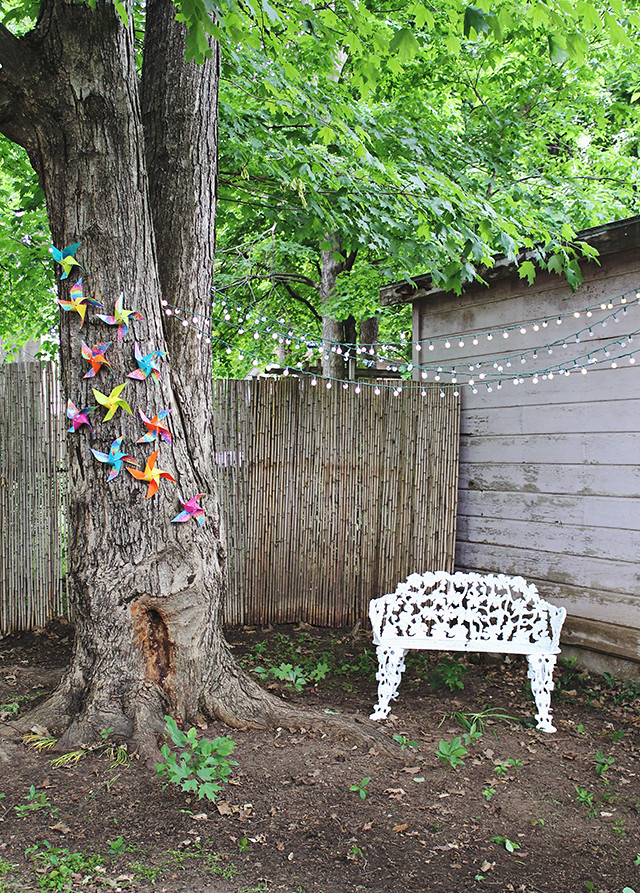
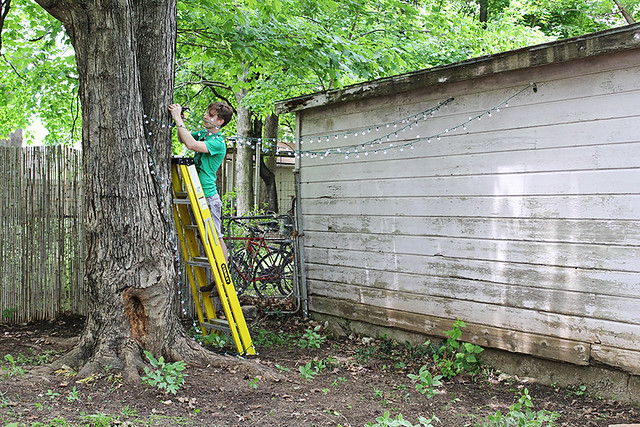
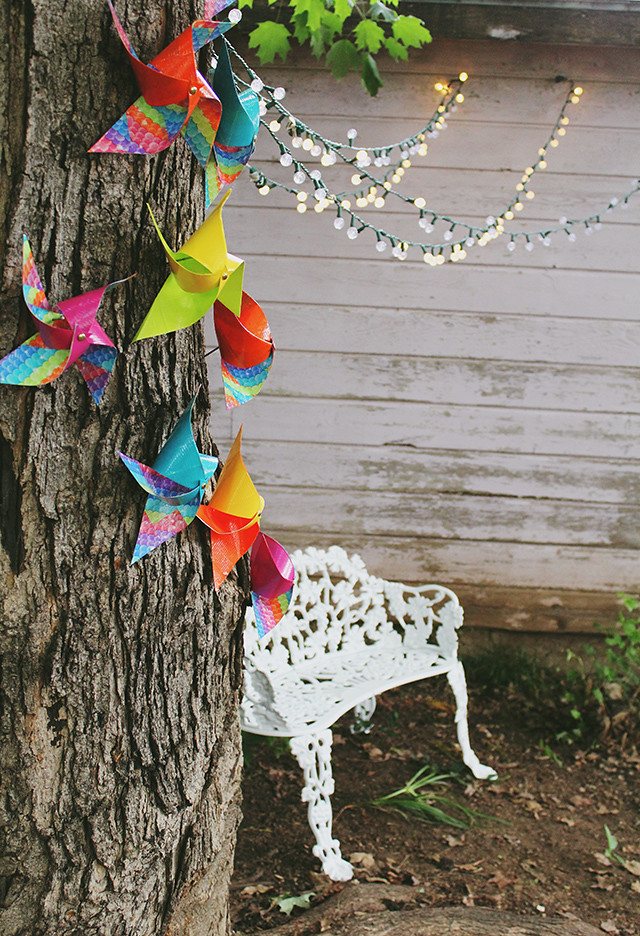
Johnny helped me hang three strands of outdoor lights from Target. We don't have outside power, so we just run an extra long extension cord into the house for power. I snagged a really cute old iron bench off of Craigslist for a good price, so we popped that right under our cozy mood lighting.
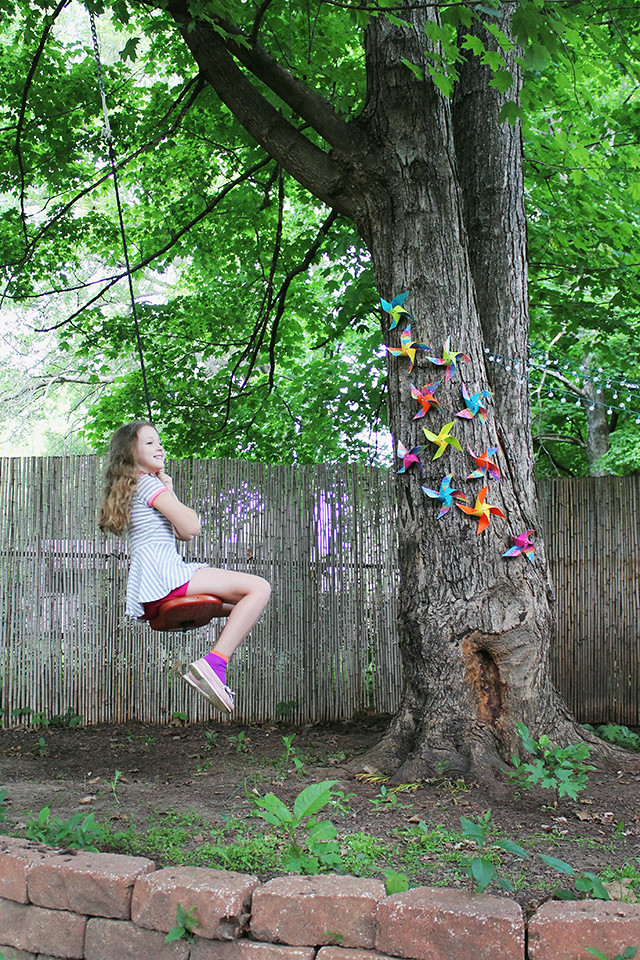
Now for the part that really wowed the kiddos: pinwheels! I knew color was important for this space, so the
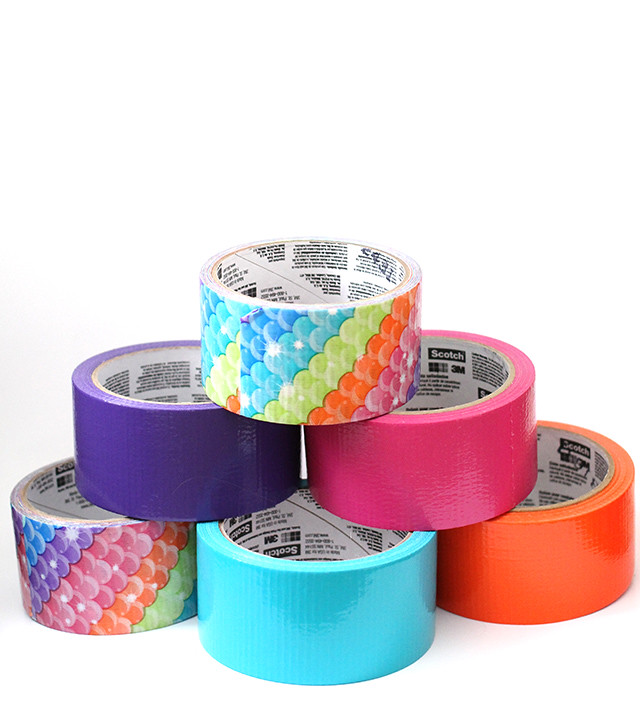
Duct Tape I used was Sunshine Yellow, Blue Turquoise, Tangerine Orange, Green Apple, Hot Pink, and Rainbow Scales. Here's how:
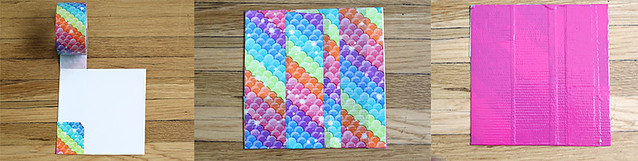
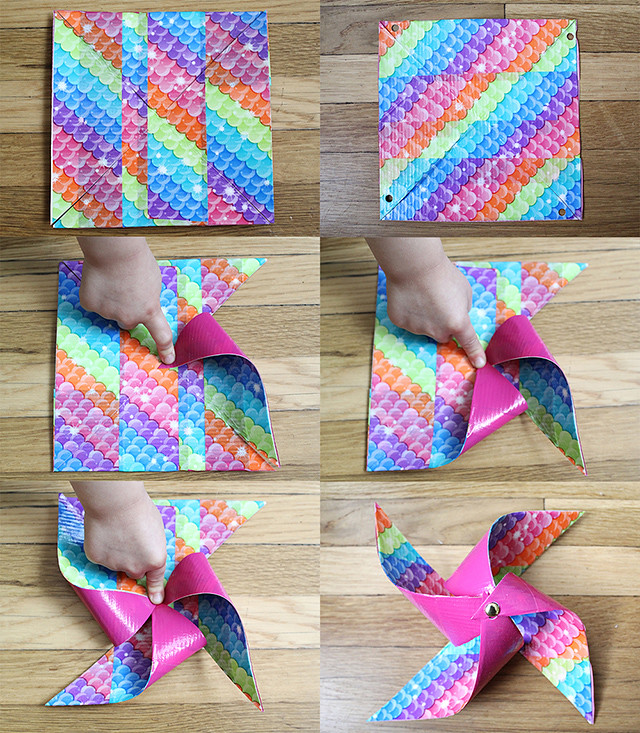
Start with a paper square. It can be as large or as small as you want. My square was about 7"x7". Wrap a layer of Duct Tape all the way around. You want to seal the paper inside the tape completely. Once you have covered the paper entirely, add a contrasting color to the back of the square.
Now, fold one corner in half to the other corner. Repeat. These are your cutting guidelines. Cut along each line toward the center, but do not cut all the way to the center. You want it to stay together!
You now have mostly detached triangles. In the top left corner of each triangle, punch a hole with a hole punch. In order going clockwise, bring each punched corner to the center and secure with a brad.
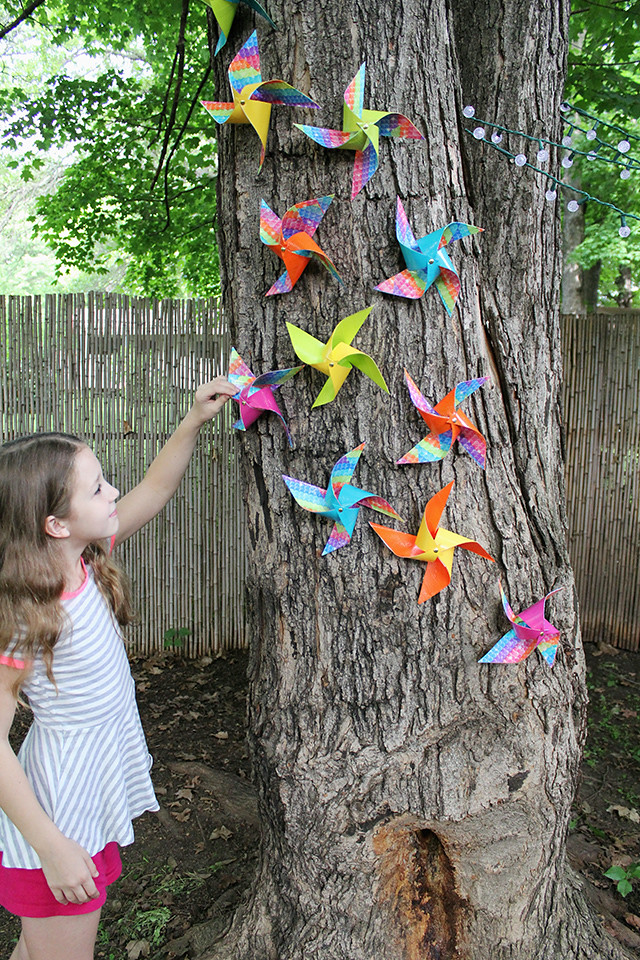
When you're all finished, nail these into a tree or attach to a fence! While I was nailing, I found it was easiest to take the brad out, nail through the center and reattach the brad. If your nail head is large enough, you can remove the brad entirely and just let the nail hold the whole thing in place!
Hope said the pinwheels make it feel like we're having a party everyday and I couldn't agree more! The bamboo along the fence was there when we moved in, so we added an extra panel of behind the bench for more privacy. It's super dreamy out there at night-- now we just need to add a little extra seating and have some guests over! xo.
I am proud to be a 3M- sponsored blogger, and, as part of my responsibilities, I get the opportunity to evaluate new products from Scotch® Duct Tape. Opinions are my own and additional product used in the project were selected by me.