GIRLHOMEABOUTFAQDIYOUTFITSCREATURESSHOP
Showing posts with label kids. Show all posts

Wednesday, March 18

Spring Pinafore DIY

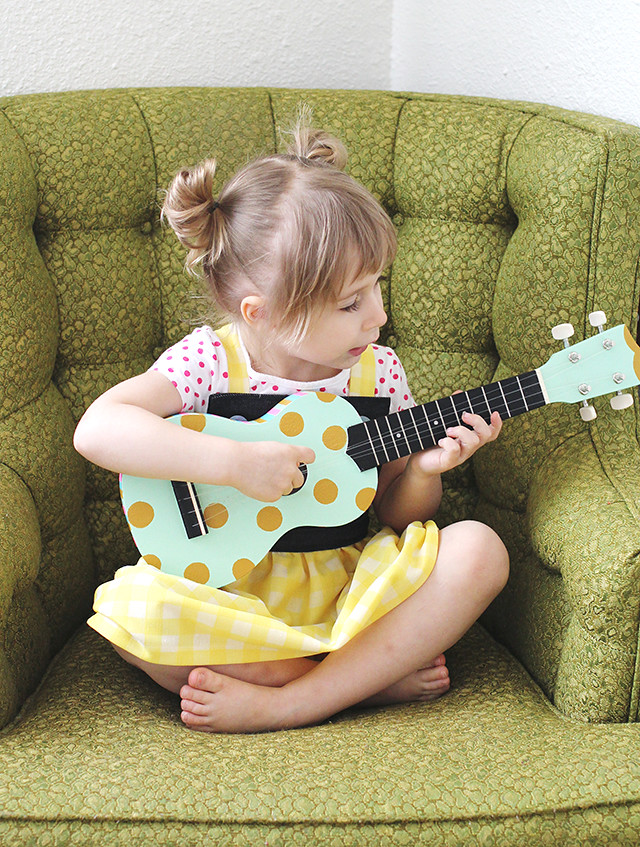
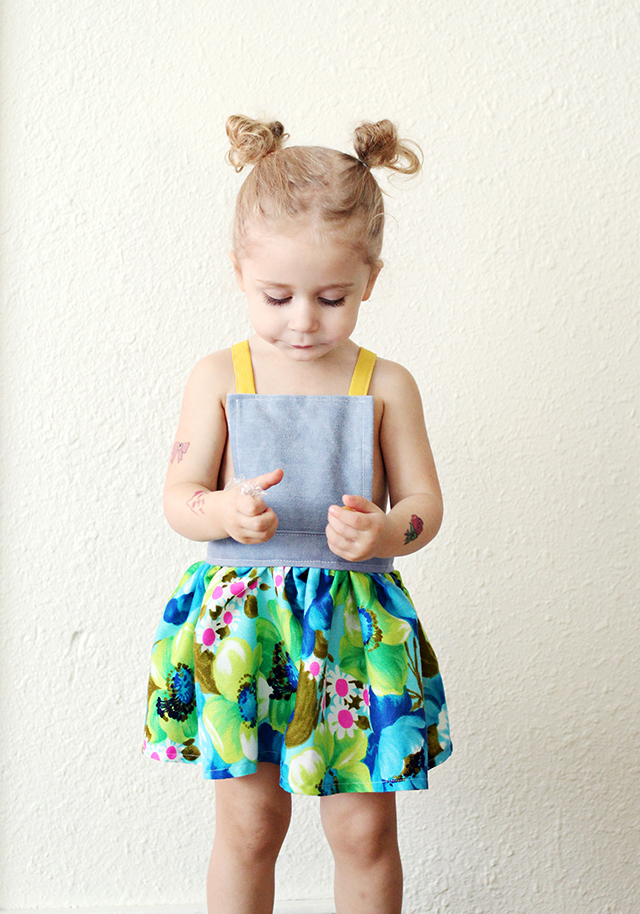
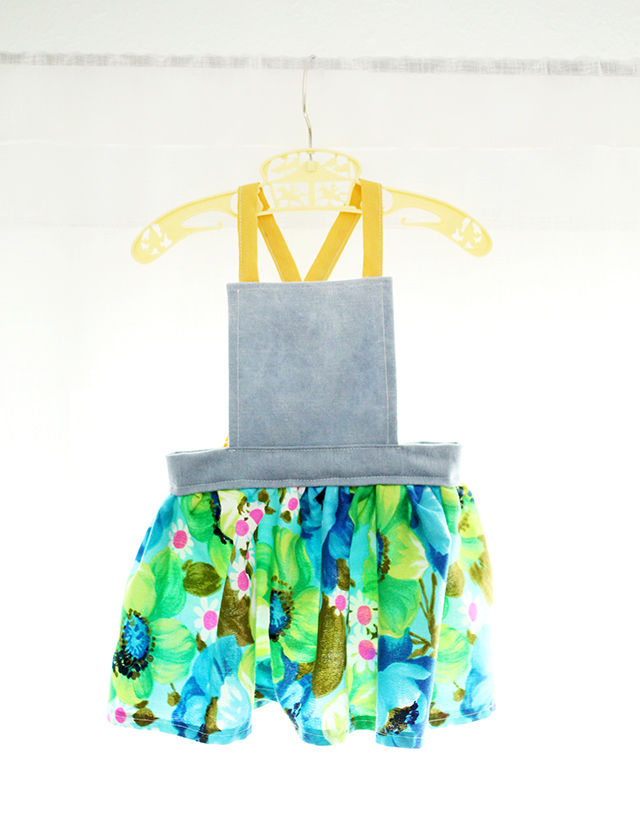
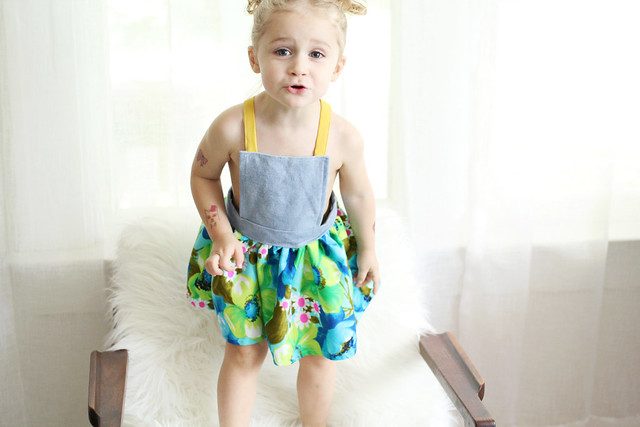
Spring Pinafore DIY Remember this pinafore I made for Poesy a couple years ago?  I stumbled across it recently and decided to make another one of these simple dresses.  I've learned quite a bit about creating and constructing my own patterns since then, and I knew I wanted to make a cleaner, more professional looking version.  So, I got to work.
DIY Pinafore
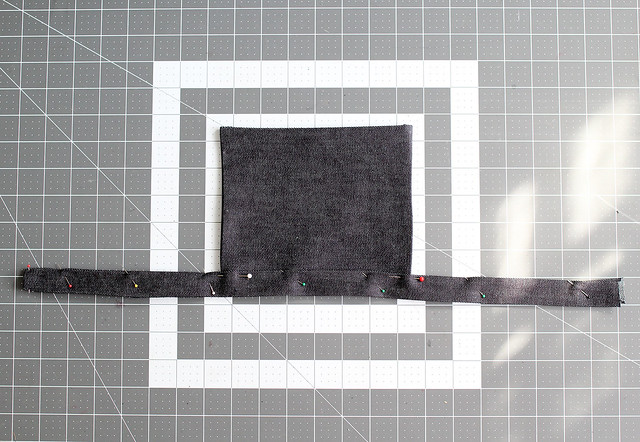
The first thing I did was sew up my square piece from two pieces of denim and flipped them right-side out, so the inside would be lined.  Instead of simply attaching the top to the waistband like I did in the previous tutorial, I used two pieces of denim for the band, so I could hide the straps and front piece inside.
DIY Pinafore
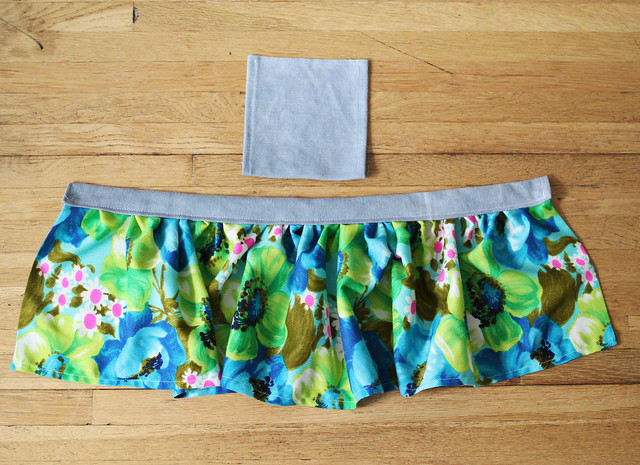
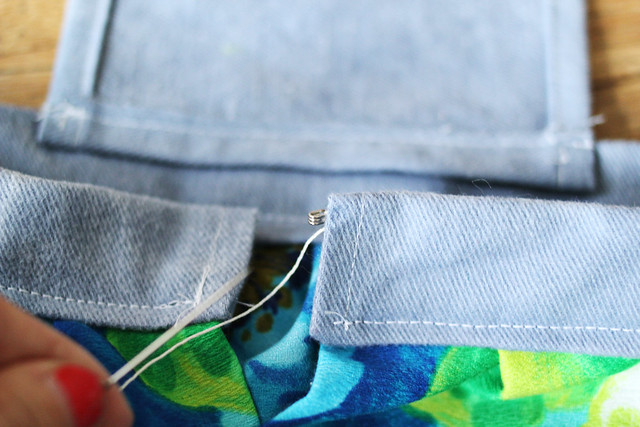
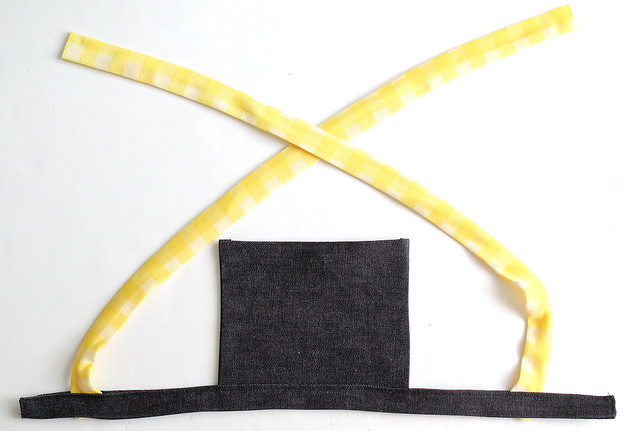
As you can see here, the straps and front piece fit nicely inside of the waistband.  The bottom portion of the waistband is still open at this point.
DIY Pinafore
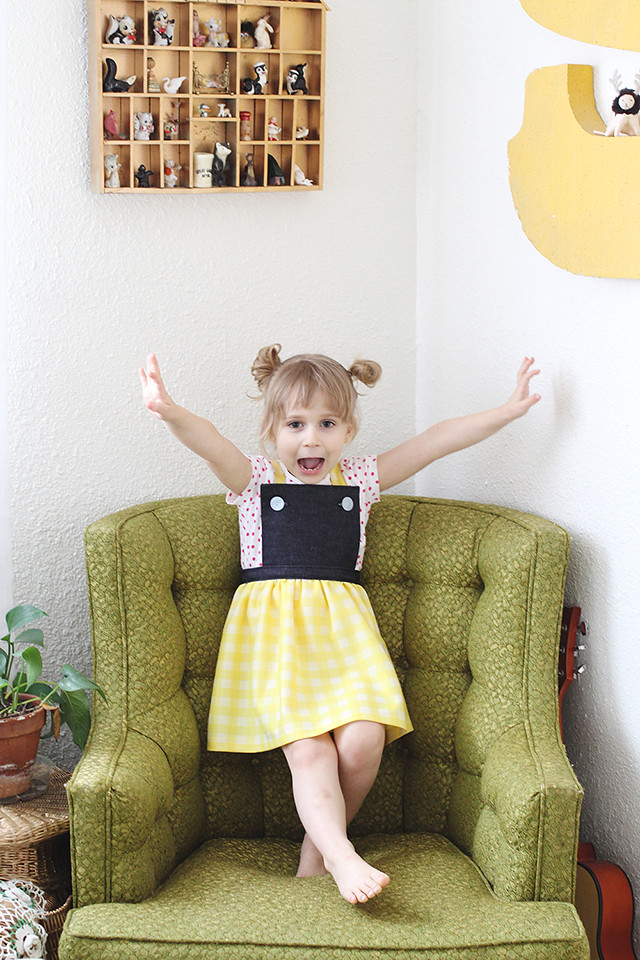
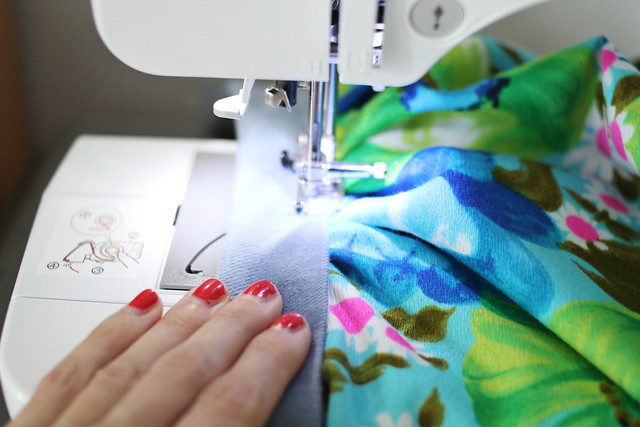
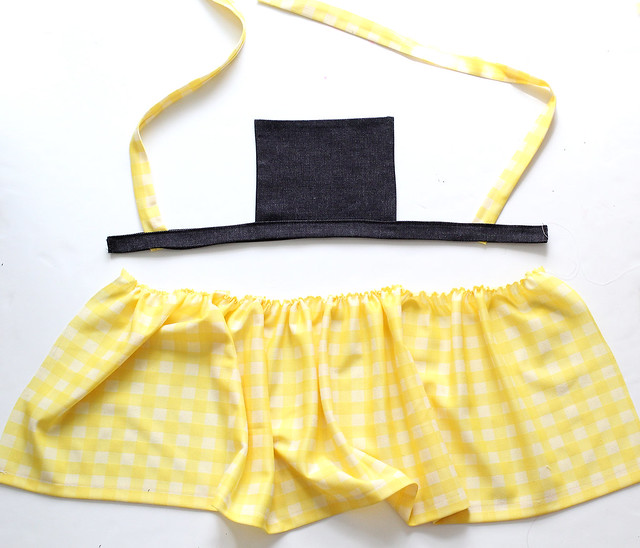
I ran my basting stitch through the top of the skirt pieced and gathered it to fit inside of the waistband.  Once that was done, I pinned it and stitched up the skirt/waistband and back of the skirt.  I finished the pinafore with a couple of vintage buttons and added some buttonholes with my machine.

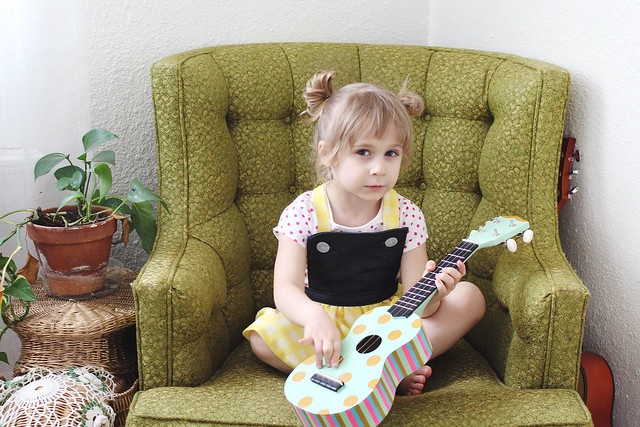
DIY Pinafore DIY Pinafore DIY Pinafore DIY Pinafore DIY Pinafore
(This photo will appear on the inside of Poe's new album, coming this fall.)

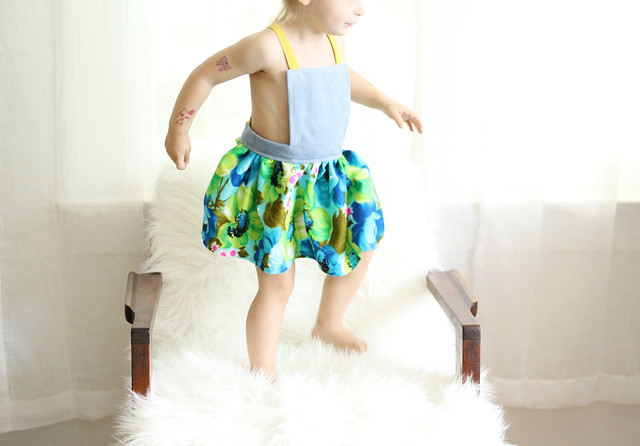
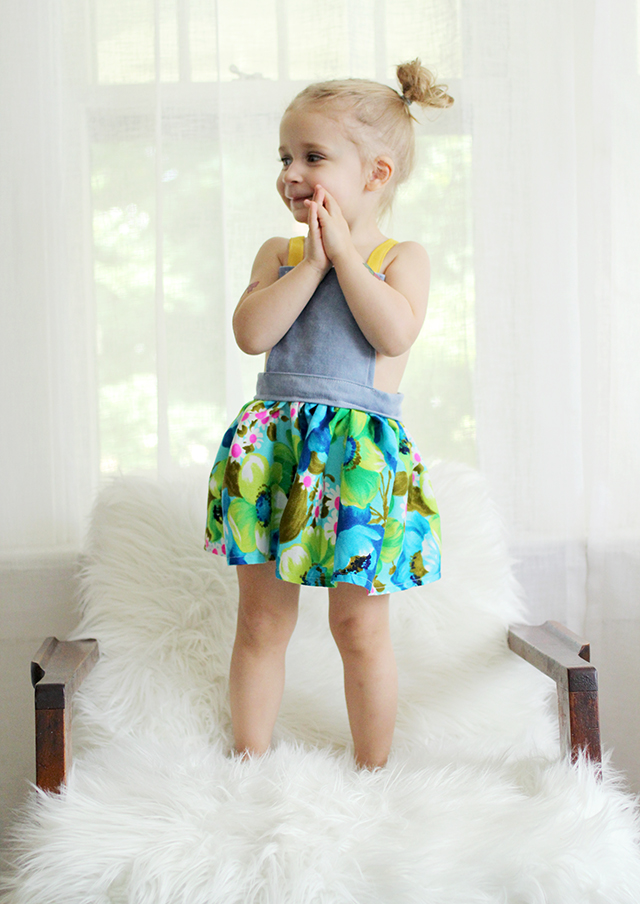
As you can see, my very expressive and enthusiastic toddler was totally into it.
This dress can easily be sized up to an adult version (yes, I would totally wear this) just by using your own measurements.  If you have a sewing machine and are still feeling intimidated, fear not!  The ecourse Rachel and I have been working on- Sewing Basics- will be out very soon!!  I'm getting excited!

Happy Wednesday, friends!


Monday, November 3

Our Halloween, 2014

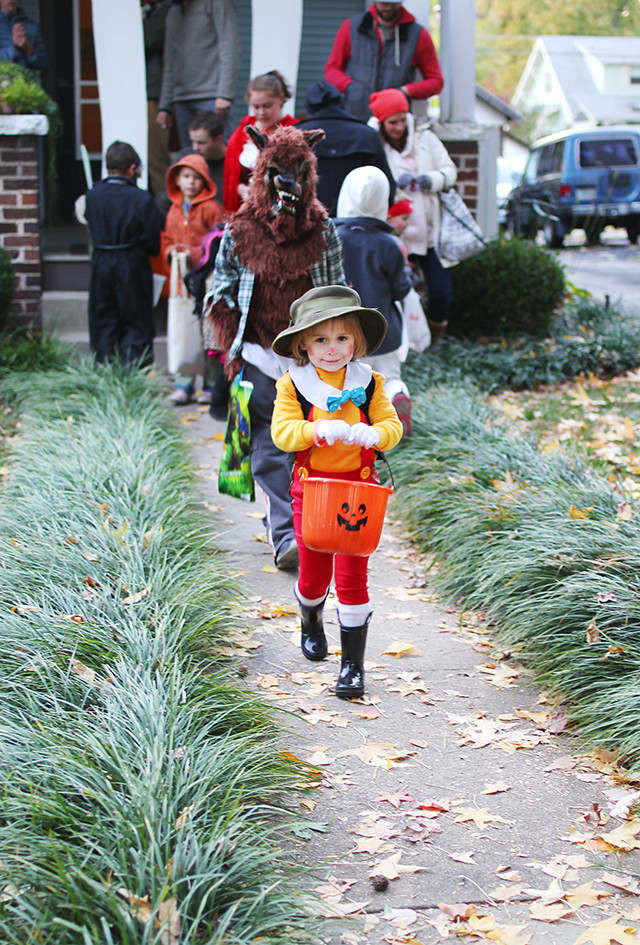
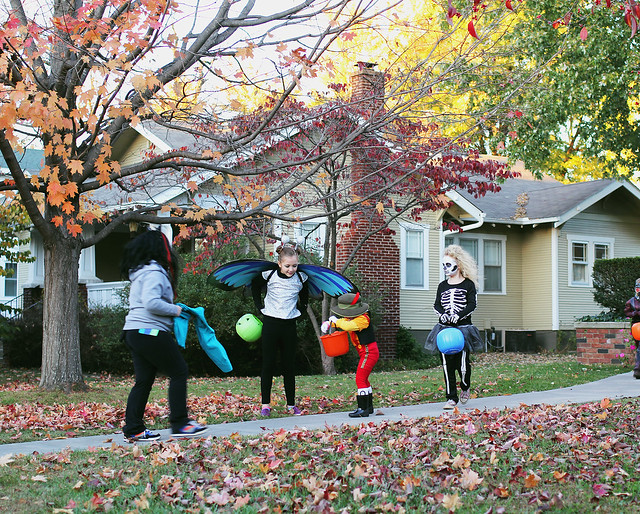
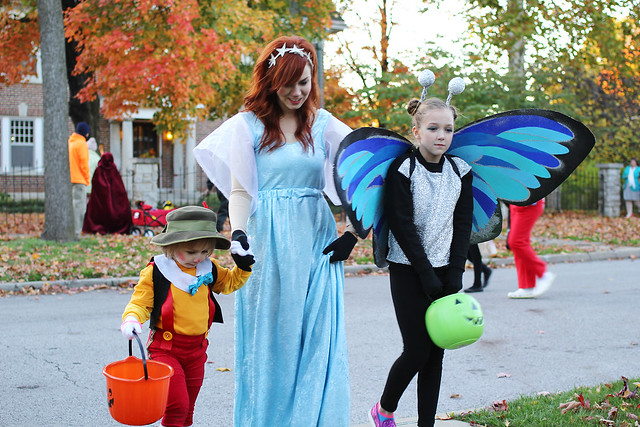
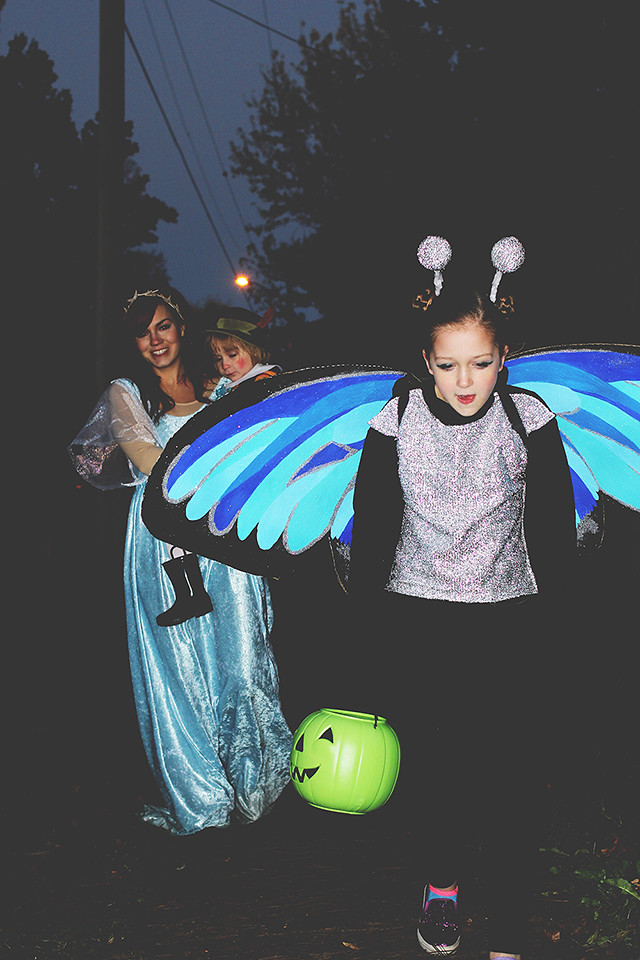
Halloween 2014 Halloween 2014 Halloween 2014 Halloween 2014 Halloween 2014 Halloween 2014 Halloween 2014 Halloween 2014 Halloween 2014
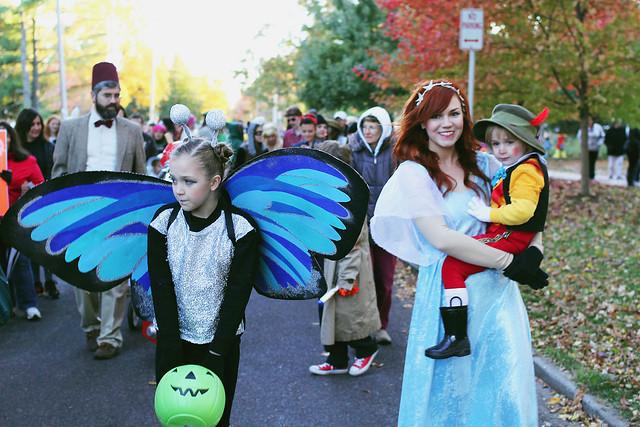
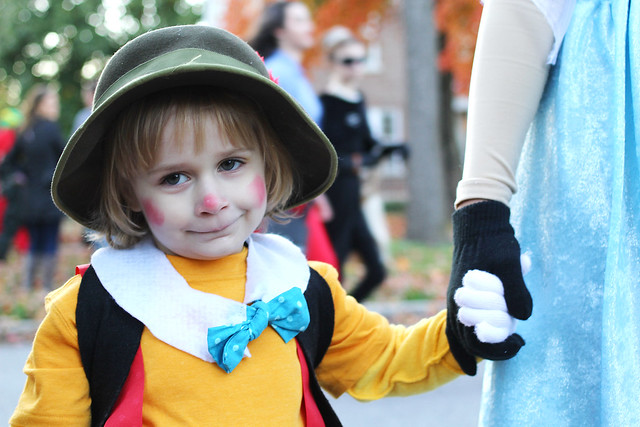
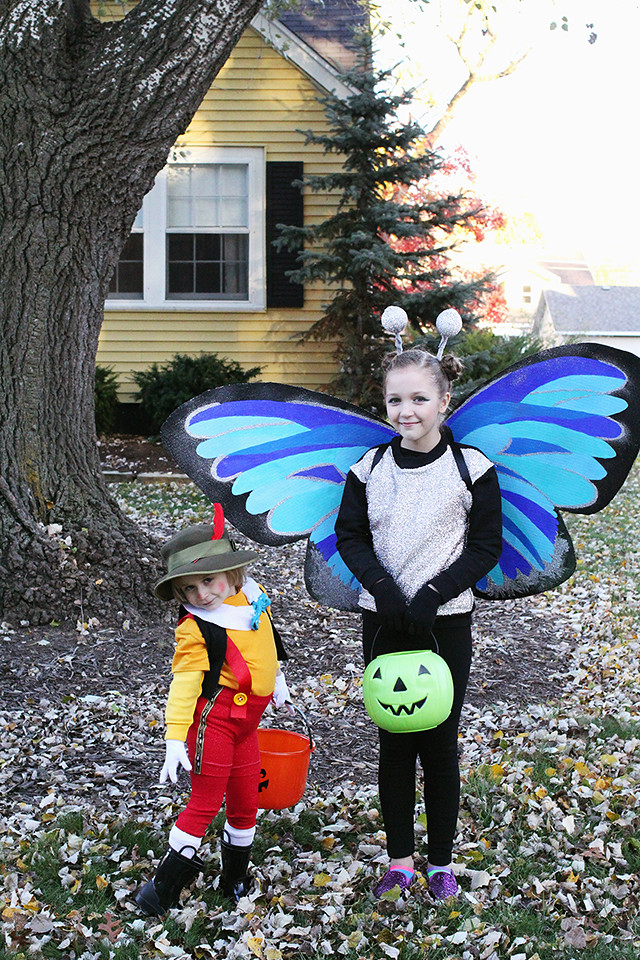
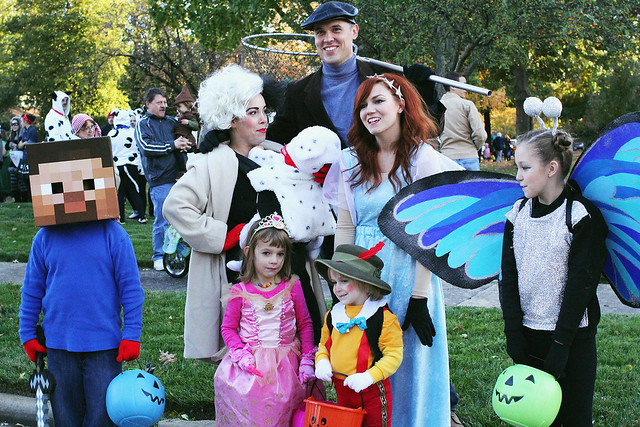
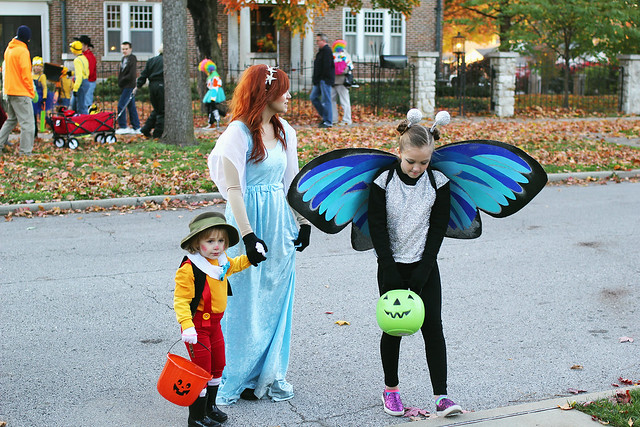
The theme for Halloween this year was "down to the wire".  Hope decided the day before Halloween that she didn't, in fact, want to be a store-bought Princess Peach, but thought a butterfly was a much better idea.  I spent my entire Friday painting butterfly wings, sewing sparkly fabric to a sweatshirt, and fashioning antennae for her costume.  I'm proud to report that I finished everything up 5 minutes before our neighborhood Halloween parade was set to start.  We made it in time, ran into the Denbows at the parade, and had a fun night.  Poesy  was a great little Pinocchio, and though she was mistaken for a boy many times, handled it much better than I expected.  "I'm not a boy, I'm just dressed like Pinocchio.  I'm really a girl."  I, on the other hand, was continually mistaken for a grown-up dressed as Elsa by every little girl ever, and didn't handle it quite as gracefully as Poe.  Lesson learned.

Anyway, I hope your Halloween was great!


Thursday, April 17

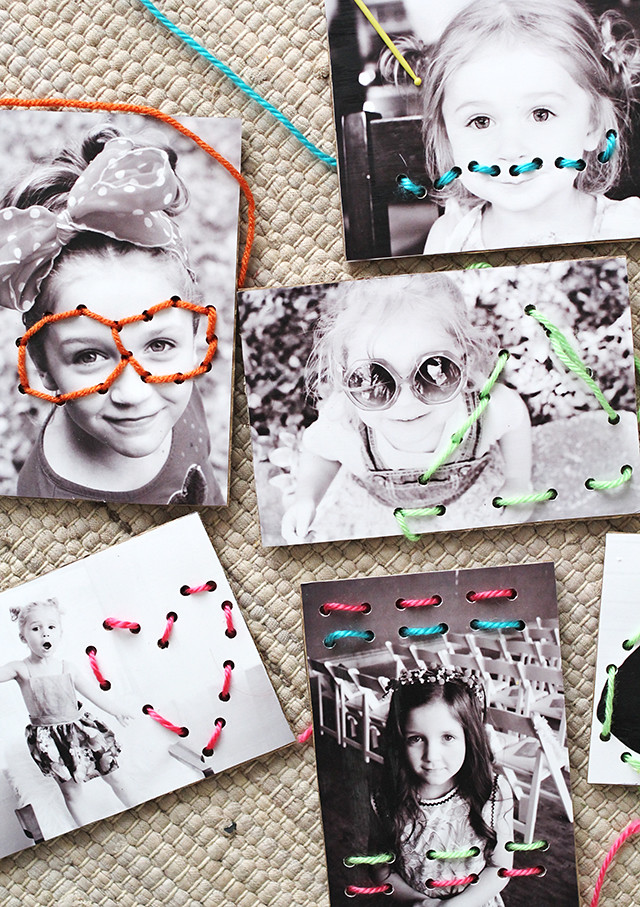
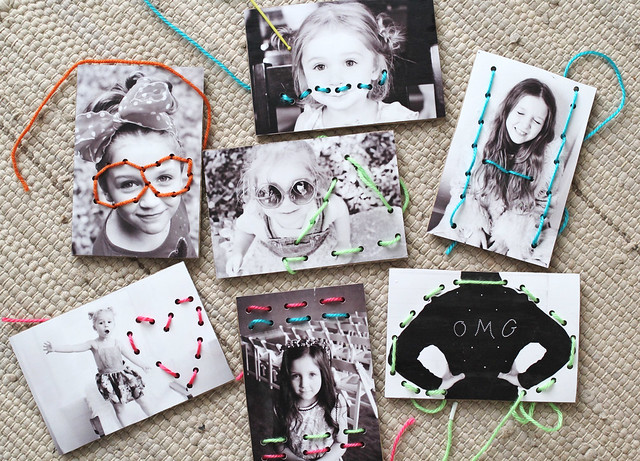
DIY Lacing Cards

If you have seen any of my DIYs in the past, you've probably figured out that A) I'm a handmade gift nut, and B) I love to make playable toys for my own kids.  I say playable because there are so many beautiful DIYs out there for kiddos (and I've made many myself) that just don't stand up to the wear and tear of play time.  My focus over the last year or so has been to make sure all of my kid toy DIYs are actually usable and not just for show. 
With that being said, today I'm teaming up with Canon USA today to bring you a fun DIY you can do with your own kiddos, or make as a personalized gift for friends or family!  

Here's what you will need for this project:
Photos of whoever/whatever will make these the most fun!
Cardboard
Glue, Scissors, and a pen
Cropadile or long reaching hole punch
ModPodge
Yarn

Now, let's get started!
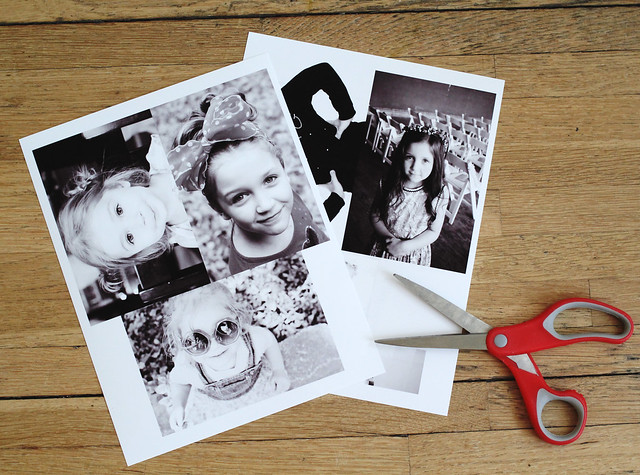
First, get your photos in order.  I took waaaaaaay too long choosing the perfect photos.  It's so easy to get lost in the archives, am I right?  ALSO.  My girls are getting so darn big.  Anyway, if you are printing photos at home, now is the time to do so.  I made my photos into a collage in Photoshop before I sent them to print, just to use as few pieces of photo paper as possible.  I used a Canon PIXMA MG7120 for printing this project and it made it SO easy.  That's saying a lot because I seem to be the kind of person who attracts printer issues!  It's a hidden talent, apparently.
Next, cut out your photos.
After your photos are all cut out, trace around them onto your cardboard pieces.  Cut the cardboard down to the exact size of the photos (mine were 4x6).

Now that all the cardboard is cut, glue the photos onto the cardboard.  I used a paintbrush to make sure the glue went all the way to the edges.
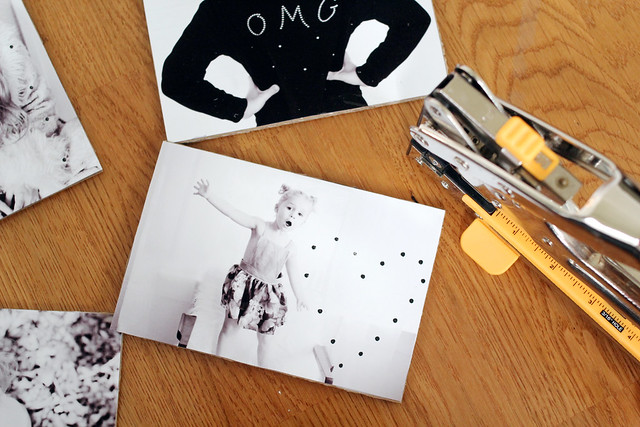
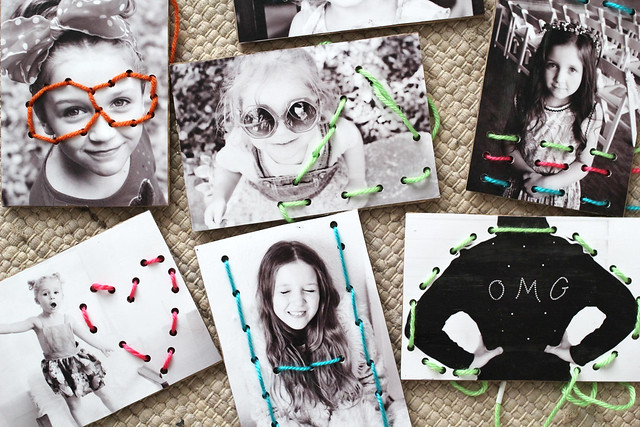
After the glue has dried, plan out your designs and mark them on your photos.  Use your Cropadile or hole punch (or scissors if that's what you have on hand) to punch holes in the cards.  Make sure they are big enough for the yarn you will be using!
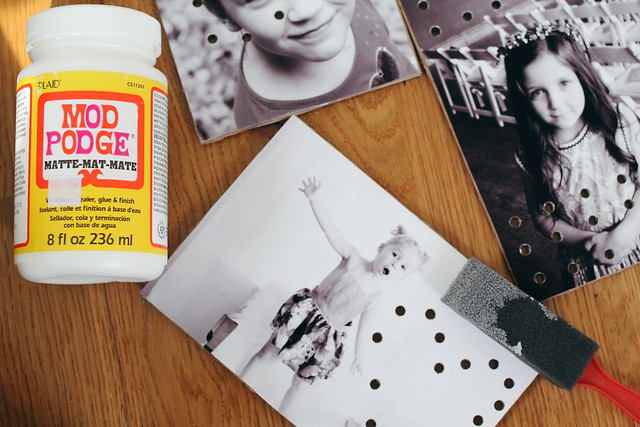
After you've made it through all the cards, spread a thin layer of ModPodge over the photos.  This protects the photos from getting smeared and protects little hands from potential ink smudges.
Also, feel free to paint the backs of the cards with fun colors- just make sure to seal them with ModPodge so the paint doesn't chip or flake!

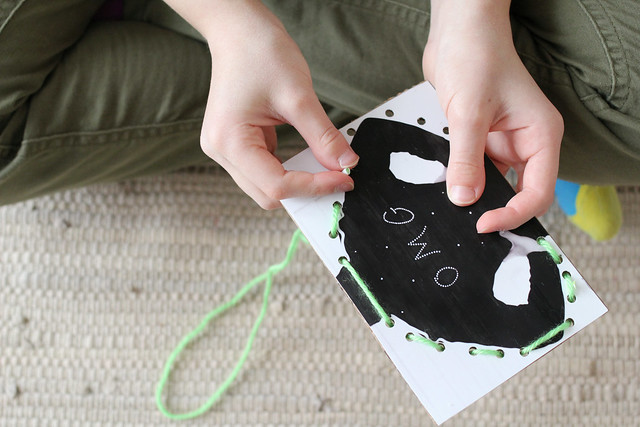
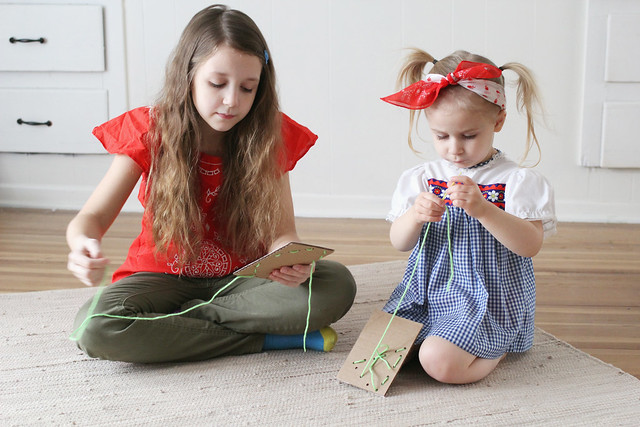
Now you're all done and it's time to play!  You can use a plastic yarn needle, or simply wrap some tape around the end of the yarn before little ones start lacing.
(This is great for fine motor development!)
(I love their little concentration faces.)
The girls thought these were equal parts fun and hilarious!  Poe's favorite was the photo with the glasses and Hope loved Poesy with a mustache!  I truly love projects that are customizable!  I think I just figured out what all of my friends' kids are getting for their birthdays this year.  Just request some photos of pets and family members and make cards to fit that family!  Happy crafting!  xo. Katie

Wednesday, October 9

Halloween Tic-Tac-Toe

The thing about the Halloween season is that it's just too short!  We usually start putting up our decorations at the beginning of October, but it feels like a month just flies by and then it's time to pack it up.  I always have a craft list a mile long in addition to homemade costumes, and darn it, I'm lucky if I get to more than one.

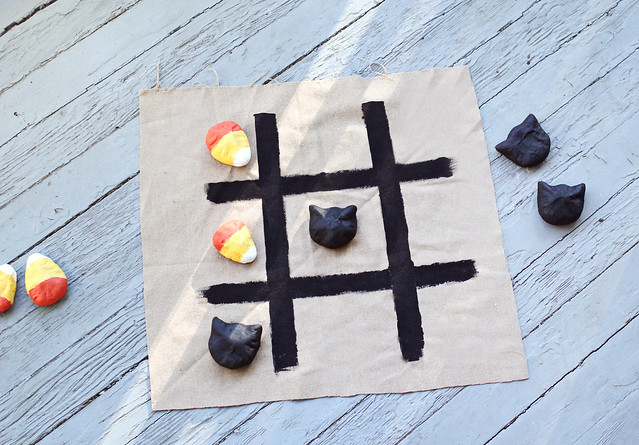
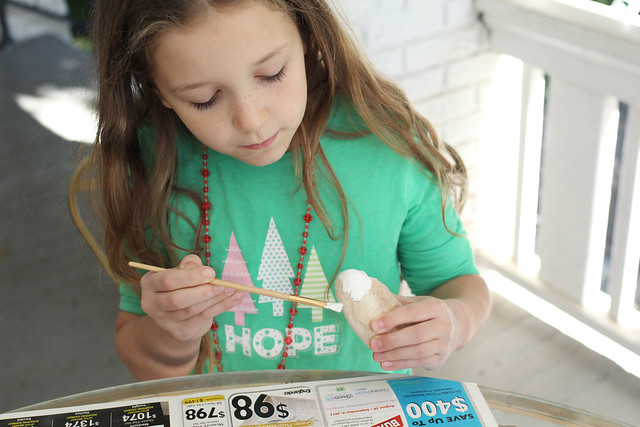
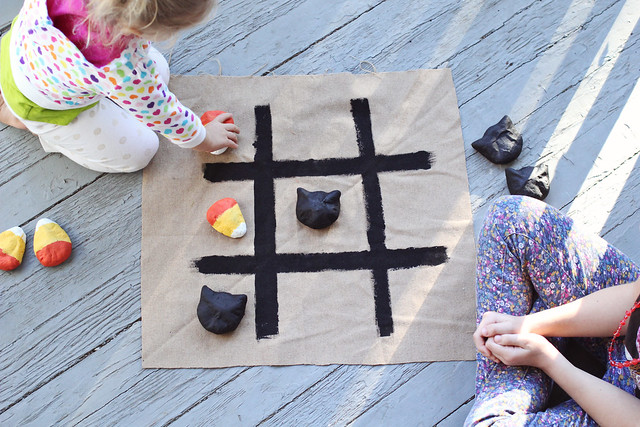
The lucky winner for this year was a homemade tic-tac-toe game.  Hope has a really large version of checkers, so we thought it would be fun to get a little craft time in making a larger version of another game we frequently play.

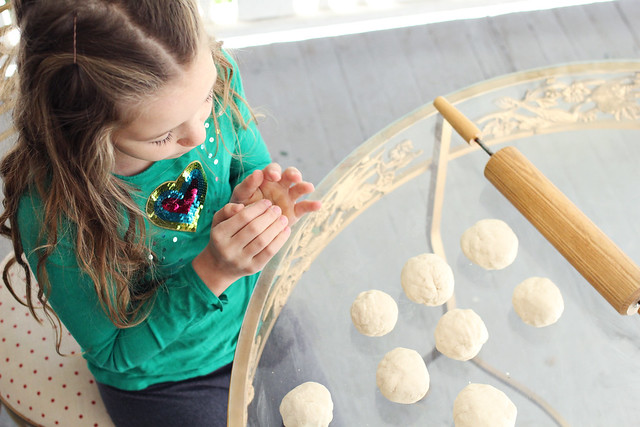
First I mixed up the clay using this recipe:
*4 cups flour
*1 cup salt
*1 1/2 cups water (I usually end up using a little more)
Bake at 350 until slightly brown at the edges

Yes, this is the same recipe we use for mold and bake ornaments at Christmas.  :)

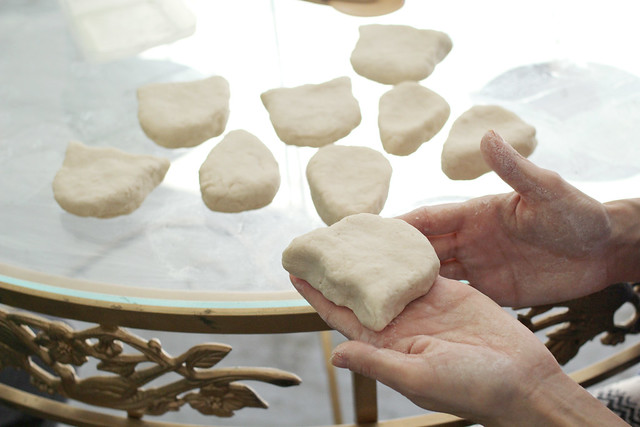
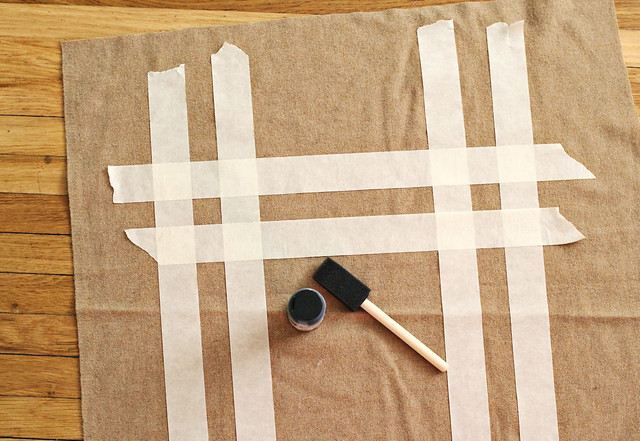
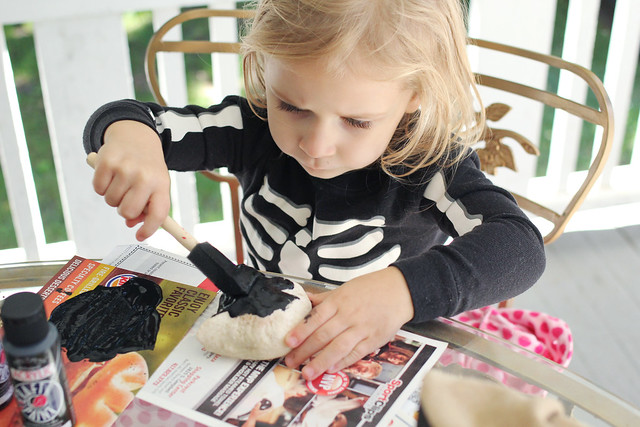
We formed our shapes and popped them in the oven.  Cats and candy corn won out over ghosts because baking them can brown them a little.  While our game pieces baked, we made the game board.

You can paint the game pieces as soon as they cool, but we returned to ours the next day.  The girls had a good time painting and getting a little messy.  Once everything was dry, it was time to play!

We basically had to tell Poe where to place the pieces, but she was good with that.  I think we'll still end up painting cute little faces on the cats, but for now it's great as is!

Annnnndddd, that would be Poesy hugging the game pieces.  Happy crafting!


Friday, July 19

Seasons Change

I was looking through photos last night, and I have to say, it's amazing to watch these two grow.  I think I'm realizing now more than ever, that life is just a series of seasons.  One day, the season where I have my little girls in my house will change and they will be grown, doing their own things and having their own lives.  I'm accepting of this, and I even smile when I think about it, but I'm wondering:  can time please just slow down a little?  Like, just a teeny tiny bit?


Tuesday, July 2

Summer Jumper DIY

I was going through my fabric stash this week and decided it had been far too long since I made a little something.  I grabbed the rest of the denim I used for Smokey's pants and decided a jumper would be the perfect project for the day.

I started with these three pieces.  A square for the body, a long strip for the waist, and a longer, wider piece of fabric for the skirt.  In all, the measurements were: body:  7"x6";  waist:  23"x4";  skirt: 9 1/2"x45".  Since I was just winging it and not using a pattern, I just measured Poesy to get the right numbers.

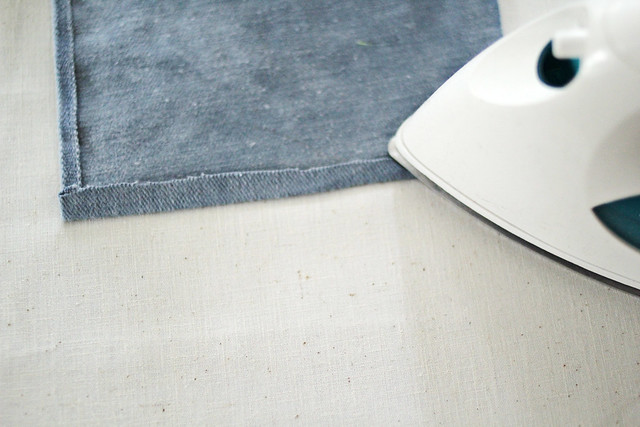
I ironed all of the edges where I would be hemming.  This picture doesn't show it, but most of the edges are ironed and folded under twice.  Go ahead and hem all of your edges, but don't hem the waistband quite yet.

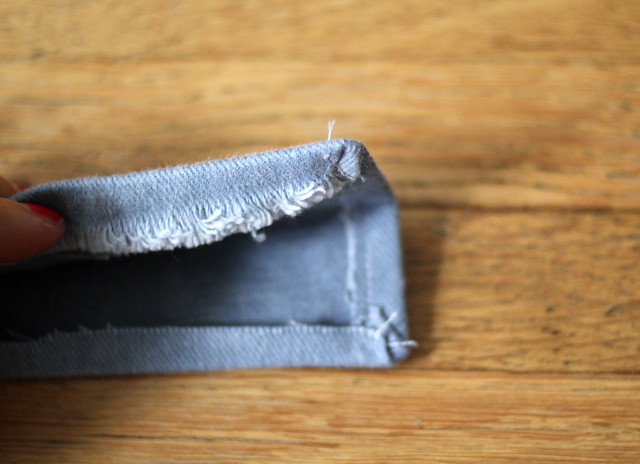
Tuck the unhemmed edge of the skirt piece inside the waistband and hem. Make sure to either pin it or gather as you go.  When you are finished you should end up with pieces that look like this:

Attach the top piece the middle section of the skirt.  After this step, I stitched the back of the skirt closed, but did not run the stitch all the way up.  That way, I could add a hook-n-eye closure at the waist and not have to worry about the dress getting stuck on her diaper booty as I try to put it on.

You can add straps anyway you please.  I stitched mine in place instead of using buttons because buttons are easy for her small fingers to undo and SOMEONE still thinks it's funny to strip down to her diaper in public places.  ;)

All in all, this project took me somewhere between 2 & 3 hours.  There were some breaks in there because, you know, kid stuff.  I really like projects that you can complete in an afternoon.  They make you feel so... accomplished.  Plus, Poesy is pretty much the BEST person to make anything for because her response is always something like: "Thank you, thank you!  Oooohhhh, I love it!  You are so nice to me!  I love it, I love it, I love it!"