GIRLHOMEABOUTFAQDIYOUTFITSCREATURESSHOP
Showing posts with label costume. Show all posts

Wednesday, October 25

DIY Fruit Bouquet

Fruit Basket
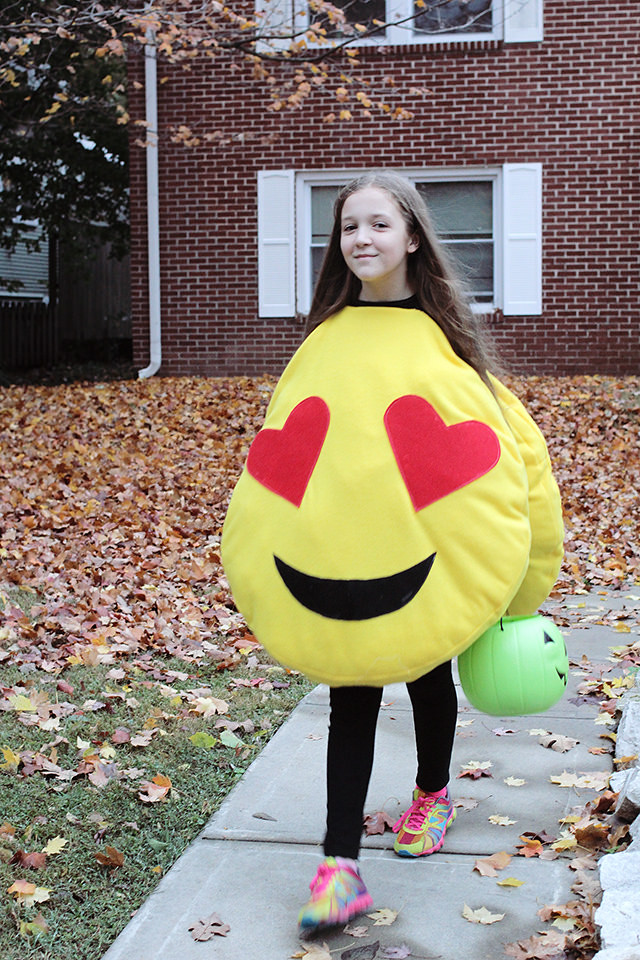
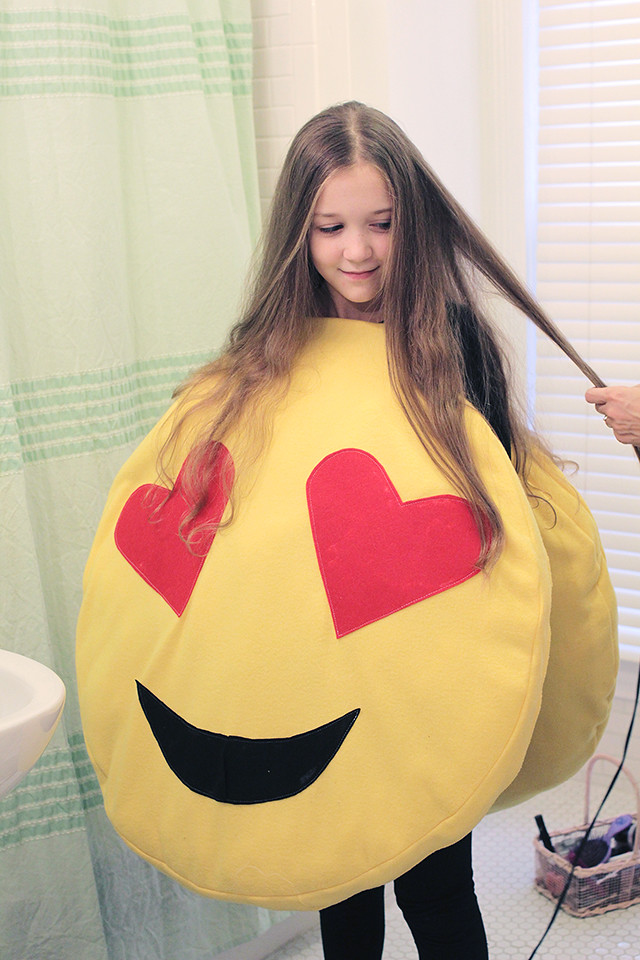
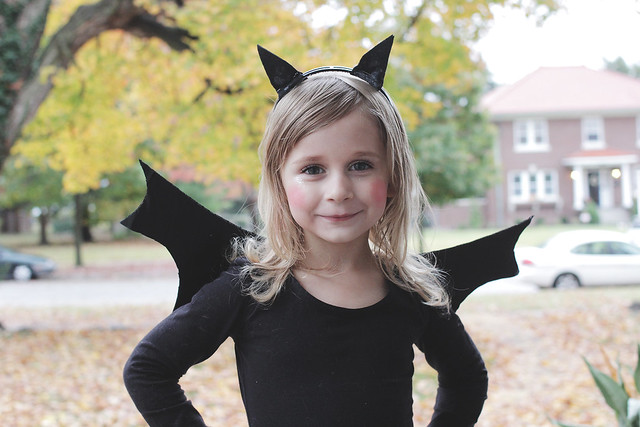
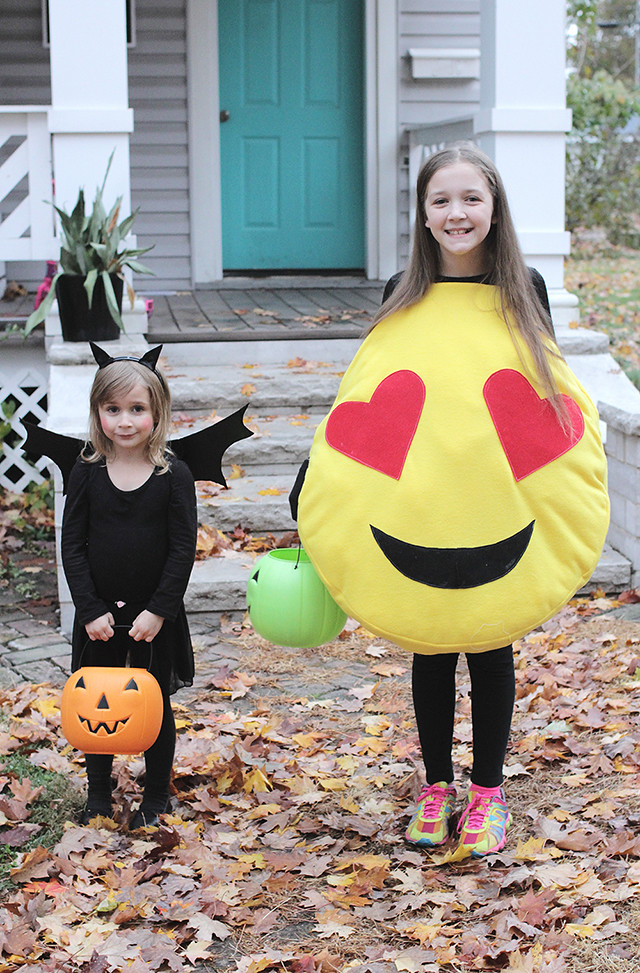
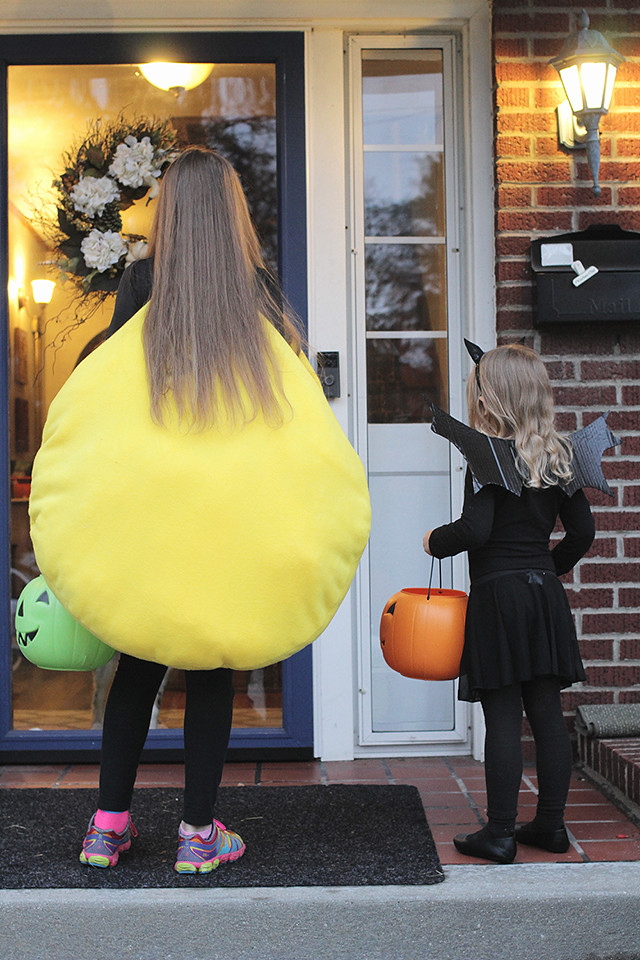
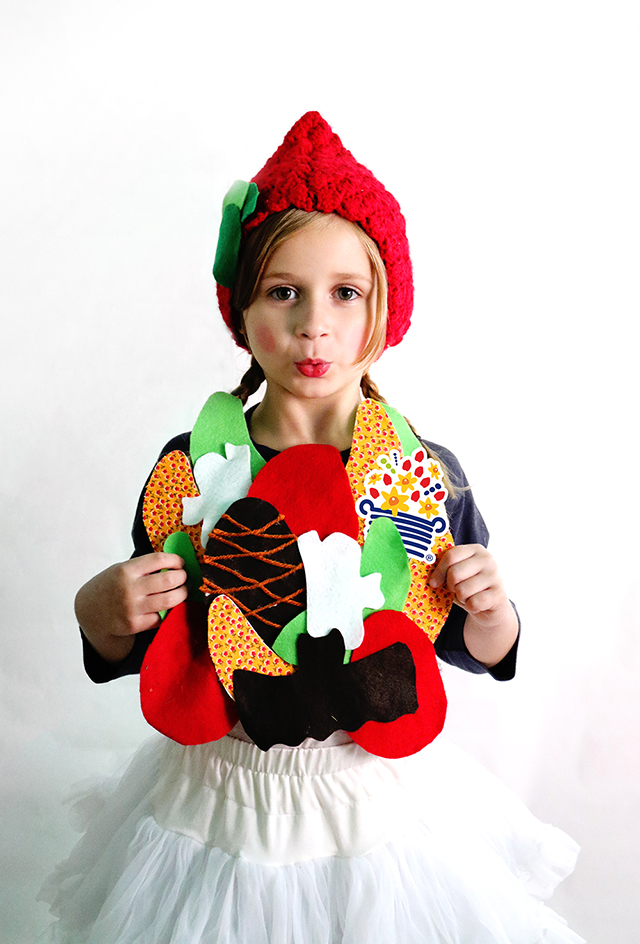
Tick-tock, tick-tock... do you hear that?  Halloween is getting SO CLOSE!  I'm looking forward to the parties coming this weekend and the actual trick-or-treating next week.  I'm also excited to be teaming up with Edible Arrangements® today to turn my little Poesy into a fruit bouquet just in time for Halloween!  Making this costume was super easy and super fun, so let me take you through the steps!

Fruit Basket
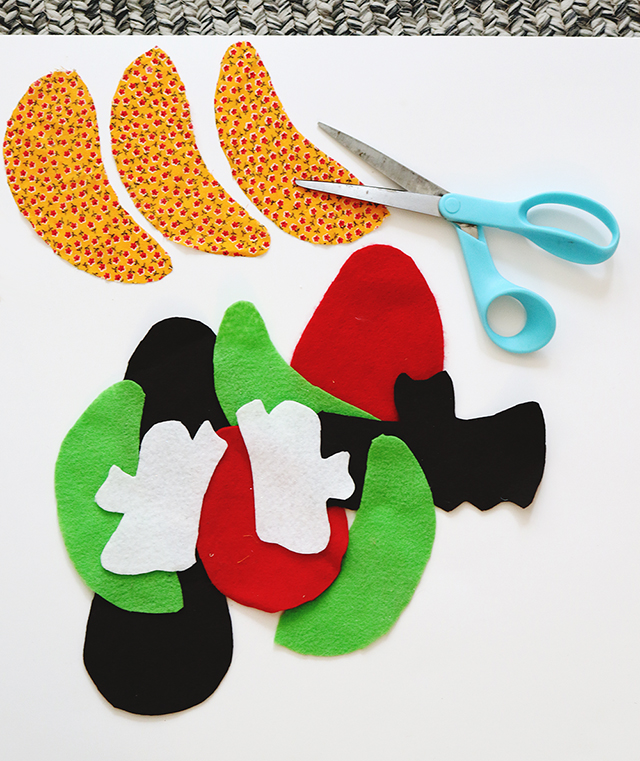
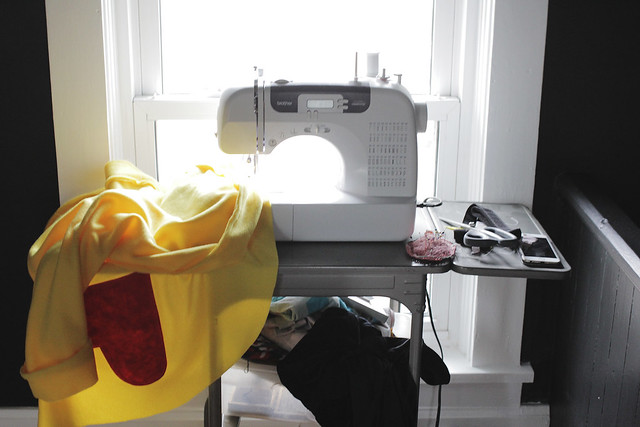
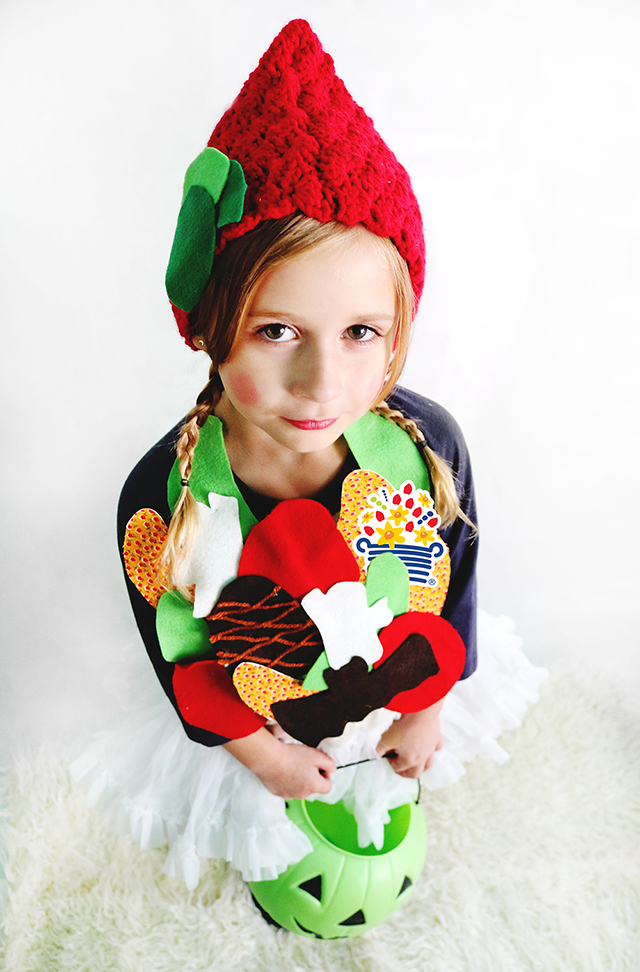
First, I cut out felt shapes for the strawberries, honey dew, and chocolate covered strawberries, bats, and ghosts.  Since I wanted an extra pop of color for the cantaloupe, I used a printed fabric and glued it onto some poster board so it would stay upright.

Fruit Basket
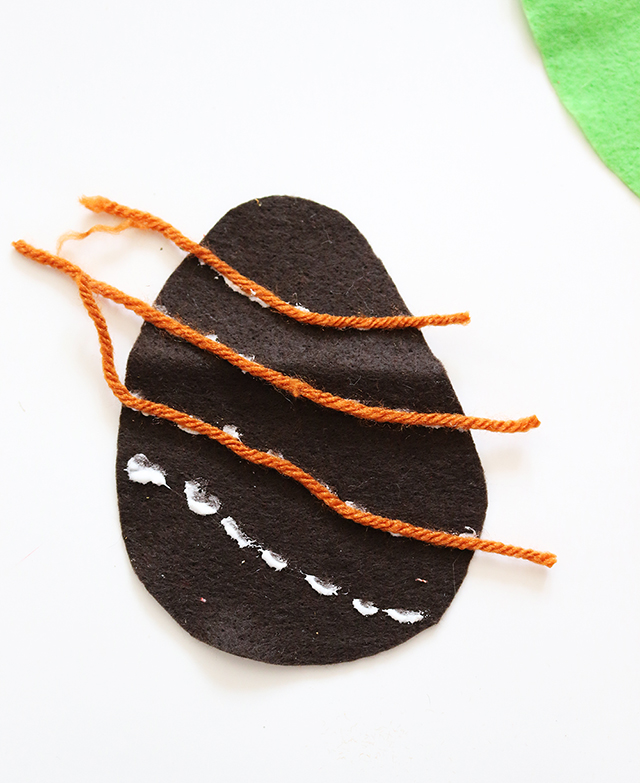
I used some craft glue and yarn to give the chocolate strawberries a little more dimension and detail.  Once the glue dried I simply trimmed the edges.

Fruit Basket
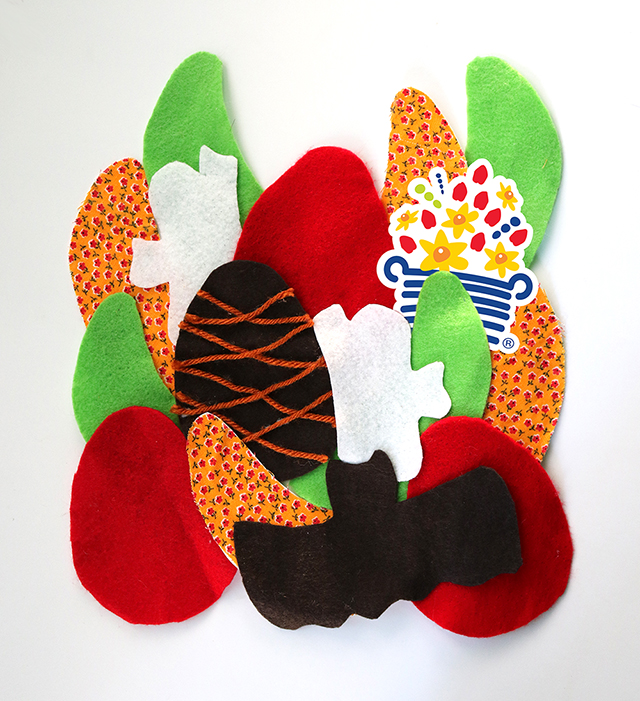
When I finished cutting all of my shapes, I glued them together to make the arrangement.  Once the glue dried for this step, I safety pinned the fruit to one of Poesy's tee shirts and threw together some adorable accessories (including a little felt cut-out for her strawberry hat) to complete this simple and fun costume!

Fruit Basket Fruit Basket costume Fruit Basket Fruit Basket
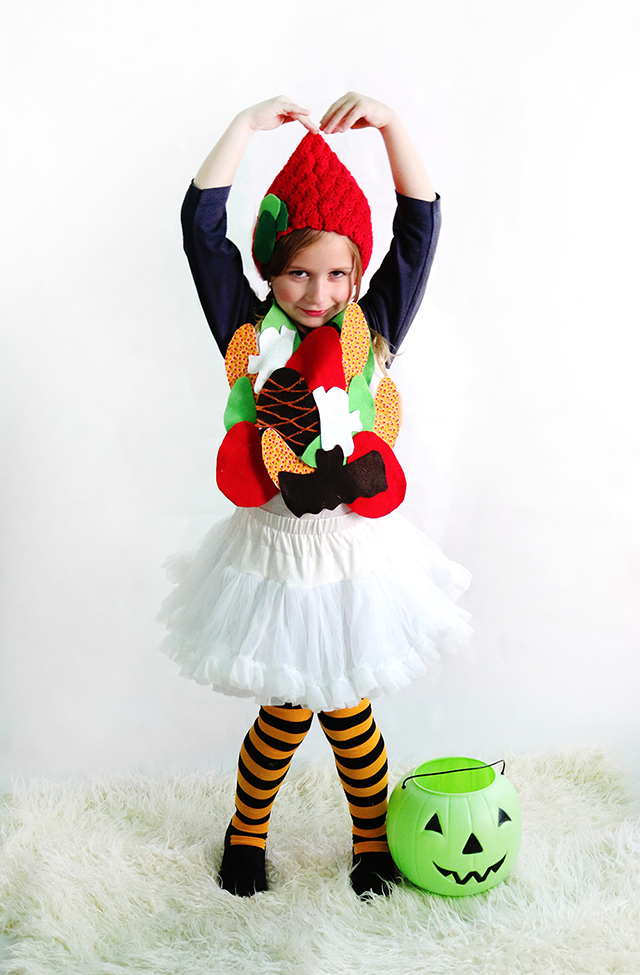
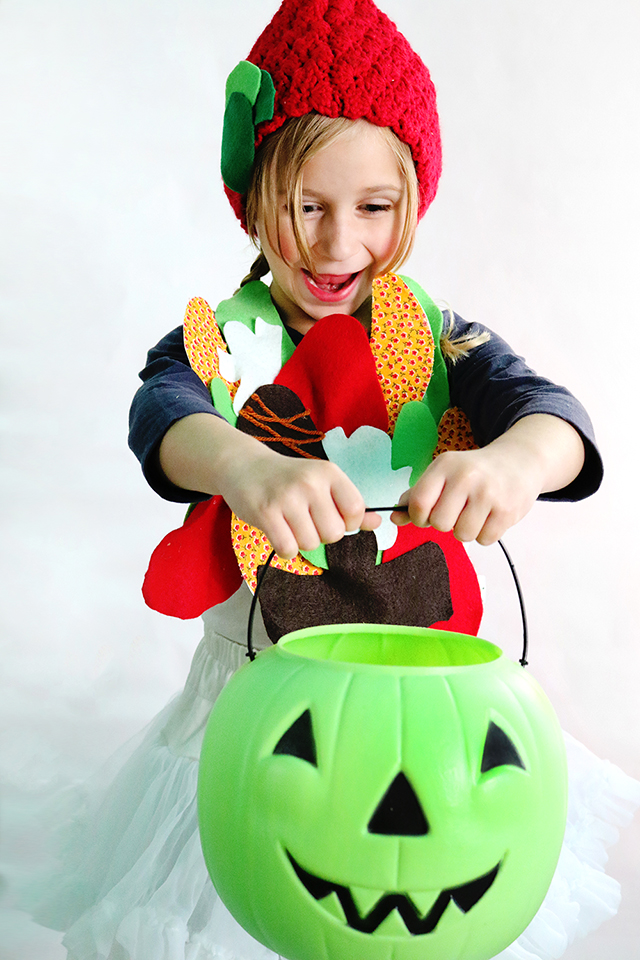
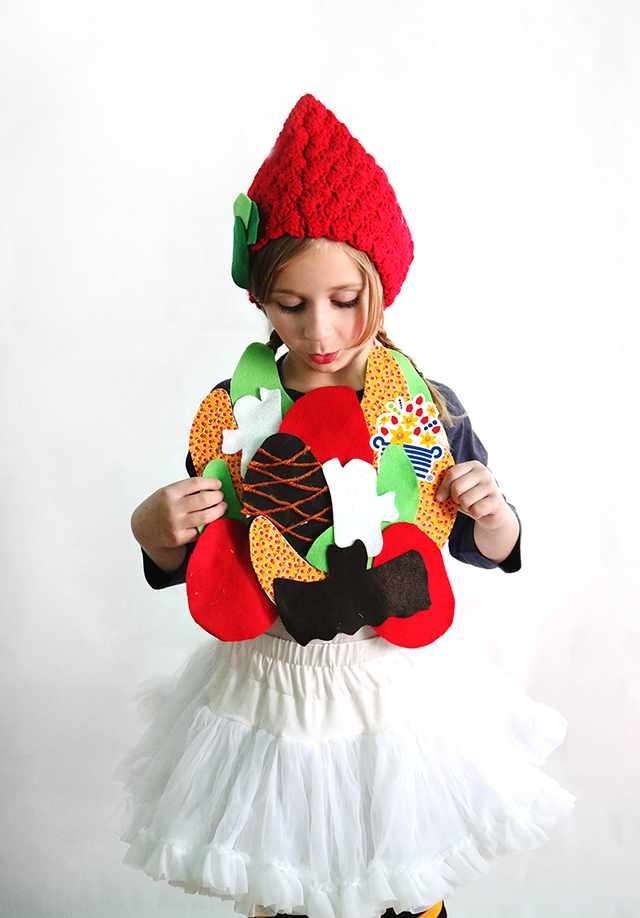
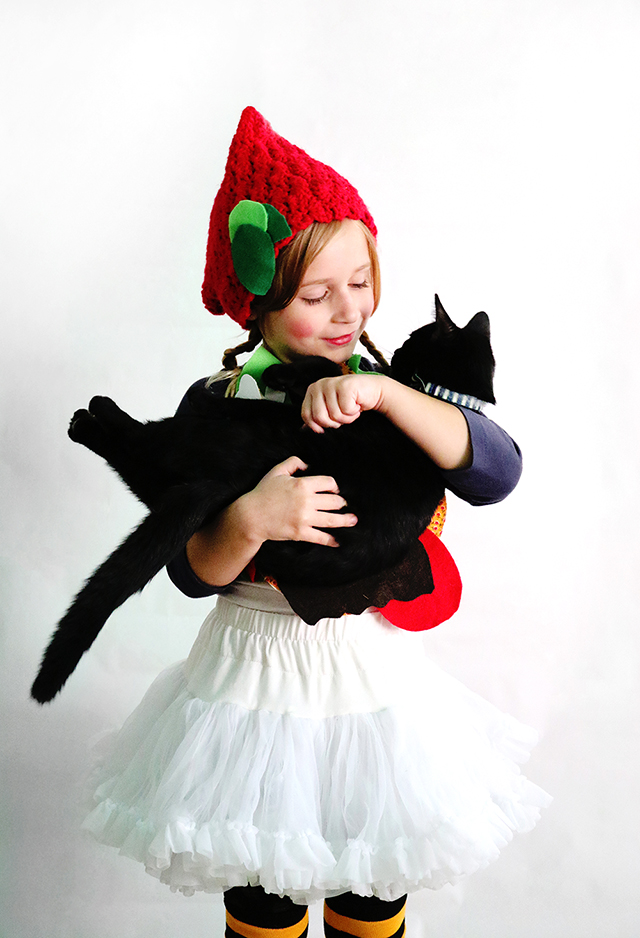
Who could ask for a better costume model, right?  Poesy had a blast dressing up and having her picture taken.

Edible Arrangements® is typically my favorite way to tell someone "thank you" or "I'm thinking of you" but their bouquets and arrangements are also great for parties... such as a Halloween get together!  Check out their site to see all of the delicious things they offer!


Friday, October 21

DIY Emoji Costume

DIY Emoji Costume 
DIY Emoji Costume
As promised, here's a tutorial for how I made Hope's emoji costume.  We were moving houses the weekend of Halloween last year (terrible timing for a DIY mother) and I was still wrapping this thing up as the sun was going down ON Halloween.  We made it in time for trick-or-treating, though, so all was good!

DIY Emoji Costume
Supplies:
*yellow fleece or felt
*red and black felt
*elastic
*stuffing (polyfil)
*scissors, pins, sewing machine
*craft glue (optional)

DIY Emoji Costume DIY Emoji Costume
To begin, cut four matching circles from your yellow fleece or felt.  These can be whatever size you want, depending on who you're making it for.  When it came to Hope's costume, we decided bigger was better!

Now, set side three of the circles and cut your emoji face from the felt.  Obviously you can switch this up and make whatever emoji face you prefer, but we're a heart eyes family over here.

Once you have the eyes and mouth cut, either pin them in place or use a bit of tacky/craft glue to secure. Take it to the sewing machine and sew it all in place.  **You'll see I used contrasting thread in the steps as we go, I would definitely recommend matching your thread color to your felt color for a more polished look!

DIY Emoji Costume  DIY Emoji Costume 
DIY Emoji Costume Once your eyes and mouth are secure, pin the elastic to the front of the face as shown above.  Lay a second felt circle on top of that and sew all the way around, leaving a hole at the bottom big enough for your hand.

DIY Emoji Costume 
DIY Emoji Costume When you've finished stitching most of the way around, flip it right-side out and fill with stuffing.  Ladder stitch the opening closed by hand.  There!  You have your first half finished!

DIY Emoji Costume
For the back half, sandwich your circles like we did on the first one, leaving a hole the same way in the bottom.  Flip right-side out and stuff.

Now for the part that's a little different than our first one.  Pin the elastic into the opening as shown above.  Do a very tight ladder stitch by hand to fasten the opening closed.  Take your time with this part because you want it to be very secure so it doesn't rip out when it's being worn.

Once you've finished hand-stitching, you're all done!  It should look something like this:

DIY Emoji Costume DIY Emoji Costume
There you have it-- a big, squishy emoji you can wear!  The nice part about this costume is that after you are done with it, you can easily remove the elastic and sew it into an over-sized pillow!

This costume was a big hit with all the trick-or-treaters last year.  Now, somehow I have to outdo myself again this year and whip up a spectacular costume for Hope-- I just need her to decide what that will be!  Wish me luck!


Monday, November 2

DIY Halloween 2015

Halloween 2015
Well, this past week/weekend has been about as full as I could possibly imagine.  We spent the week packing, The Mixtapes played a crazy show on Friday night, I finished up sewing costumes just in time for Halloween on Saturday, and we said our official goodbyes to our first Springfield home on Sunday.  Guys, this week has been a whirlwind, and I don't think I've ever been so happy to just sit on my couch and blog.  Whew.

But, this IS a Halloween post, so here's the skinny on this year's costumes: I didn't have time to make our family costumes this year because of packing and moving, which kinda bummed me out if I'm being completely honest.  I still managed to bust out costumes for the girls, though, and that's really what's important.  Hope really wanted to be a heart-eye emoji and, after changing her mind at least a dozen times, Poesy settled on being a bat.  I spent all of Saturday sewing Hope's costume (talk about last minute), and finished just in time.  Every year I think, "This is the year I can't possibly compete with last year's costume" but so far, so good.  And really, as long as she is happy, I am happy.

Halloween 2015 Halloween 2015 Halloween 2015 Halloween 2015 Halloween 2015 Halloween 2015 Halloween 2015  Halloween 2015  Halloween 2015 Halloween 2015 Halloween 2015
Poesy was the cutest little bat EVER.  After her initial, "Trick-or-Treat" she would wish everyone the "Happiest Halloween" in her tiny voice.  She melted all the people.

I look forward to seeing what costume Poe decides on every year.  This girl definitely has opinions of her own-- and I love it!  (Her costume inspiration was from this post on MerMag.)  Oh, and just wait until I get to share the theme she has chosen for her birthday party.  It's going to be amazing.

Hope was as pleased as punch to strut around as a big, squishy emoji-- basically all of her 13 year old dreams came true that night.  I definitely high-fived myself once or twice while we were trick-or-treating around the neighborhood for pulling it off.  Now that Halloween is over, we're planning to remove the straps from the costume and make the front portion into a giant pillow for her bed.  It's gonna be so cute in her new room!

Well, friends-- today, I'm forming a game plan for massive box-domination, because I'm SO ready to get unpacked and settled!  I hope your Halloween was wonderful!  xo.


Tuesday, October 15

Bjork Swan Dress on A Beautiful Mess

My Halloween costume tutorial is up on A Beautiful Mess!  Click over for the tutorial, and don't be intimidated by the steps-- I kept it as simple as possible!  I'm so excited to wear this Bjork costume to a Halloween party we have coming up.  This dress is SO FUN to wear!  :)


Friday, October 21

Baby You're a Ragdoll

Just in case you haven't seen it, Hope and I did a fun ragdoll costume DIY over on A Beautiful Mess this week!  We had a lot of fun with this one!

You can see the whole DIY on Elsie's blog!  It's pretty easy and great for a last-minute Halloween costume!

We're off to the pumpkin patch tonight!  I'm so excited because the pumpkin patch is one of my very favorite Fall traditions and this year we'll be sharing it with those lovely Denbows.  Have a great weekend!
xoxo Katie

Sunday, November 1

Coraline

Not a ton of people knew what she was (someone even guessed an alien!), but Hope was the cutest Coraline in history. The end.


xoxo Katie