I showed you my
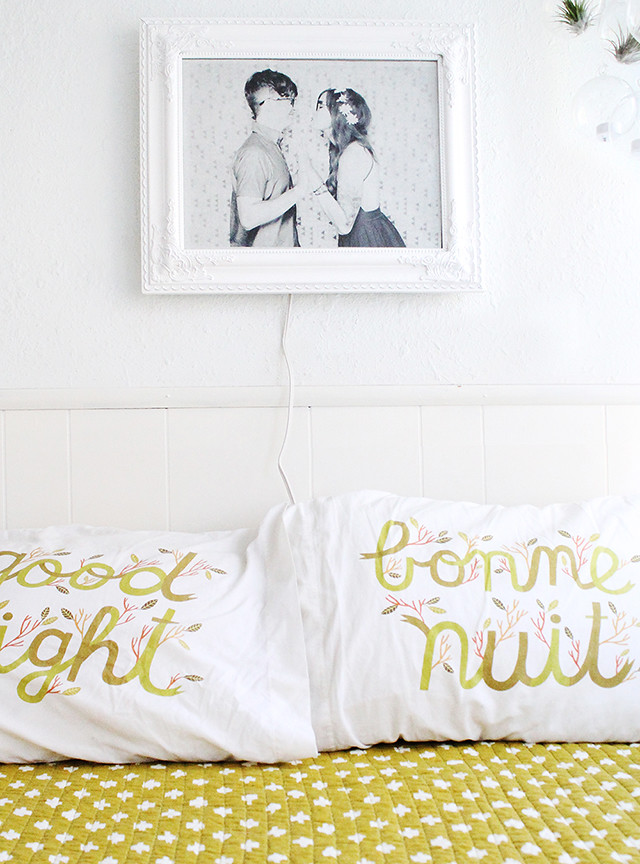
newest bed nook makeover a couple of weeks back and since then, I've been looking for something to fill the blank space above our bed. I don't know if you are like me in this, but once I start searching out the "perfect" thing for a space, it becomes bigger and bigger in my mind and somehow grows into this weird thing where nothing is ever "perfect" enough. It's silly. Really. I usually know to just distract myself with another space when I feel it happening. Then you can let it happen more organically. I'm happy to report that ignoring this space for a little bit yielded good results, and today I'm teaming up with
Canon USA to show you how I made this super simple and dreamy DIY.
Supplies:
Shadowbox
LED string lights
Printed photo (mine was printed with my
PIXMA iP8720)
Staple gun
Extension cord
Rice paper

Okay. So, to begin you will need to find a shadowbox at your local craft store. If you don't have one of those, Amazon is always a good option. After you find your shadowbox, it's time to get to work!
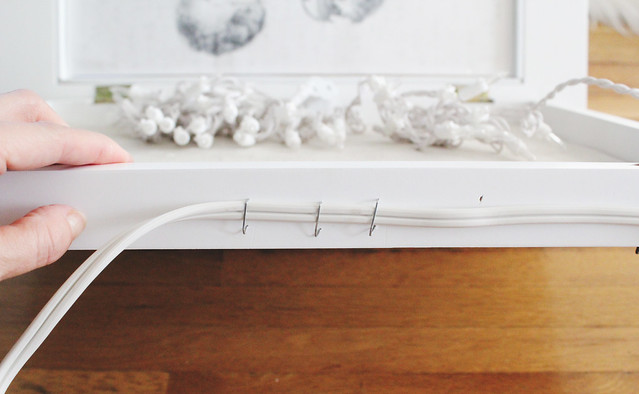
We're going to start with the extension cord because this baby needs power. There are two ways to get some power to your lights-- you can either drill a hole in the back side or staple the cord to your frame like I did. We have a drill, but it seems like the battery is always drained when I need it. Arg. I was feeling impatient (I can be somewhat of an impatient crafter), so I decided to figure out a different way to fasten the cord to the frame. I ended up pulling out my ol' trusty (my staple gun), which is my crafty time best friend. I use my staple gun for TONS of projects. TONS. Okay, I'm getting distracted. Back to the DIY. If you are stapling like me, try to shoot your staples in AROUND the cable and not THROUGH the cable. It's for the best.
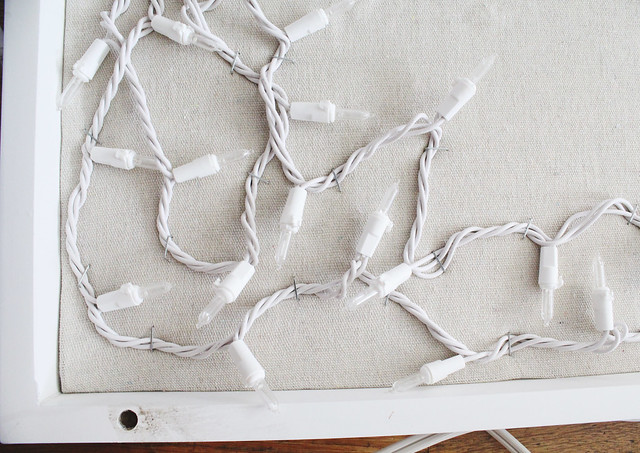
Next, use your staple gun to staple your lights into place inside of the shadowbox. Again, staple around the cable and not through the cable. Try to get the bulbs to lay as flat as you can during this process.
I used two strands of 15ft LED bulbs in my shadowbox and it's pretty bright! I bought the white ones, but if I had it do over I definitely would have chosen the white "warm" bulbs. Just a little tip for ya.
Alright, now it's time to choose an image to print! I printed this photo from the BonLook photobooth when we were in
Austin last year. It's one of my very favorite pictures of us because A) it's hilarious, and B) Johnny's face is 100% truth. He hates being in front of a camera and was caught in a second of "oh my gosh I don't even know what to do". Classic Johnny.
I printed the photo out on my
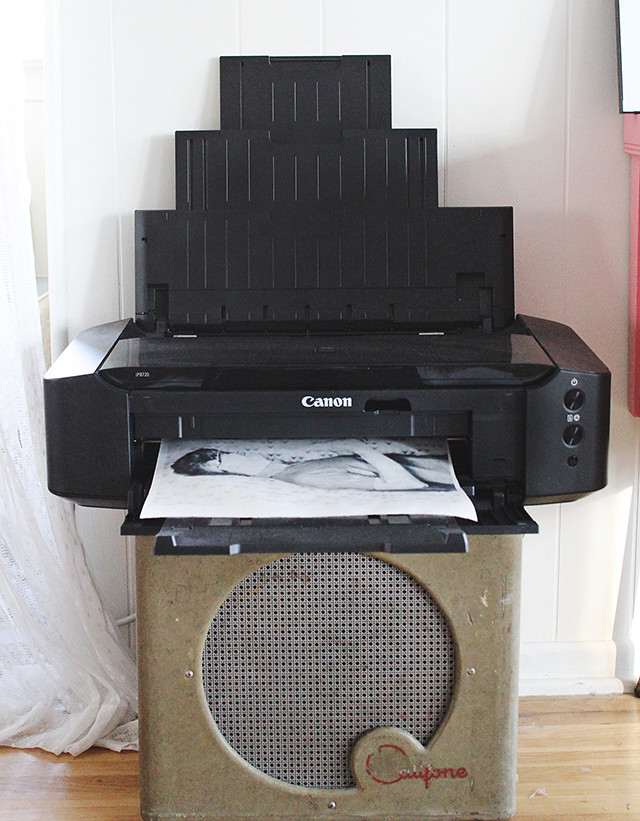
PIXMA iP8720. I love this printer because it prints up to 13"x19", so for projects like this where I need a 12"x16" photo, I don't have to send a photo over to Kinkos or wherever to have it printed. If I'm doing a project, speediness is key... but, if you don't have a large printer at home, blueprint copies from your local shop work great as well because the paper is thinner than normal photo paper.
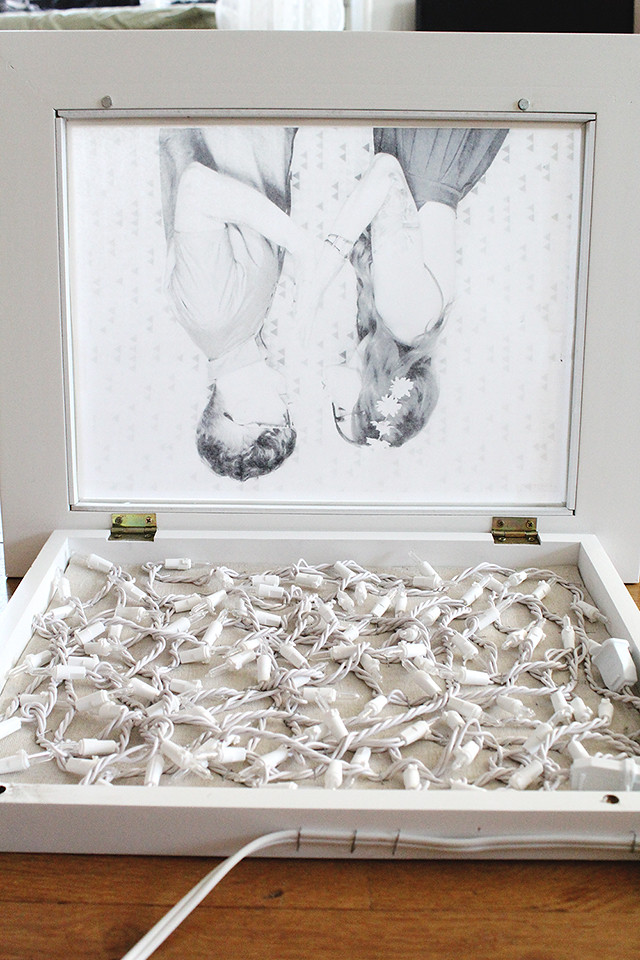
Speaking of thinner paper, the reason we are using rice paper instead of normal paper is to let the most light through. I printed my image on the rice paper and used a second piece behind it. It's the perfect thickness to let lots of light shine through! Use regular clear tape to adhere your photo to the inside of the shadowbox. Once you get that done, close it up and find the perfect place to hang this baby!
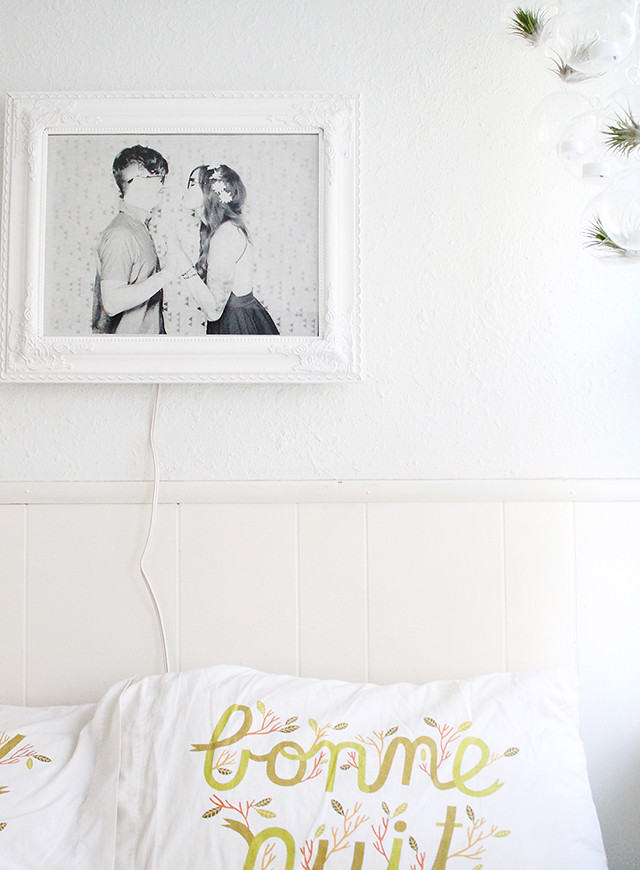
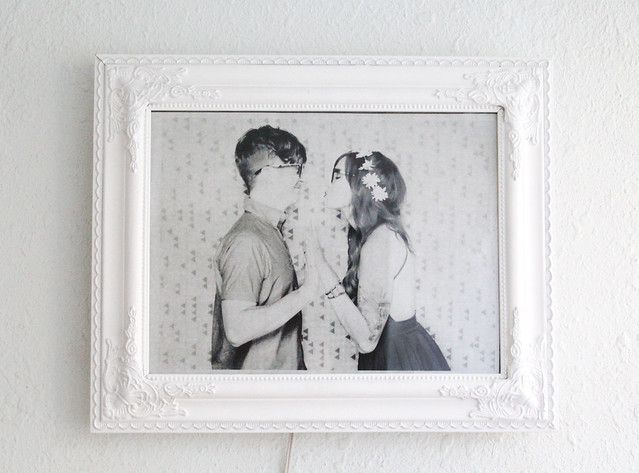
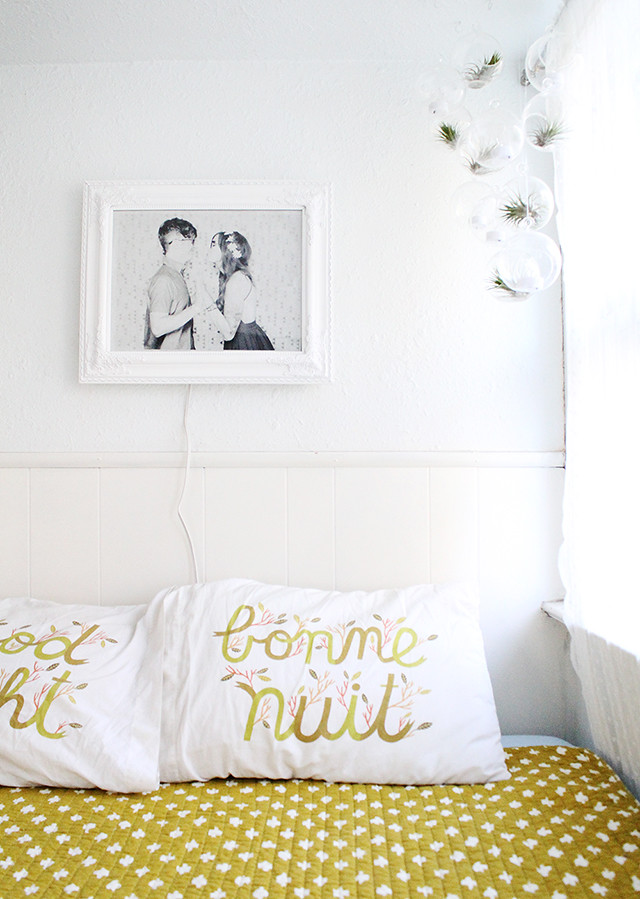
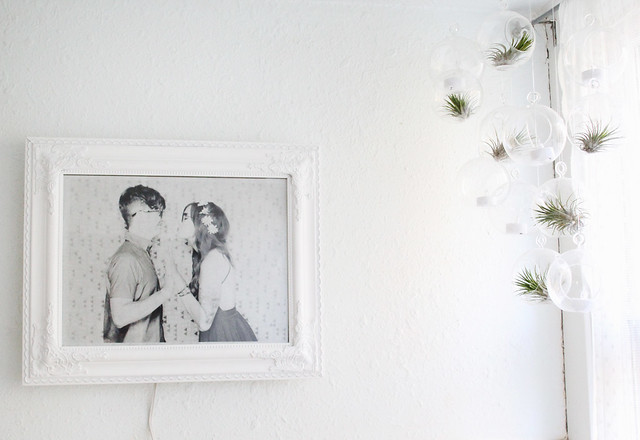
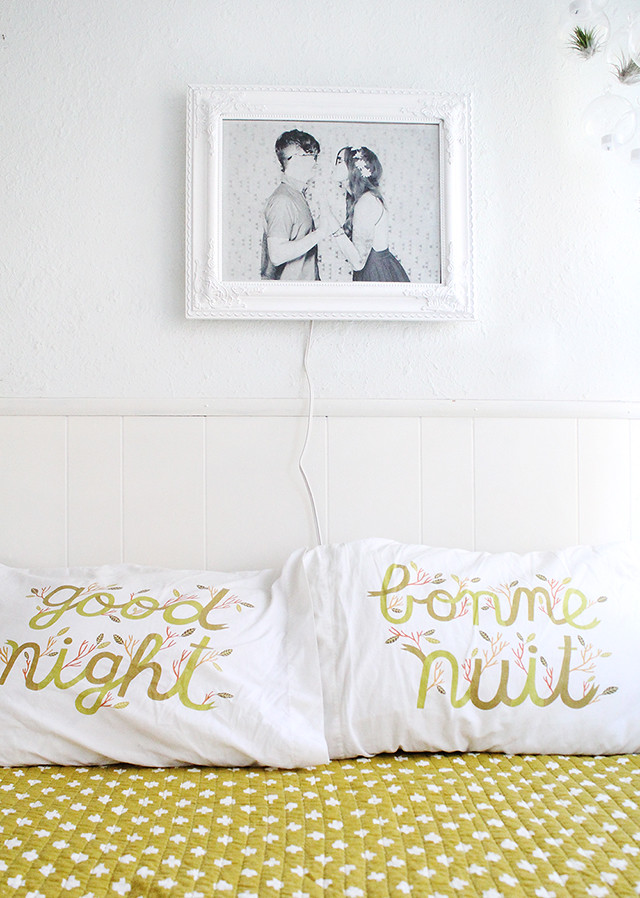
As you can see, this project is lovely in the daylight... BUT... I'm sure we're all wondering what it's like all lit up at night. Ready???
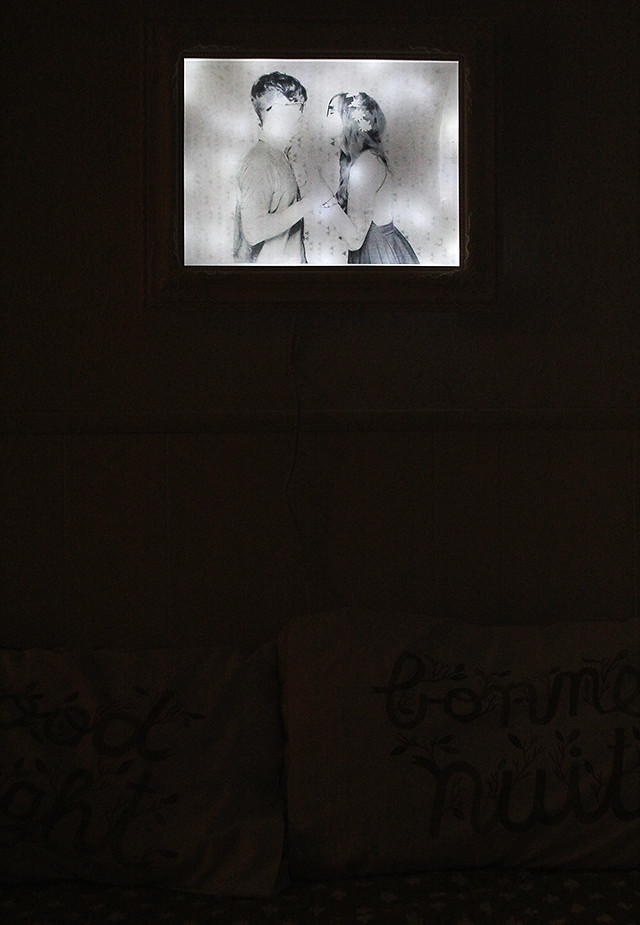
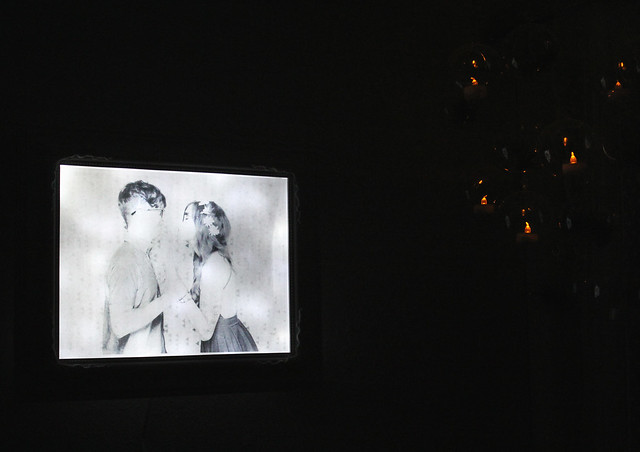
It's kinda dreamy, right? Night photos are hard, so if you end up making this you will be surprised at how perfect it is in the dark.
And see, I thought I was too far gone in my land of searching for the "perfect" thing for our bed nook. I'm glad I didn't force anything else because this is pretty perfect for our space. xo.
**I know someone might be curious, so here you go: my pillowcases are from Stay Home Club, my bedspread is from Urban Outfitters, and I got our little hanging terrariums and air plants from Amazon.