GIRLHOMEABOUTFAQDIYOUTFITSCREATURESSHOP

Tuesday, June 26

Vintage Swing Project

Vintage Swing Project
If you guys know one thing about me, it's that I love taking things that are worn or broken or ill-fitting and giving them a second life. My obsession with the plant clearance isle is proof of that. 😂 I recently had the bitter-sweet privilege of shopping my dear friend Rachel's yard/moving sale. I nabbed a bunch of great fabric and some vintage home decor (not that much because let's be honest... I'm bursting at the seams a little), but my excitement came from this old, beat-up rattan hanging chair. She told me she got it off the side of the road in a sea-salty town, and the wood really showed it. The seems were coming apart and the chair was brittle. Here's what I did to bring her back to life:
Vintage Swing Project
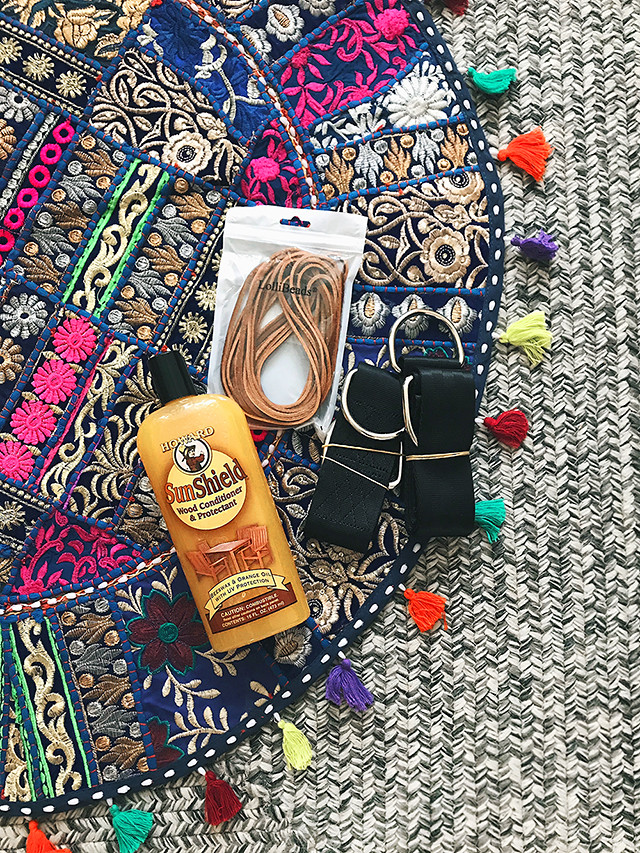
The two main things I used to revitalize the chair were this SunShield Wood Conditioner and leather cord. The SunShield was to condition the wood and hopefully allow some moisture to soak back in, and I used the leather cord to tie the unraveled spots on the chair back together.
Vintage Swing Project
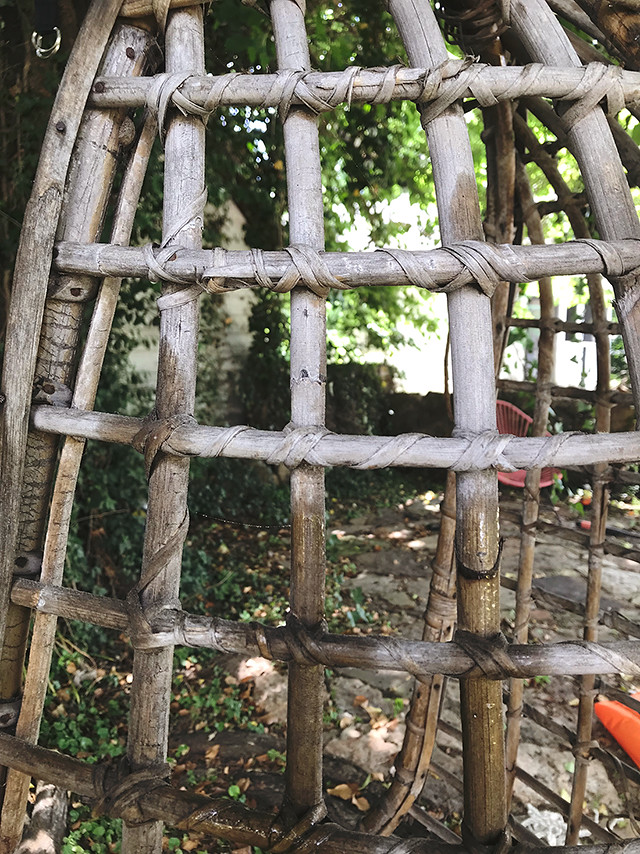
This is the state of the wood as I was applying the conditioner. You can see the color difference in the photo, but what you can't see is how this dried out chair just sopped it up. It was pretty impressive.

Oh, and I did hang the chair before I started applying the conditioner because bending over for hours to condition the chair just seemed like a project I would never finish. These swing ties are hanging three of our swings now and holding up nicely.
Vintage Swing Project
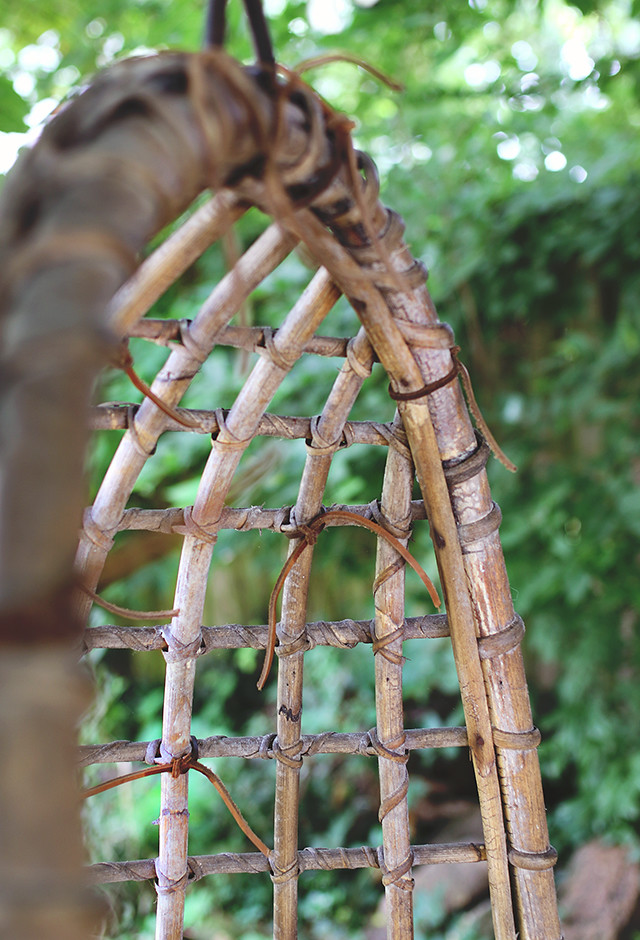
After I used a cloth to rub all of the conditioner into the wood (don't be fooled by tidy DIY posts, this took two days), I used the leather to tie the joints back together. Honestly, it ended up creating a pretty cool look with the rattan and the leather. I'm into it.

I did, however, give myself many, many blisters the day before our band played 3 shows in two days. "And here we have ol' blister-fingers on the piano. Clap for her." 😳
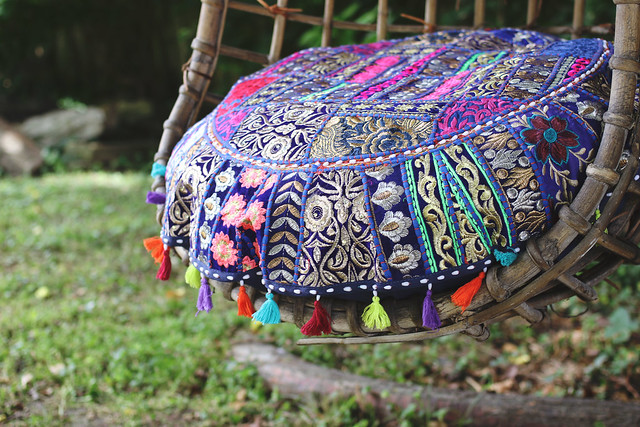
Vintage Swing Project Vintage Swing Project Vintage Swing Project
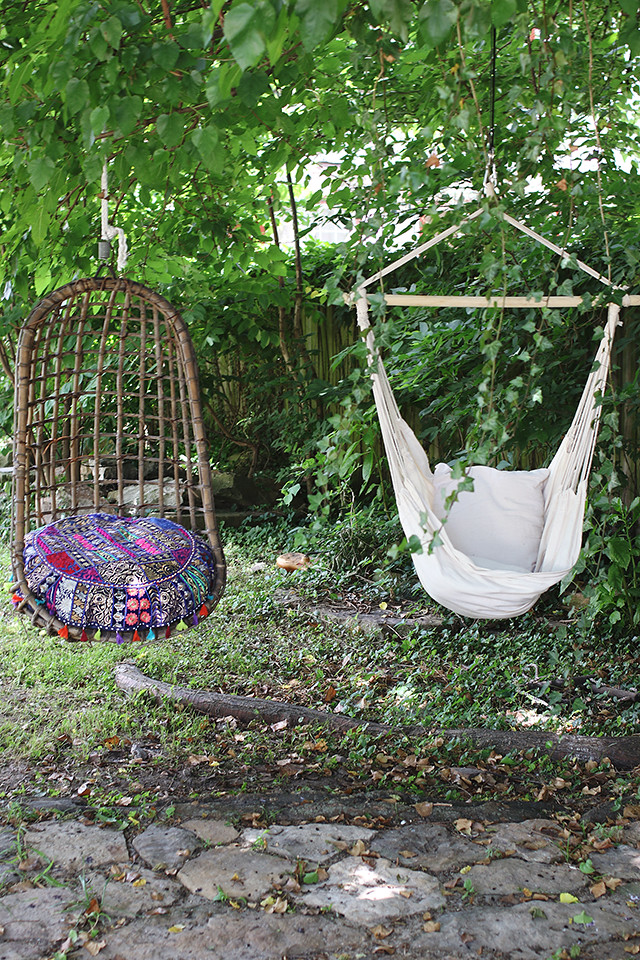
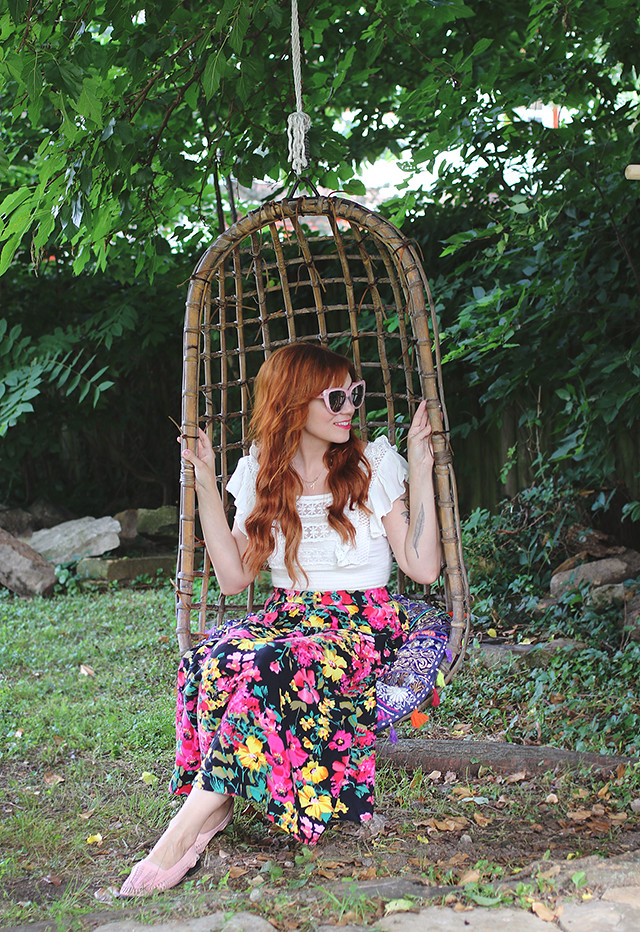
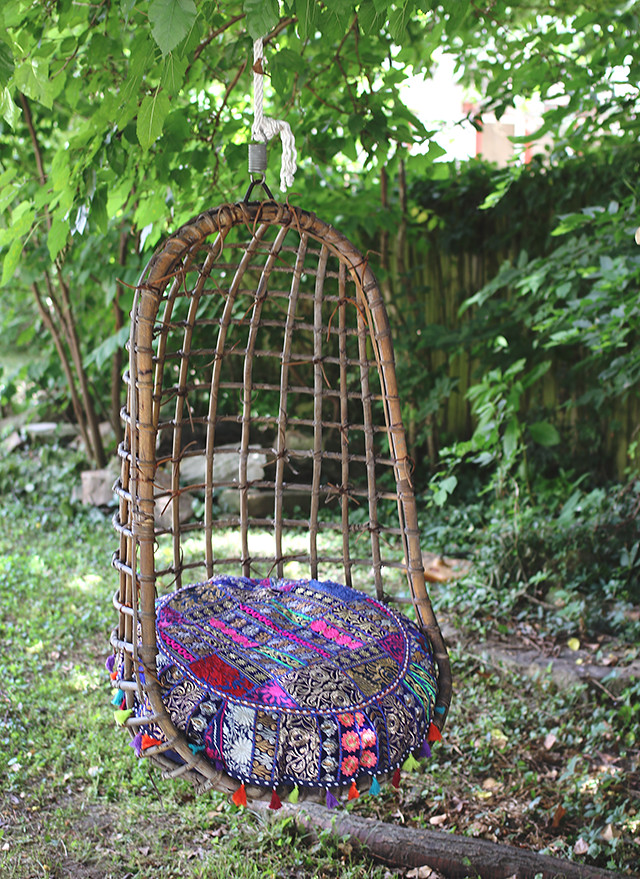
My goal for this patio when we finally get it finished is a cozy boho vibe. We have ivy hanging down from the trees overhead, so this cushion cover I found on Amazon was pretty perfect.
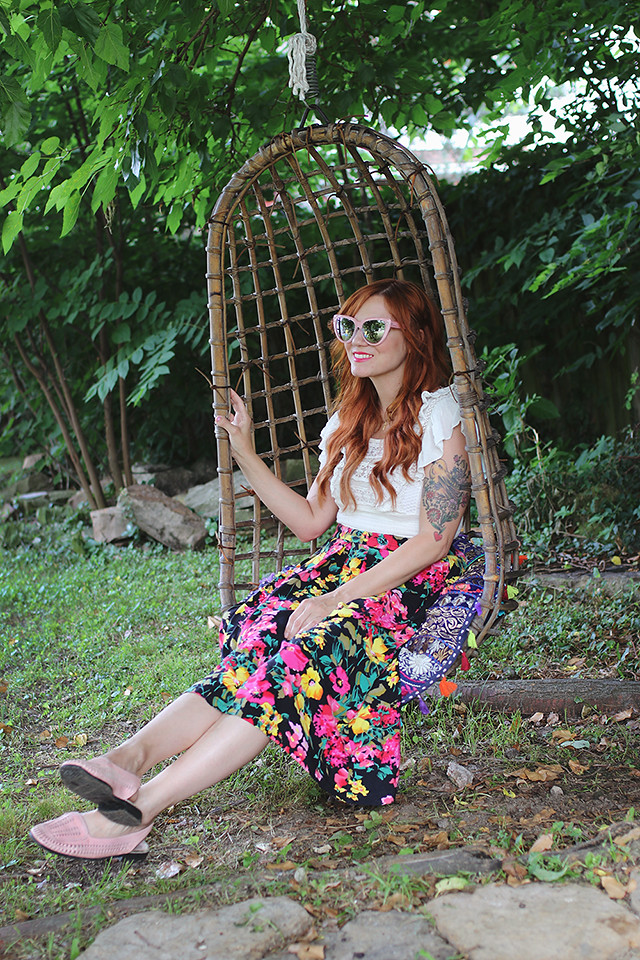
Vintage Swing Project
One day when our fence is up (hopefully by the end of the summer) and we can put more furniture out, it will be so fun to have friends over to chat and relax in this setting. It's so dreamy at night already... I'm a little bit obsessed.


*Notes: there are affiliate links in this post. 
My shirt is from Free People, skirt and shoes are vintage, and glasses are Quay
Wednesday, May 23

It's Summer Garden Time- May Edition

May Garden
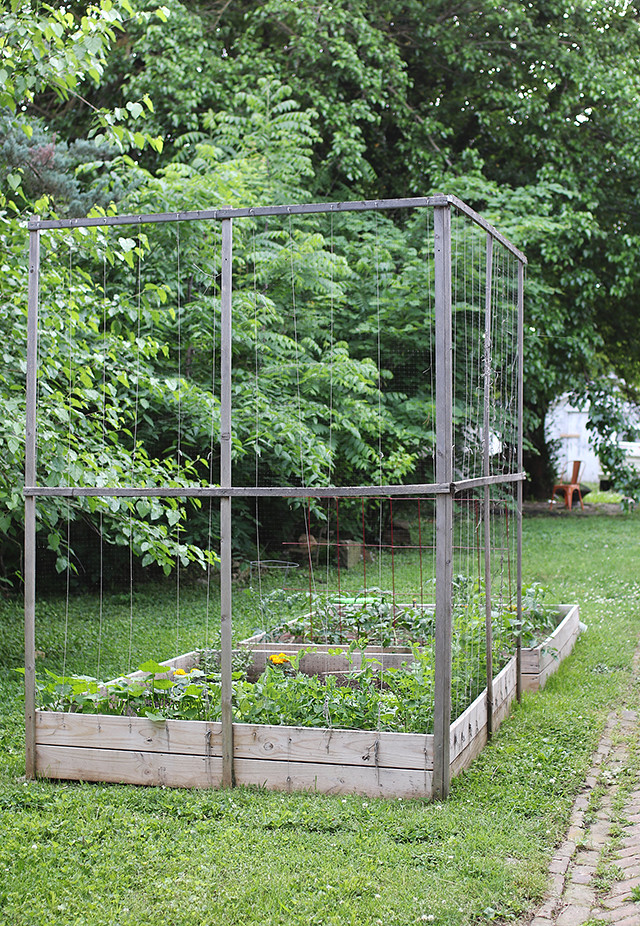
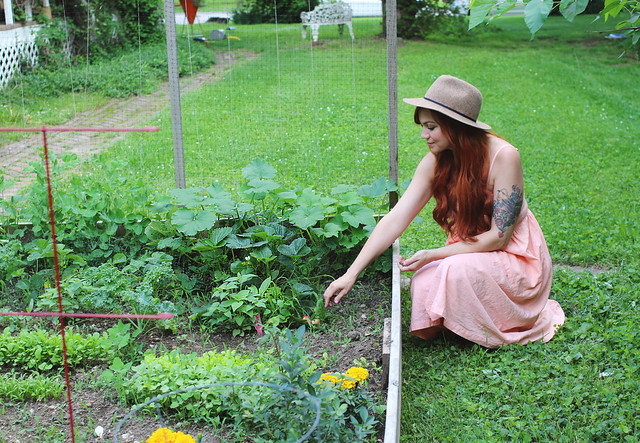
It's finally that time of year again and I couldn't be happier! It's officially garden season! This year, I've moved my garden boxes from behind our house to the side of our house so they can get more sunshine. Spoiler: the plants are loving it. Here's a bit of a rundown of what I'm growing this year:

May Garden May Garden May Garden May Garden
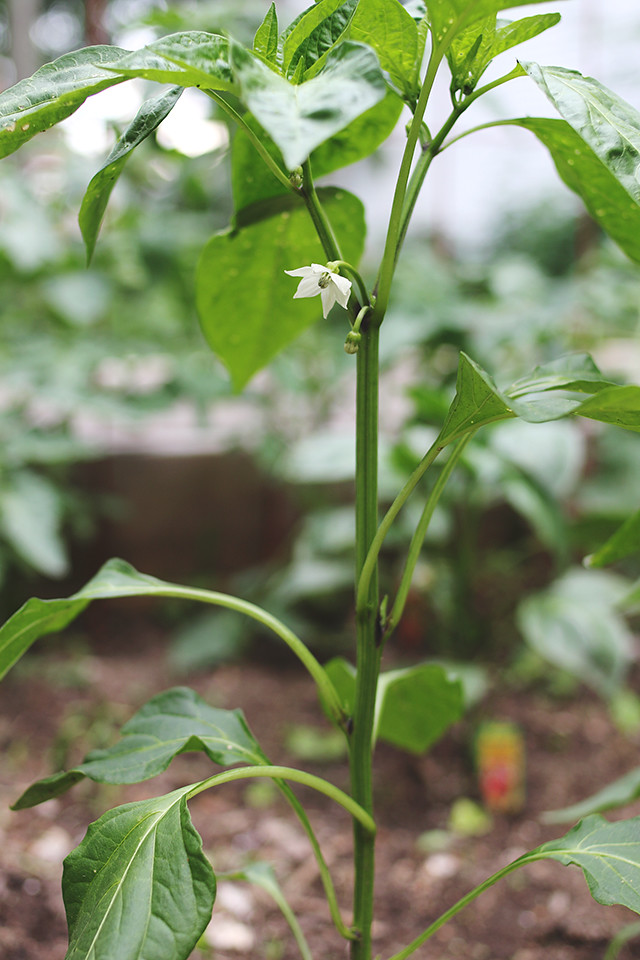
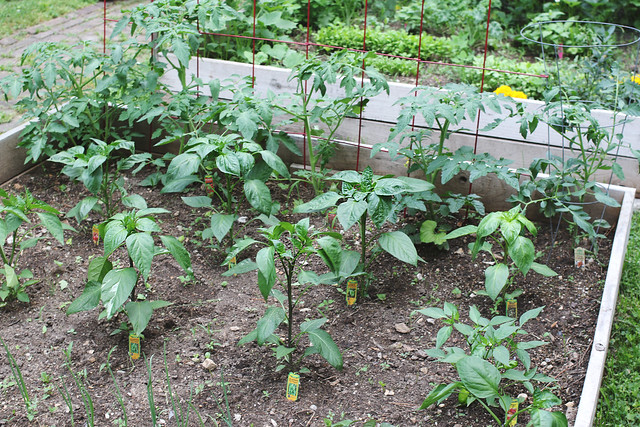
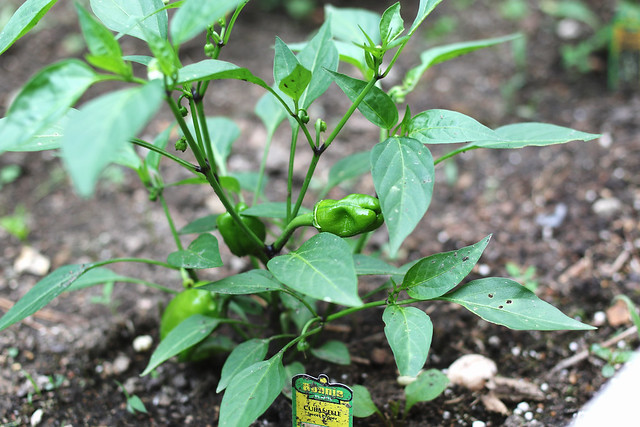
In this first box, I'm growing 4 different types of tomatoes (5 plants total) and lots of types of peppers! Johnny and I eat a lot of peppers in general between the two of us, so I decided to just really go for it this year. I have different varieties of bell, banana, serrano, poblano, jalapeño... well, you get it. It's going to be a delicious summer. A dozen pepper plants pretty much means we should be swimming in them during the peak of the season.

In addition to those plants, I also have onions, sweet potatoes, and radishes in the box. Don't ask me about the radishes quite get. I'm 100% new to growing those.

May Garden May Garden May Garden
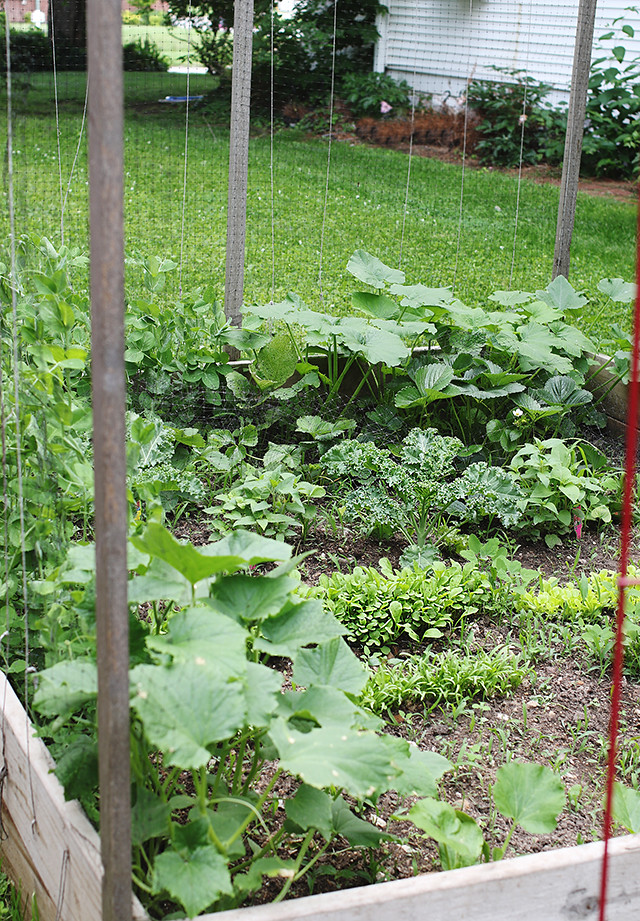
I have quite a lot happening in the second box. As you can see, I'm still going strong with my vertical gardening. The peas and beans from seeds are growing up nicely, as well as the squash and cucumbers. I came home with an accidental cantaloupe, so we'll see how that pans out, and a friend sent me some PINK pumpkin seeds. I'm extremely excited about those!

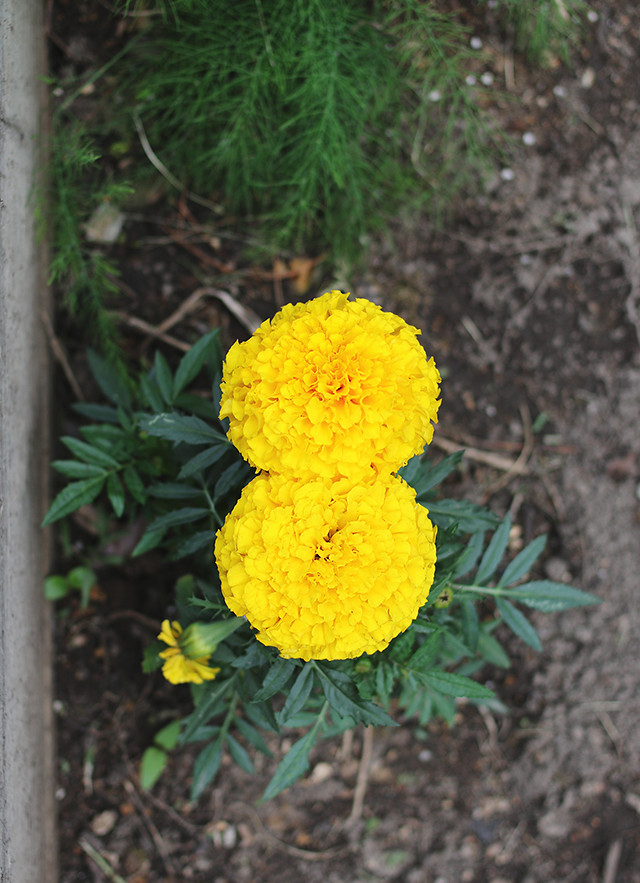
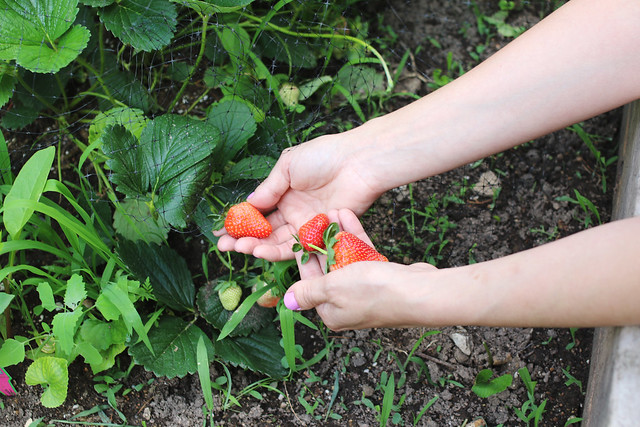
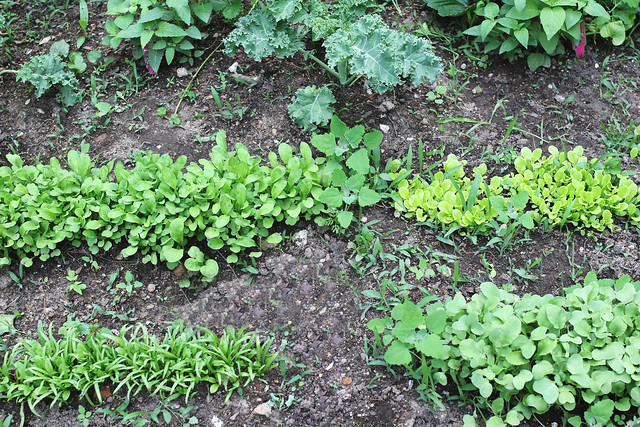
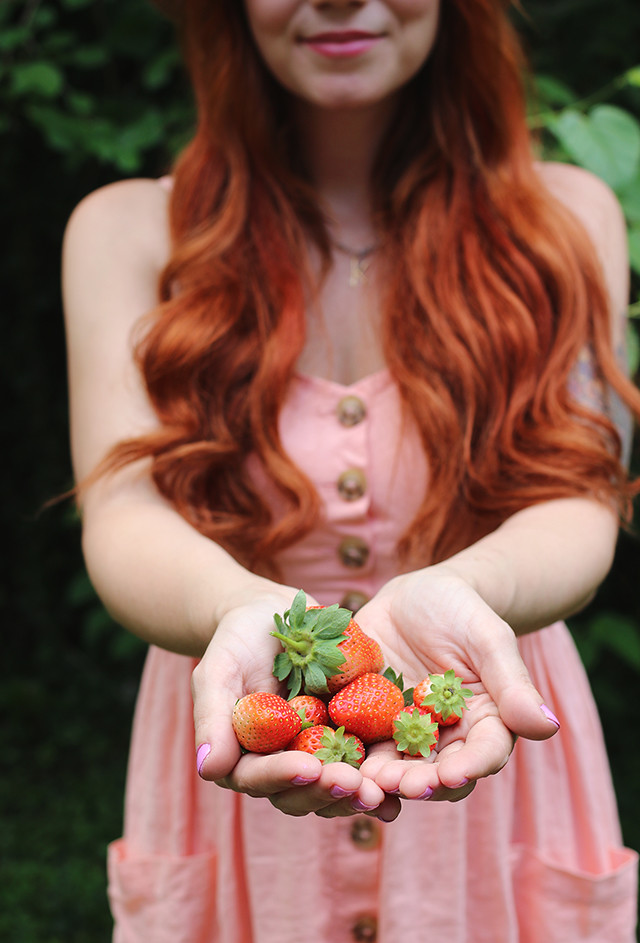
In the photo directly above, you can see that my salad greens from seed and my kale are popping up. I also have several strawberry plants that are producing like crazy so far, and some bee balm and marigolds to attract the good bugs (bees, butterflies, ladybugs) that eat and chase out the not-so great ones. I have quite a crop of marigolds blooming from seed, but I did go ahead and buy a few already-established plants from the garden store to get the party started.

Besides too little sunshine, another challenge I faced last year was lack of pollination in my squash flowers. I don't know if you remember this, but I even tried pollinating by hand! It didn't work for me, so I'm hoping a large crop of brightly colored flowers will attract all the bees this year!

May Garden May Garden
So, that's where I am in my summer gardening adventures. I know, at least for me, gardening excitement pretty much comes in waves, and I feel super into it this year. I'll keep you posted on how it goes!


Wednesday, May 16

Altering Vintage Dresses

Altering vintage dresses
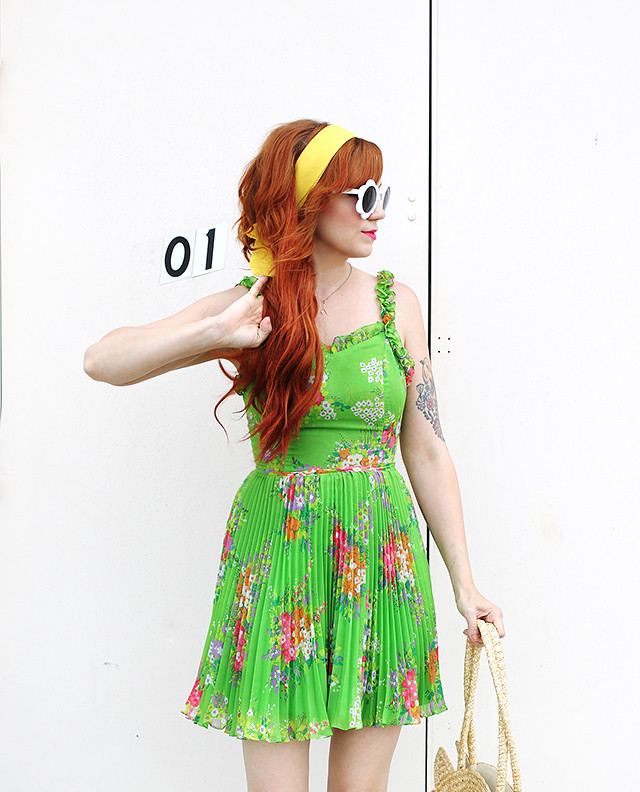
If you're anything like me, your vintage dress obsession is still going strong, despite the fact that many of our purchases are anything but perfect in the fit department. It's great when you get to try a pretty piece on, but when you're on the hunt on sites like eBay, Whurl, and Etsy, getting something that fits like a glove doesn't always work out. So, how do we fix this? I've sworn off vintage before, but I always find myself coming back. Knowing your measurements is the first step in the right direction, but getting creative with alterations is another.

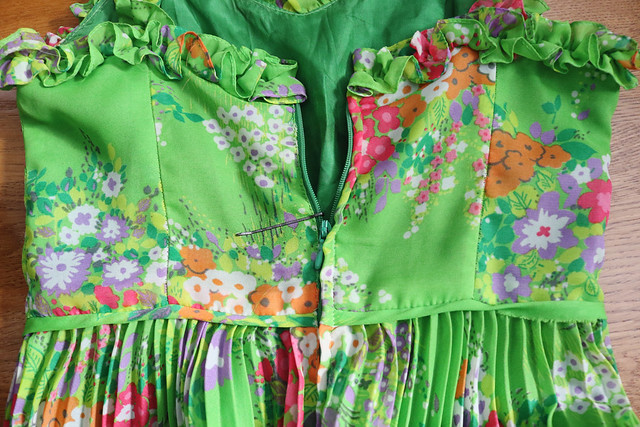
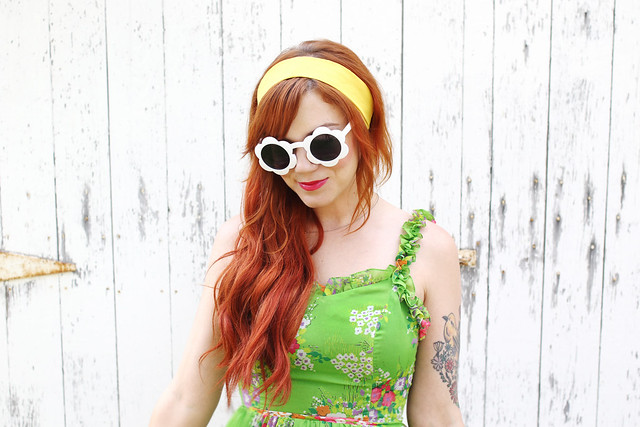
Take this dress for example: I bought it from a friend's closet sale and it's my absolute favorite color to wear in the summer. The problem came in when it arrived and I tried it on, only to find that the dress was made for a more petite woman and the zipper wanted to come high up the back... oh, and not stay zipped. Since it's usually not that cute to walk around with your dress half unzipped, I had two options: get creative or pass it on to the next vintage-loving friend. Here's what I did:

Altering vintage dresses
First, I put the dress on and zipped it to where it was comfortable. I had someone help me with marking where I wanted the zipper to stop and removed the garment.

Altering vintage dresses Altering vintage dresses
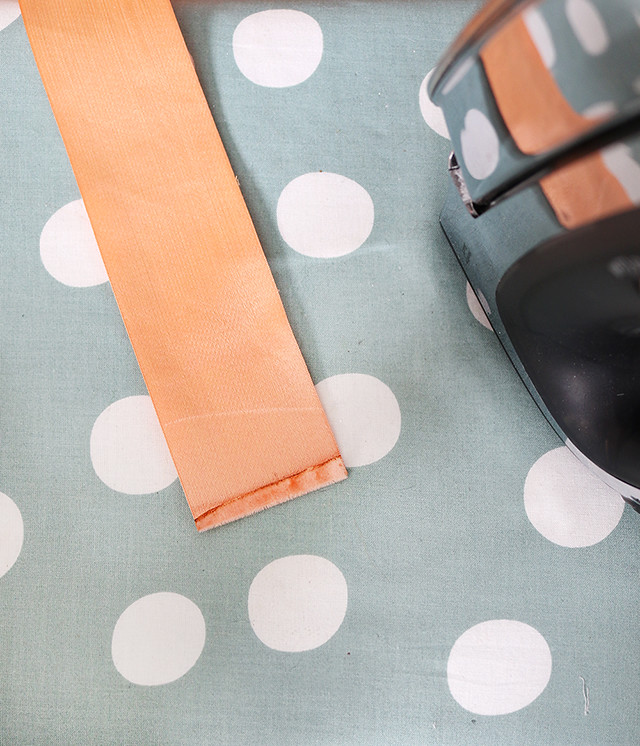
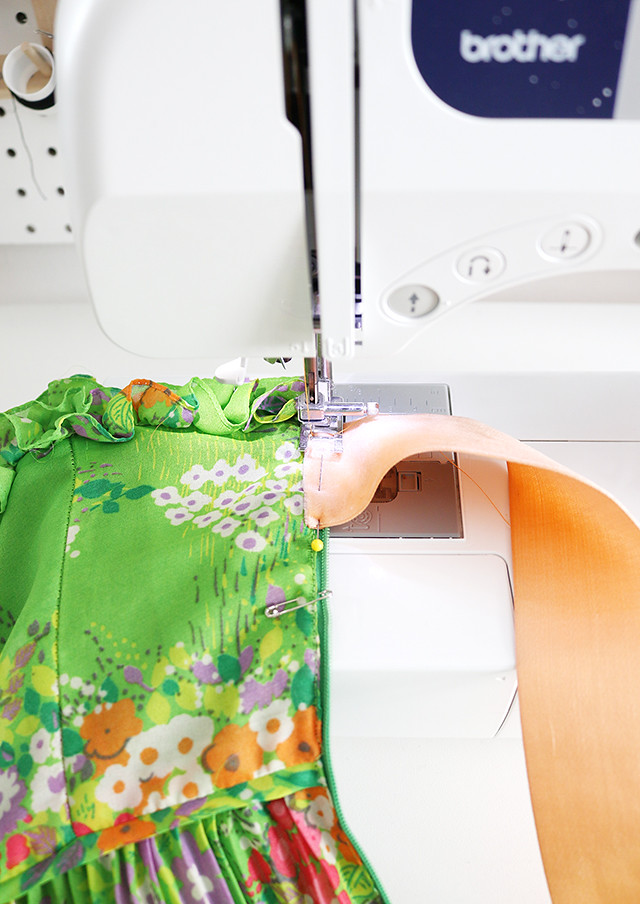
Next, I took a piece of vintage silk ribbon that I had stashed away (my ribbon drawer is insane) and burned the edge and ironed it down. Then I pinned the ribbon in the desired position above the zipper stop and stitched it on.

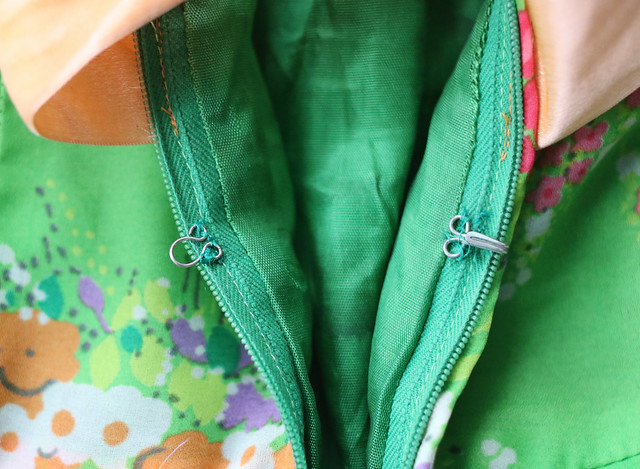
You may notice that I left the original zipper completely intact. I did this for two reasons: A) The outer layer of this dress is pretty delicate and I liked having the extra weight there for when the bow is tied. I definitely don't want to rip this beauty! B) The existing zipper will be hidden by the bow. If I ever decide to pass this dress along, all I have to do is remove the bow and put the hook and eye closure back where it started.

Altering vintage dresses
After the bow was in place, I moved the hook and eye closure down to just above where I had the zipper stop marked. So easy!

 Altering vintage dresses
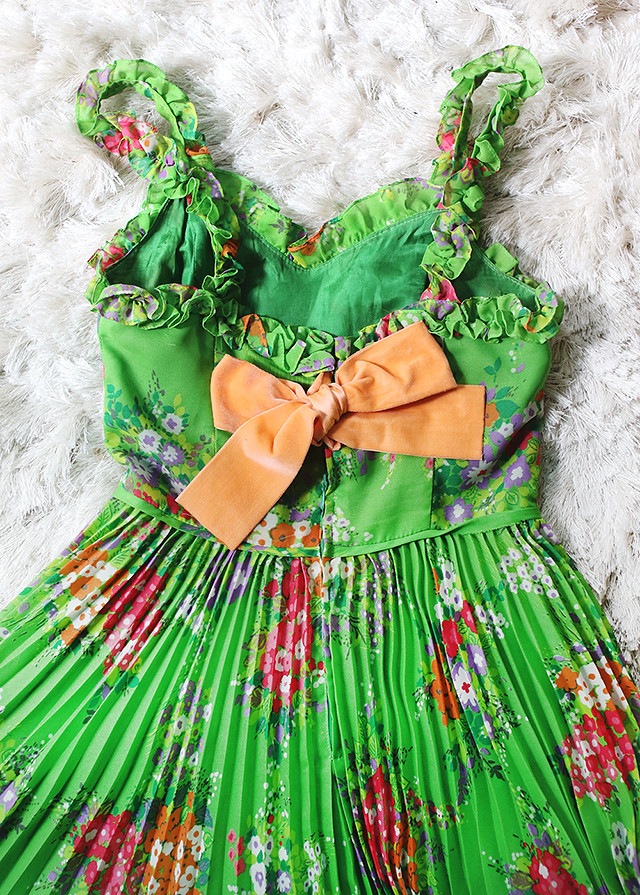
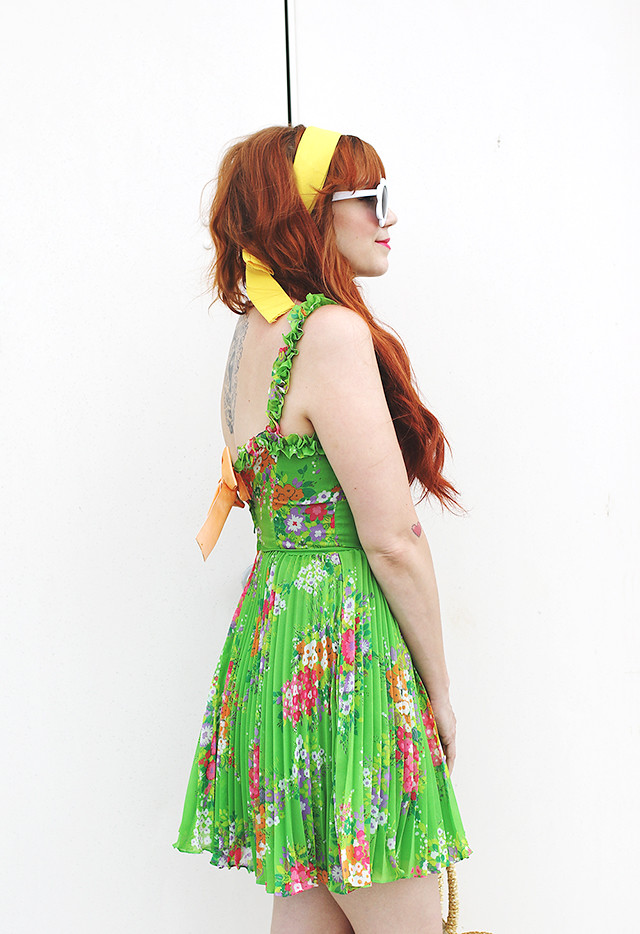
Here is the dress all zipped and tied. You can't see any of the exposed zipper and the velvet ribbon adds a lovely peachy contrast. I adore it!

Altering vintage dresses Altering vintage dresses
Obviously this specific alteration won't work on every vintage dress, but I hope it inspires you to get creative. Other options would have been to add a panel, add an exposed zipper instead of invisible, or to remove the zipper altogether and add bows or ties all the way down like this dress.

Alright, now who's ready to get out there and do some more vintage shopping?? xo.


Friday, April 13

Weekly Wears: View Master

Weekly Wears Weekly Wears Weekly Wears Weekly Wears Weekly Wears Weekly Wears
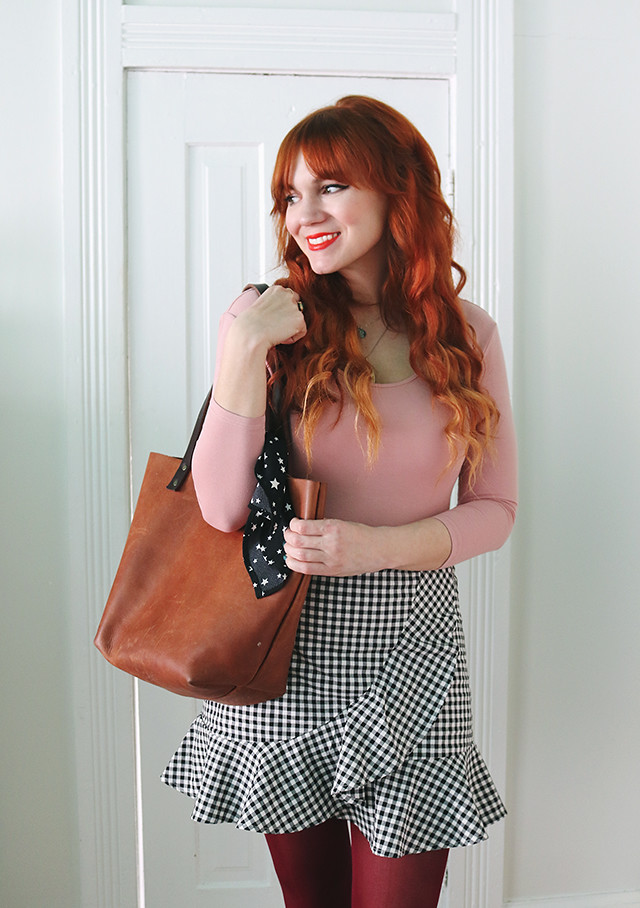
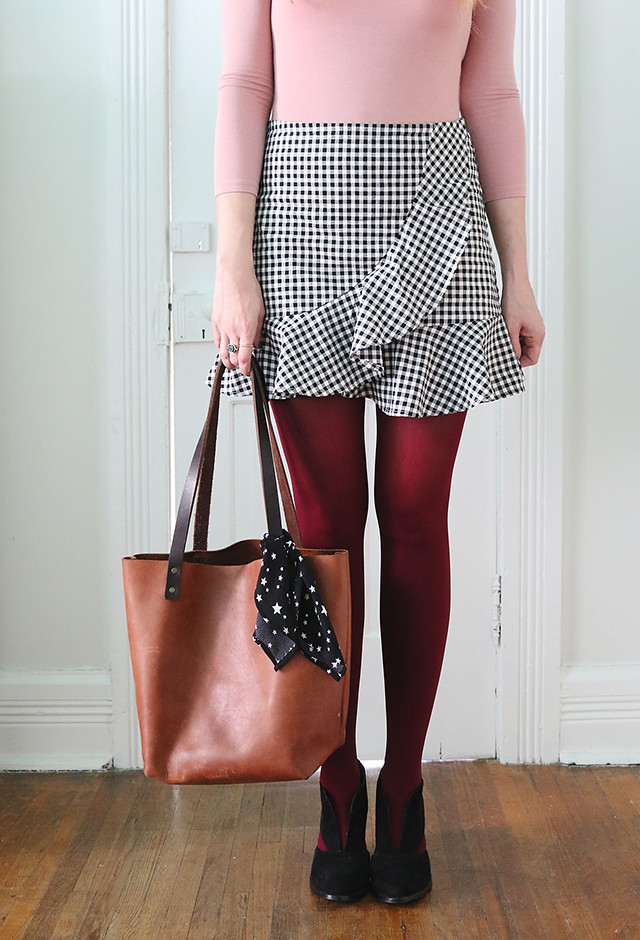
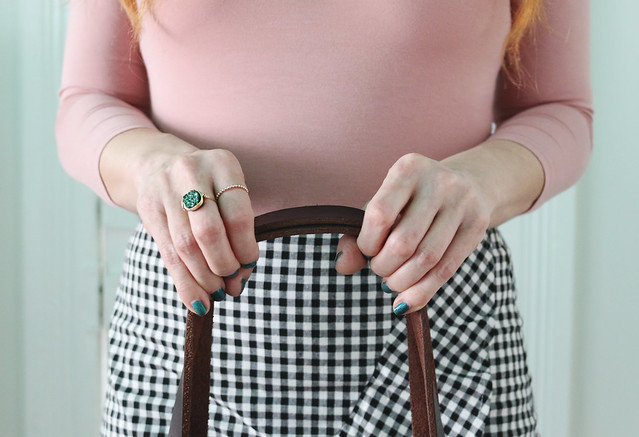
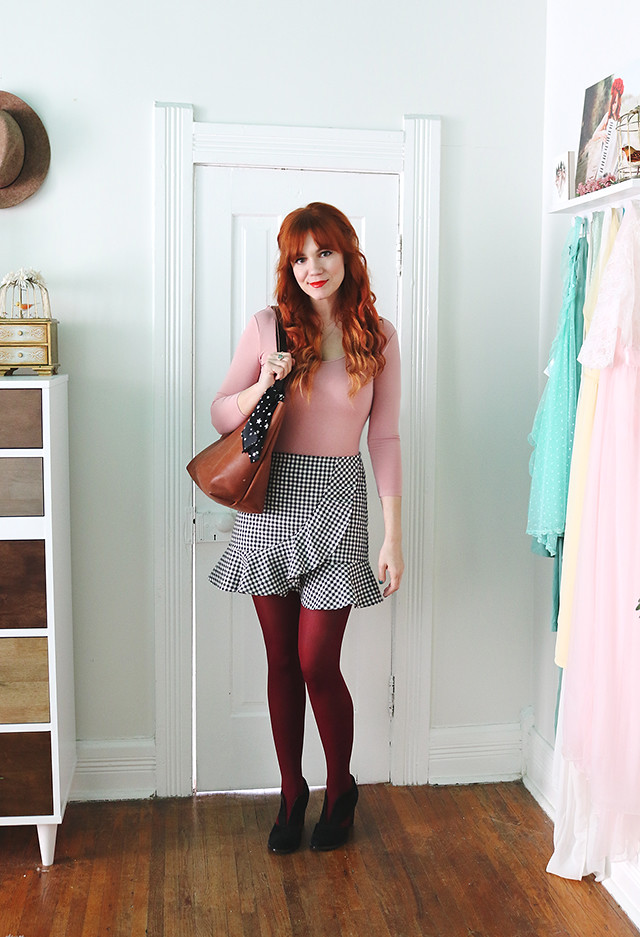
Top & skirt: Forever 21 // Tights: Target // Shoes: Free People // Bag: Portland Leather Goods // Rings: Shop Wrenn // Lipstick: Beautycounter Red (my current favorite!)  // Viewmaster: Mab Graves

If you follow along on Instagram, you know I've been working hard on the room directly behind me in the above photo. That room will house my closet, my sewing space, and Johnny's desk/work space. It's coming along nicely and I hope to share finished photos in the coming weeks! I can't tell you how nice it is to actually have a closet I can access again. Like, I can find things I'm looking for. WHAT?!

I'm slowly getting back into feeling like myself and feeling blogging again. I really appreciate those of you who have hung with me during the lulls. A combination of staying so busy I haven't been giving my creativity a chance to present itself, coupled with depression that has crept back in over the last several months, has made this space a bit quieter than intended. Anyway, please know I SO appreciate you and your comments and emails. 💛