GIRLHOMEABOUTFAQDIYOUTFITSCREATURESSHOP
Showing posts with label jewelry. Show all posts

Friday, January 2

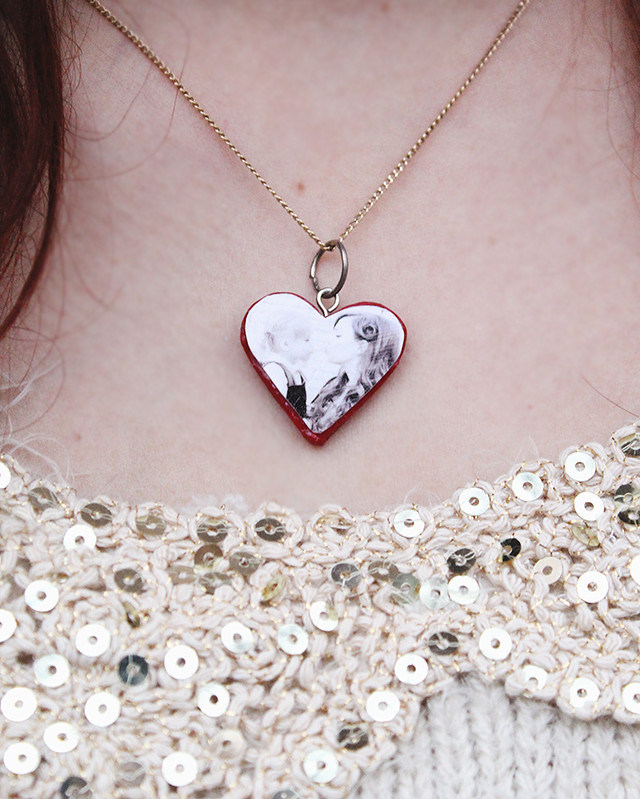
Make Your Own Clay Photo Charms

Make Your Own Clay Photo Charms
I shoot a lot of photos and I'm ever-searching for new and creative ways to use them.  I've made lacing cards, felt dolls, tote bags, a light-up shadow box, personalized post cards, Poe's gallery wall... well, you get the idea.  We have so many lovely photos, I adore seeing them in my everyday life.

As we were making charms out of polymer clay a few nights ago, I had the fun idea to turn photos into clay charms that you can wear or give as gifts.  Today I'm teaming up with Canon USA to show you how to make your own at home!

Supplies:
*polymer clay
*craft glue
*clear sealer
*jump rings
*wire or charm pins
*small photos (mine were printed with my PIXMA iP8720)
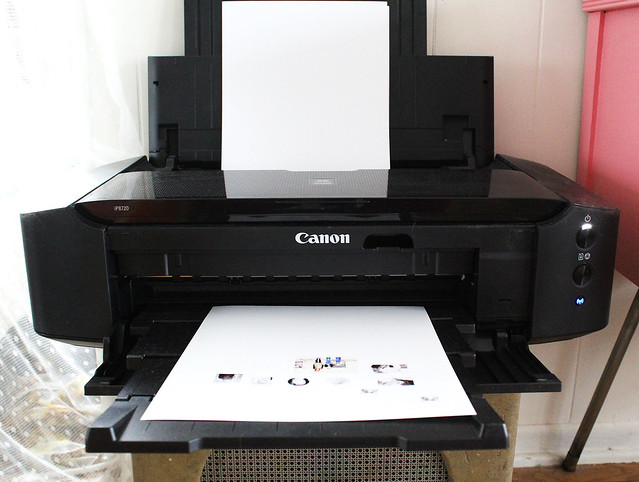
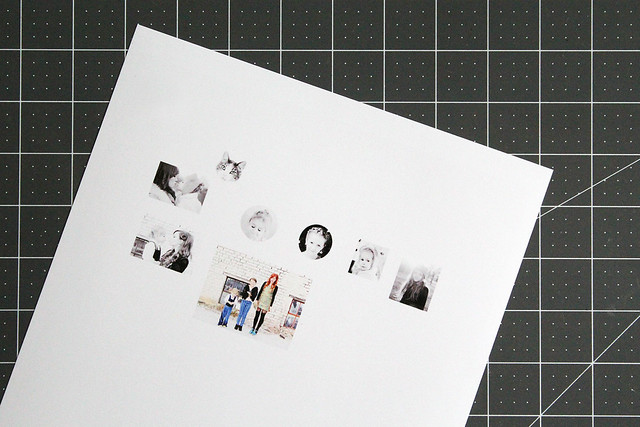
Make Your Own Clay Photo Charms Make Your Own Clay Photo Necklace First things first: choose your photos and print them out.  I printed out several options on my PIXMA iP8720 because I didn't know exactly which ones would work the best for this craft.  This printer is my favorite I've used because the images always look sharp and I never have any troubles such as jamming or ink smudges.  It's a good little (okay, not so little) machine.
Make Your Own Clay Photo Necklace
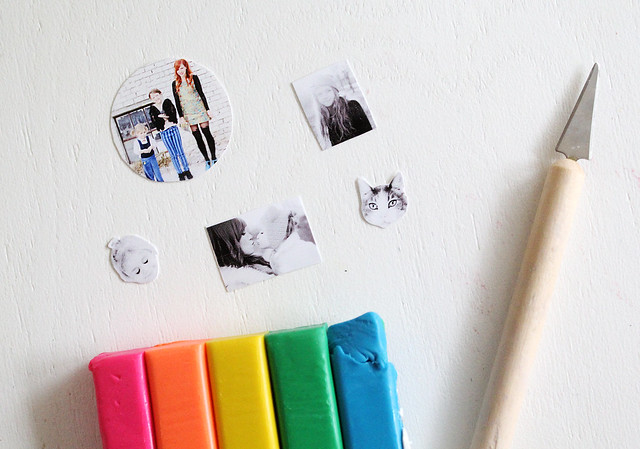
Next, I cut out my photos and got my clay ready.  You may have to work the clay in your hands for a couple of minutes before it is ready to roll out.  It just depends on how soft it is.
Make Your Own Clay Photo Necklace
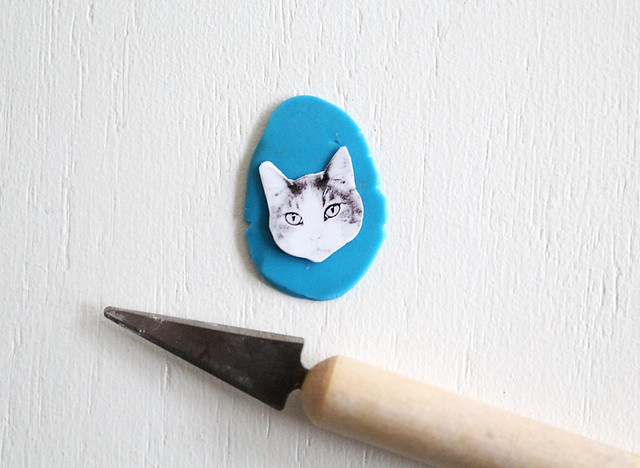
Once my clay was ready, I placed my photo on top of a bit of rolled out clay and trimmed around it.
Make Your Own Clay Photo Necklace
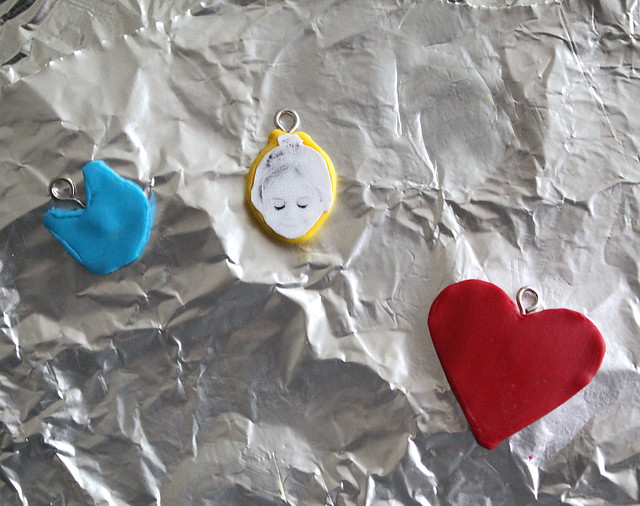
When I achieved my desired shapes, I placed the charms on a piece of foil and carefully removed the photos.  I stuck my charm pins into the clay and placed the in the oven to bake.  Again, make sure you have removed your photos BEFORE these go in the oven.
Make Your Own Clay Photo Necklace
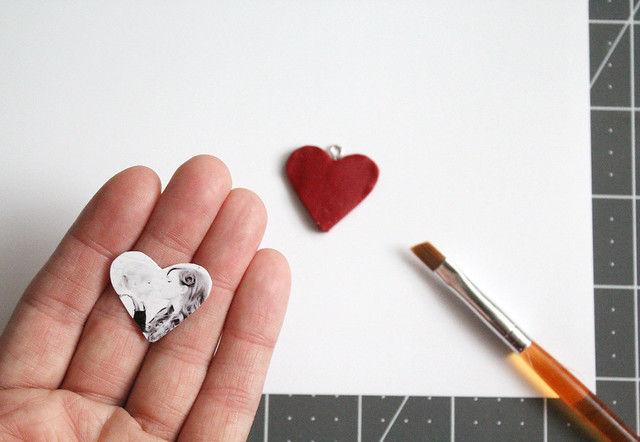
When your charms have finished baking and cooled, use a paint brush or your finger to glue the photo to the charm.
Make Your Own Clay Photo Necklace
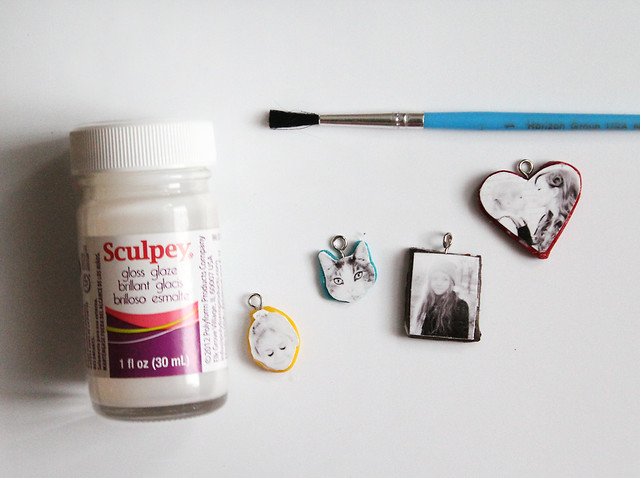
When all the glue has dried, cover your charm (including the photo) in a protective sealer.  I also like to use a little dab of super glue to keep those charms pins from slipping out.
Make Your Own Clay Photo Charms Make Your Own Clay Photo Charms
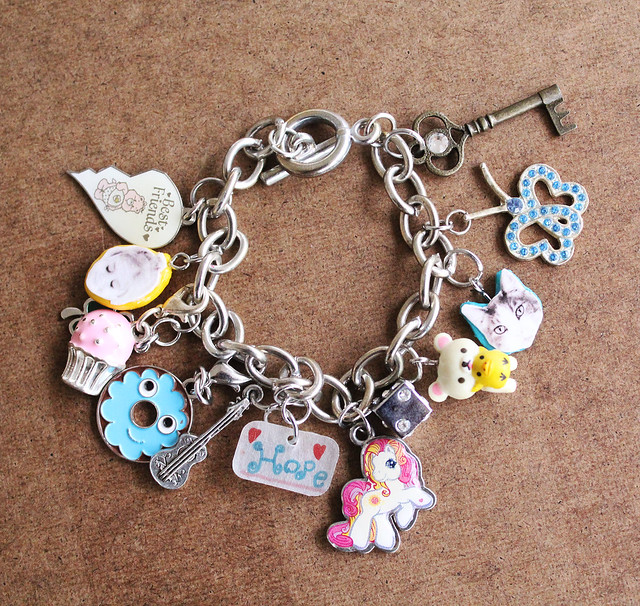
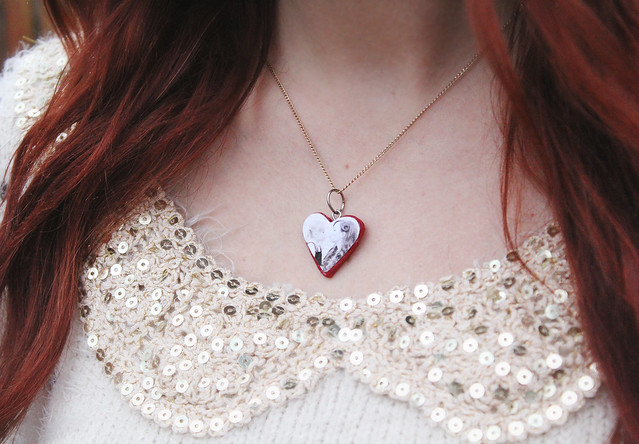
There you have it!  This was such a simple and fun way to create personalized charms.  I especially love the ones we put on Hope's charm bracelet.  Now she can wear two of her very favorite things on her wrist: her best friend and her sweet kitty.  xo.


track

Tuesday, March 11

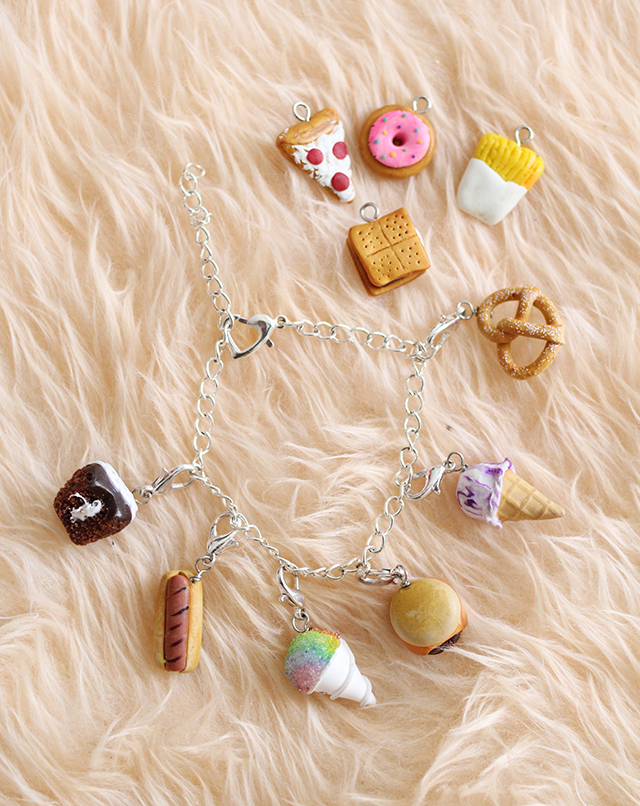
Junk Food, I Love You

Well, our hopes of making a million pieces of pottery in Hope's kiln that she got for Christmas quickly died when we found out the plug wasn't compatible with the one outlet in the house we thought it would fit in.  We are going to have the proper one installed, but in the meantime we've kept our clay dreams alive with some fun little Sculpey projects. This junk food bracelet is what dreams are made of (you might remember it from this post) and though I love it, I knew it wasn't representing alllllll my favorite junk foods (I have a lot) the way it should.  So, what do you do?  Make some more!

We actually did make more, more-- but these were my favorites out of the batch.  After searching out my jewelry pliers and some jump rings (why do these things always seem to hide themselves?), I had a happy little foodie family:

My favorite kind of charm bracelet is one that is packed to the maxxxx with charms, so I'm sure we'll be making more food very soon!  I love just-for-fun projects-- they keep your creativity sharp!


Tuesday, December 6

Sponsored Giveaway: Cookoorikoo

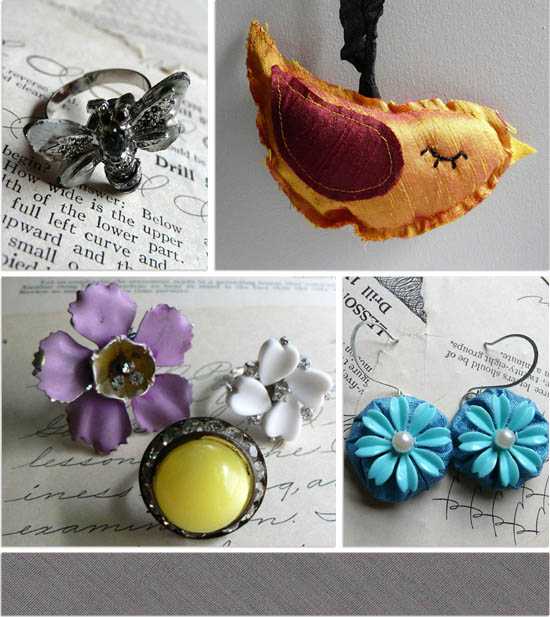
Shana from Cookoorikoo makes the loveliest jewelry from vintage pieces, the prettiest accessories from silk yoyos, and the sweetest little plush birds.  Today she is offering one lucky reader a $30 store credit to her shop!


To enter, simply leave a comment after visiting her shop stating which piece you would wear to a holiday get together. 

You can also gain an entry by tweeting about this giveaway with:
"There is a holiday giveaway from @cookoorikoo over on the @skunkboy blog! http://tinyurl.com/cbmllts"

You can gain an additional entry by liking Cookoorikoo on Facebook.

*This giveaway is open to followers of this blog only.  The winner will be chosen Tuesday, December 13th.  Please be sure to leave a separate comment for each entry, and don't forget your email address in case you win!  Good luck!  xoxo Katie

Thursday, November 24

Sponsored Giveaway: Urban Legend

I'm so, so excited about this giveaway!  My dear friend Kateri makes the most beautiful jewelry and is offering some of it up to you!  She runs two different shops: one is called Urban Legend where she designs fun, colorful, eye-catching pieces, and the other one {Leaves of Glass} is lovely, sparkly glass pieces.  One of you lucky readers is going to win a $30 gift certificate to Urban Legend!!!


To enter, please visit Kateri's shop and take a peek at the eye candy.  Then leave a comment here letting us know which piece is your favorite!

You can gain an additional entry by tweeting about this giveaway with:
Take a peek at the eye candy from @leavesofglass!  http://tinyurl.com/7q3zyct {cc: @skunkboy}

Or, you can gain another entry by checking out Leaves of Glass and linking to your favorite piece in that shop!

This giveaway is open to followers of this blog only.  Please be sure to leave a separate comment for each entry and don't forget your email address so you can be notified if you win!  I'll draw the winner next Wednesday (November 30th).  Good luck!!!  xoxo Katie