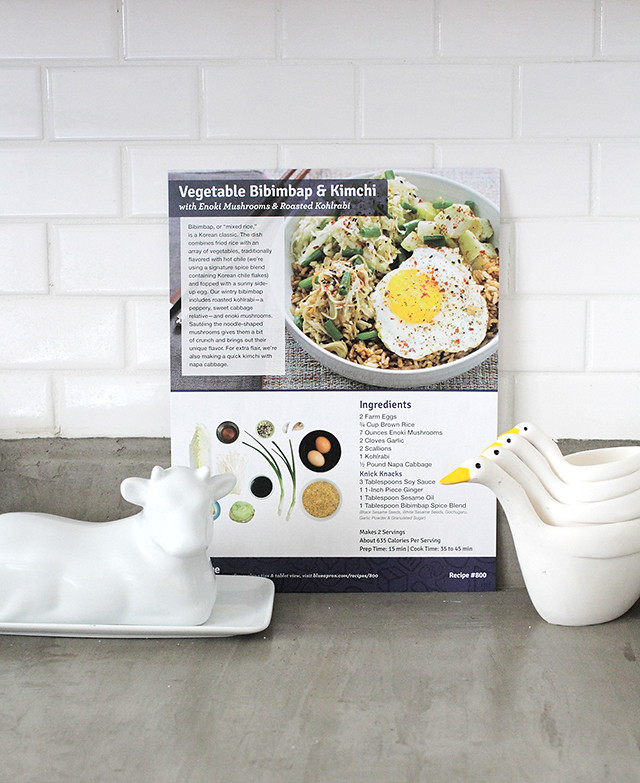
I remember the first time some friends took us out for bibimbap-- it was love at first taste. I've never felt brave enough to make something like that at home, so when I was choosing my latest Blue Apron box, they had me at Vegetable Bibimbap & Kimchi. You mean Blue Apron will ship me all the fresh ingredients AND walk me through how to make it?? Yes, please. Plus, they are working to develop a sustainable food system and offer a recycling program for the packaging, which makes me very happy. Now, let's take a peek at how my first shot at making veggie bibimbap at home went:
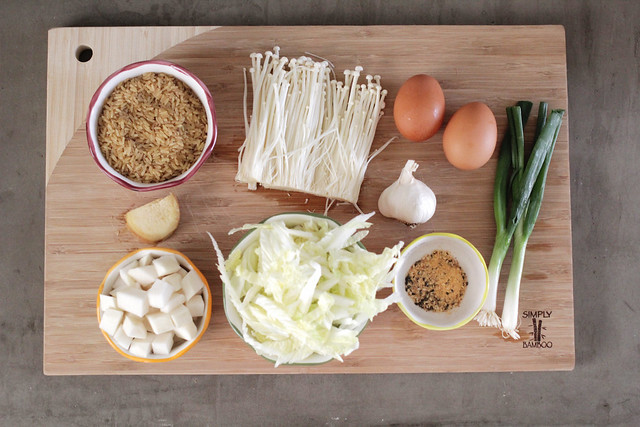

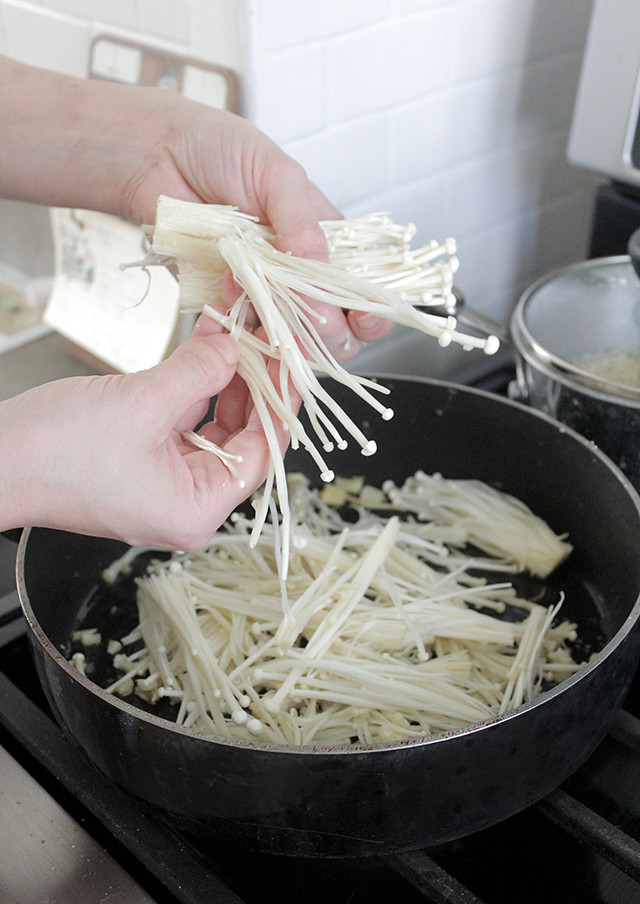
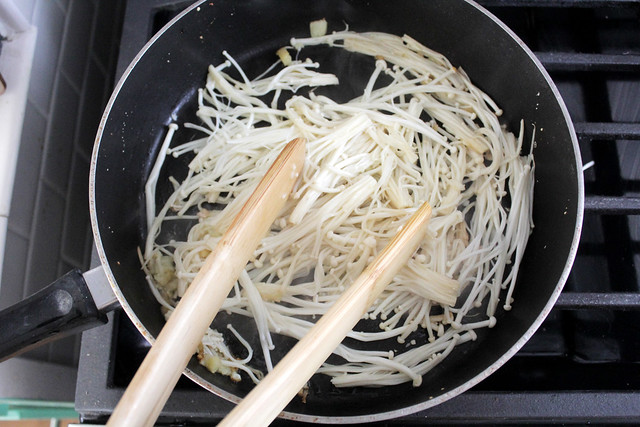
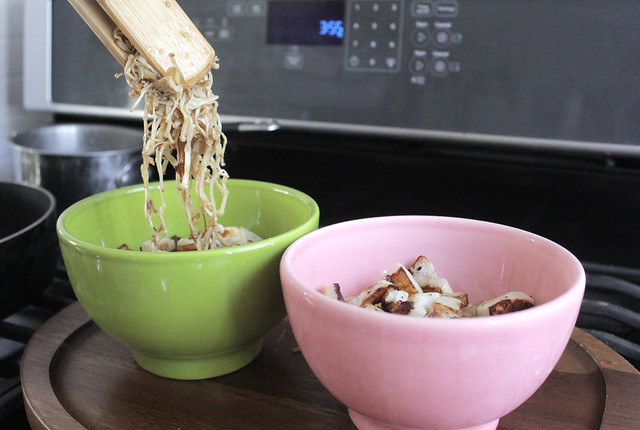
Poesy and I were way too excited over how cute these enoki mushrooms were. I usually don't love mushrooms, but I was definitely a fan of these.
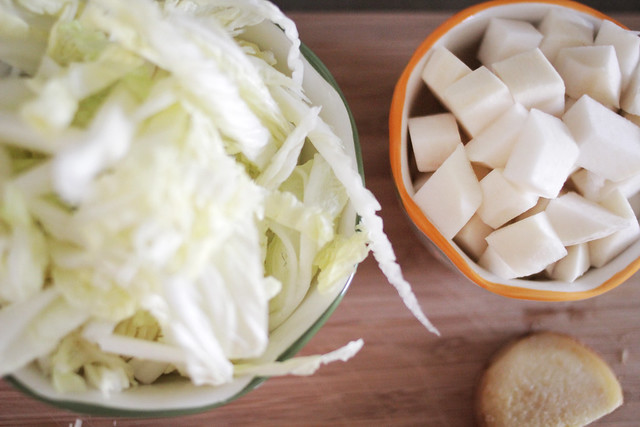
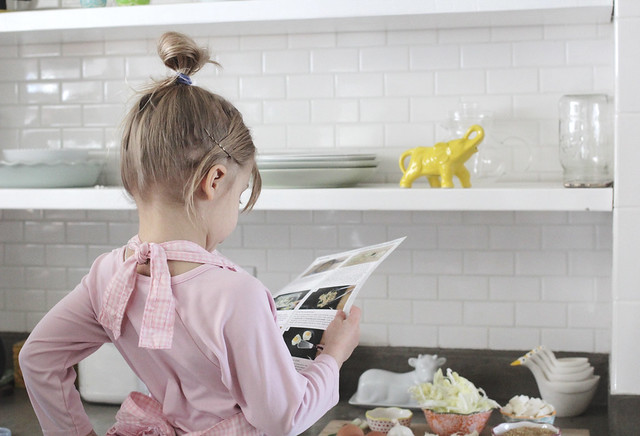
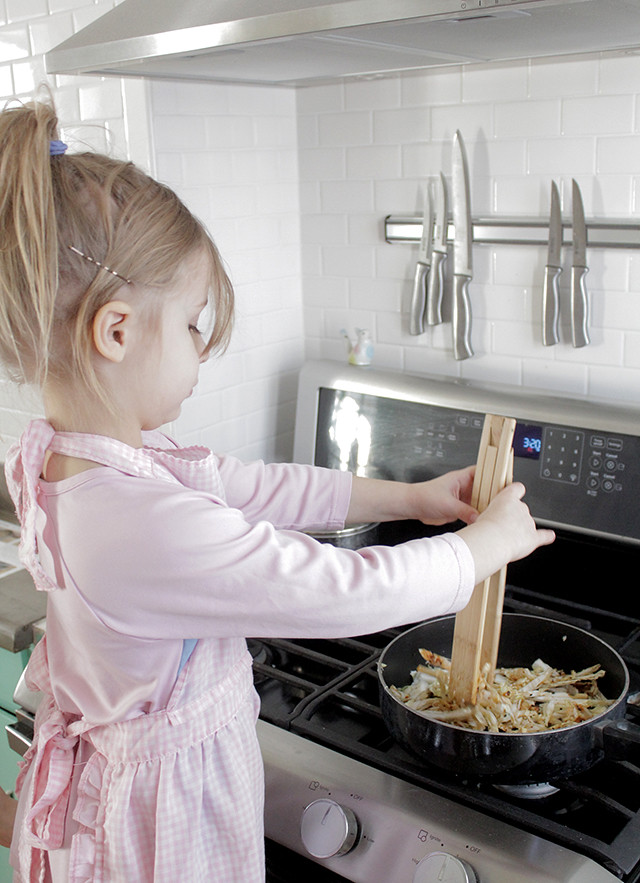
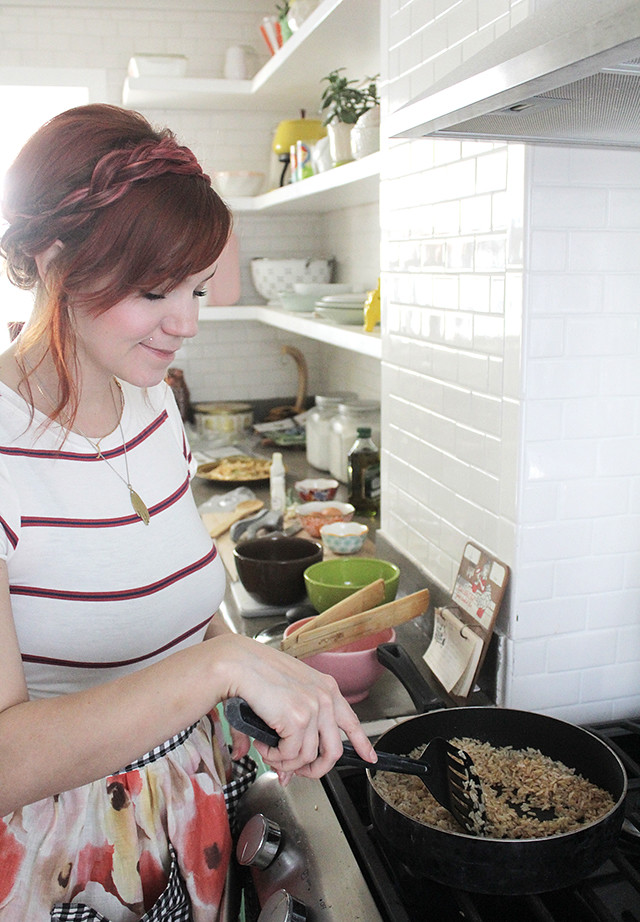
As you can see, Poesy was in charge of the recipe while I made sure the vegetables were cleaned and cut. Her instructions were something like, "Step 1- Chop vegetables. Step 2- Make me eggs. Step 3- Do the thing." It was incredibly specific. ;)

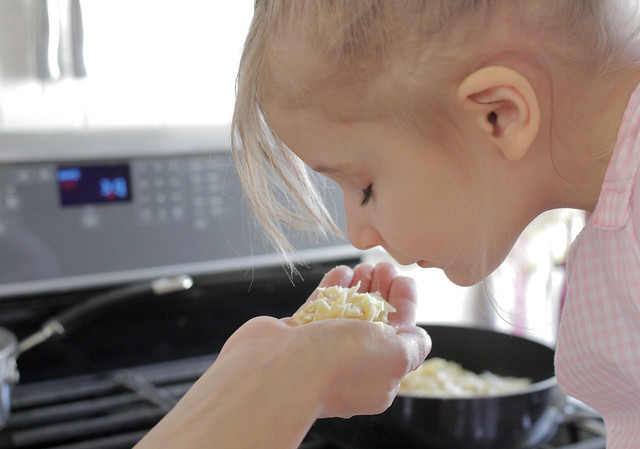
I love this shot of her smelling the minced ginger. I'm pretty sure I never even tasted ginger until I was out of high school, so it gets me excited to introduce my kids to these amazing flavors at such young ages.
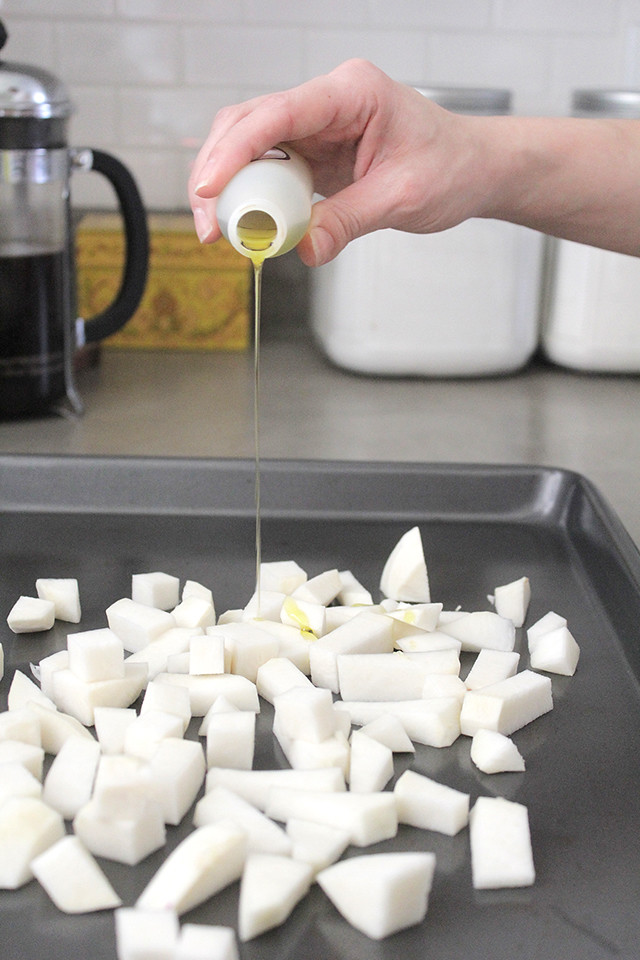
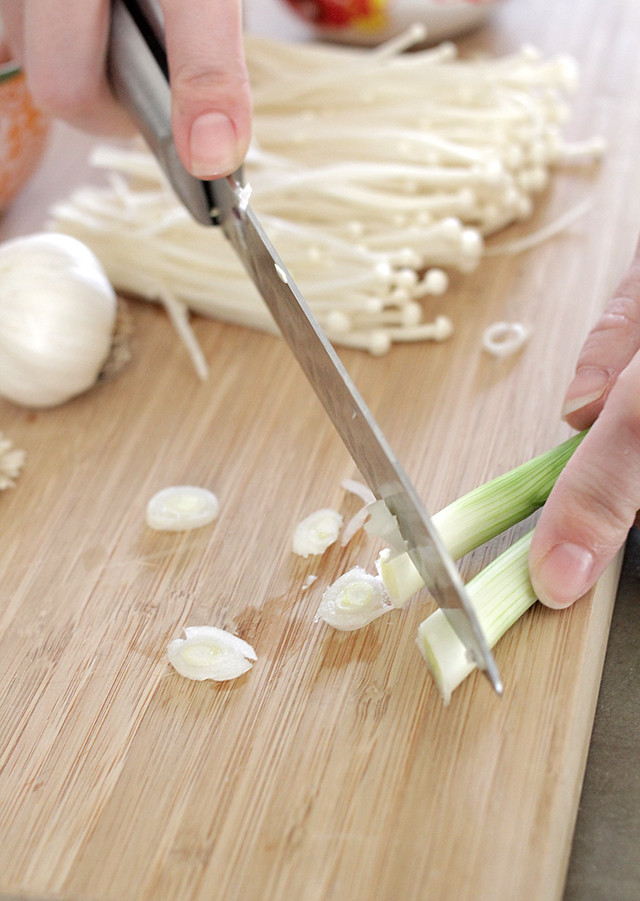
I left Poesy in charge of the cold ingredients while I moved on to sautéing the mushrooms, boiling the brown rice, and roasting the kohlrabi... which is a vegetable I hadn't previously tried but ended up really enjoying.
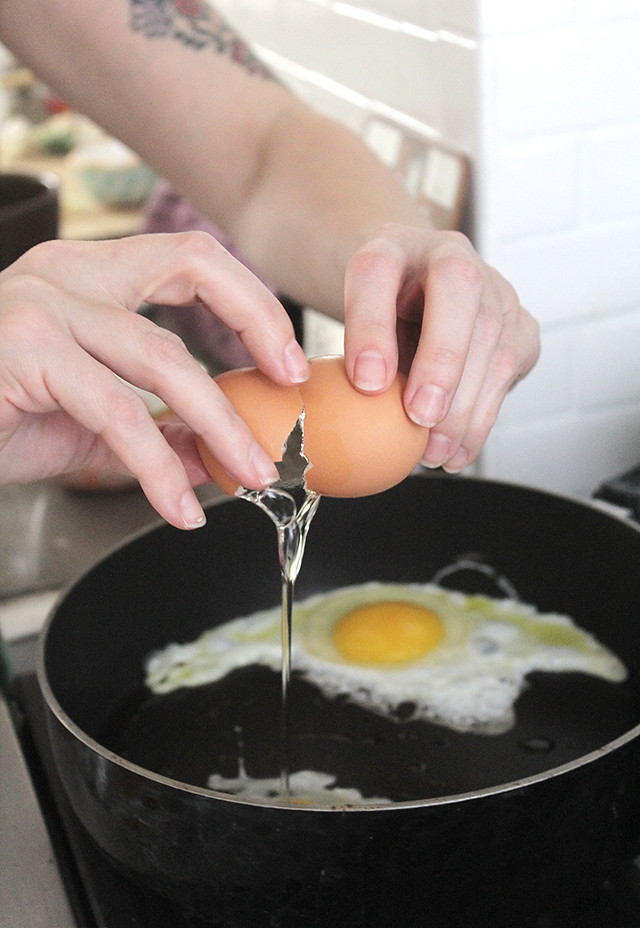
When the hot ingredients were finished, I layered them into bowls, added the kimchi, and then topped with a fried egg. My egg game wasn't quite as pretty as the picture on the recipe card, but still tasted so good!


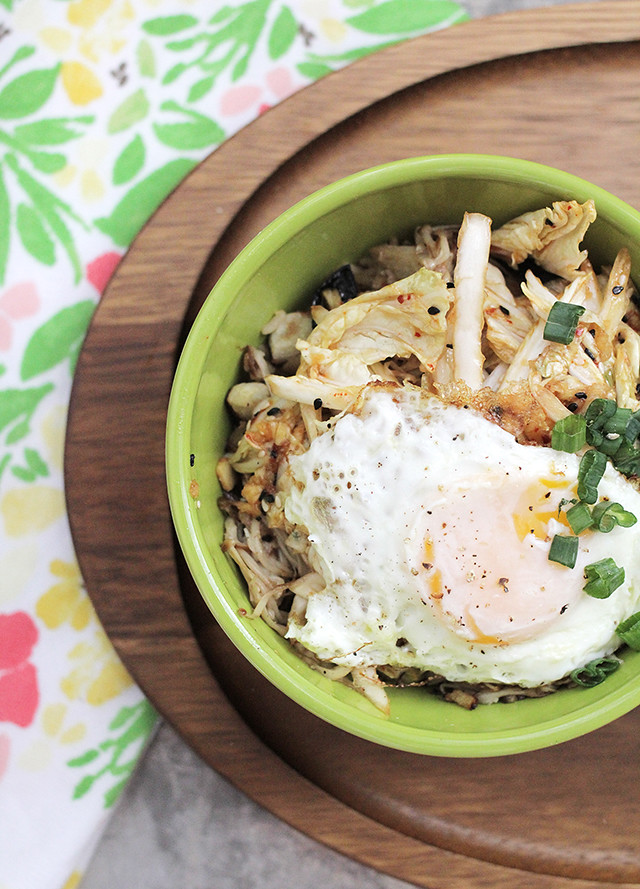
This is honestly my favorite Blue Apron recipe to date! The ginger mixed with loads of garlic and the crunchiness of the kimchi with the fried enoki mushrooms all worked together in such a flavorful salty/sweet/spicy sort of way. Plus, this recipe had around 5 different steps before you put all of the ingredients in a bowl together, so I think it would be easy to modify it to make bigger batches for a larger group of people. Making (veggie) bibimbap at home doesn't intimidate me anymore, so I guess I'm gaining more those cooking skills! Yay!
If you are interested in trying out Blue Apron for the first time, click here to receive 2 free meals with your first order! This offer is good for the first 25 readers that sign up!