GIRLHOMEABOUTFAQDIYOUTFITSCREATURESSHOP
Showing posts with label DIY holiday decor. Show all posts

Tuesday, December 10

Homemade Ornaments

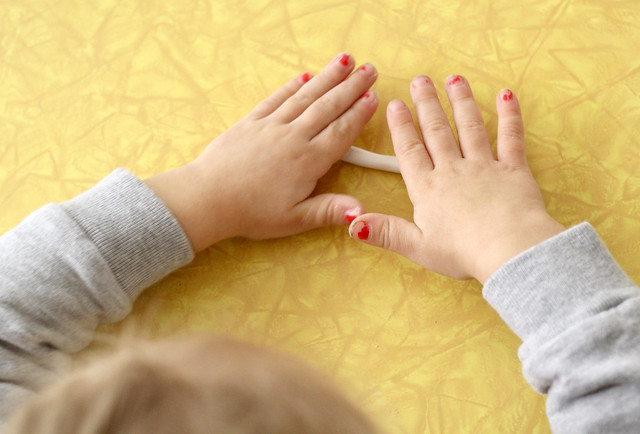
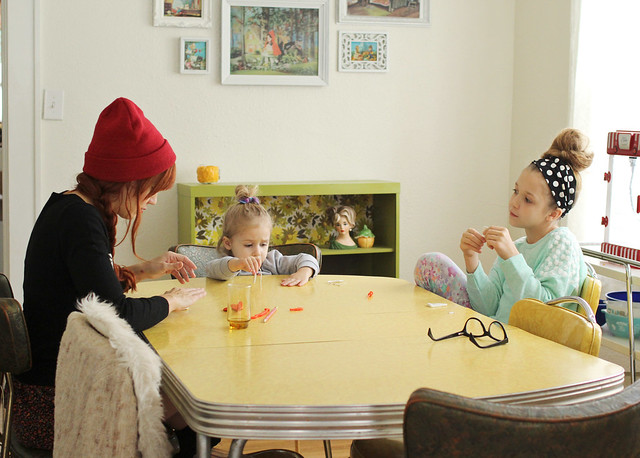
Every year we make a little homemade ornament with the date stamped on the back.  It's a little tradition Hope looks forward to, and Poesy is starting to catch on.  Last year we painted store-bought ornaments, and the year before that we made little little vintage-inspired ice skates.  This year we busted out the Sculpey and baked our own!

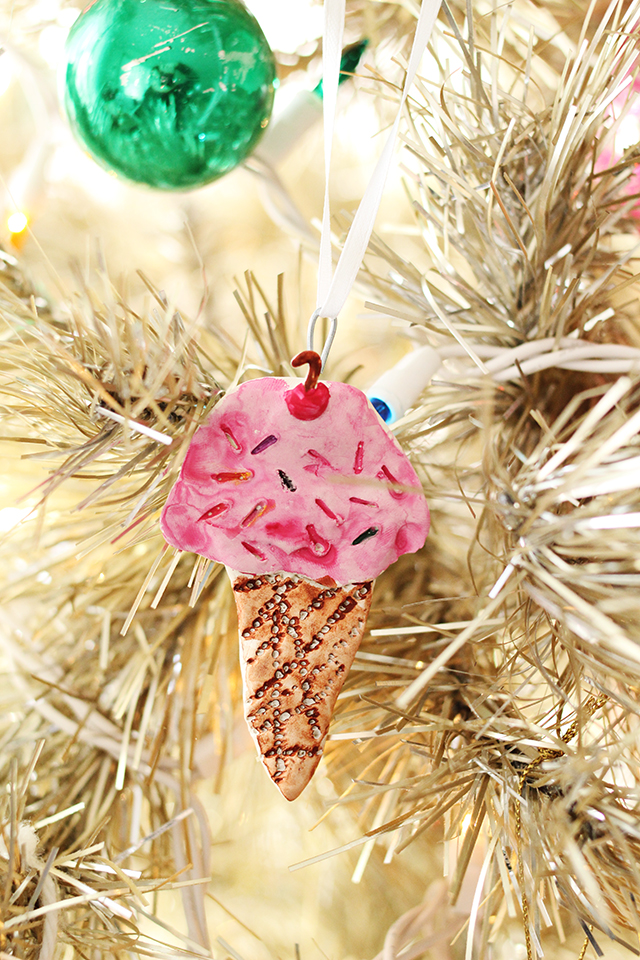
Our theme was "favorite treats".  Hope went with ice cream, I made a little donut, and I helped Poesy make a sucker.  Once I finished helping Poe with hers, I just let her have a chunk of clay to do whatever with.  We baked the 3 ornaments, but I also threw in her "snake" that she kept making and breaking.  :)

I used wire for hooks and inserted them before we baked.  They stayed put nicely.  We let the ornaments cool for the rest of the day and painted them in the evening.

This is one of my very favorite traditions we have.  If you don't have Sculpey on hand, you can use this recipe:
4 cups flour // 1 cup of salt // 1 1/2 cups warm water mixture
Bake at 325

Do you have any favorite holiday traditions?  We probably have too many.  (Just kidding.  You can never have too many!)

For more ornament DIYs, click right here.

Sunday, December 2

DIY Pinecone Ornament

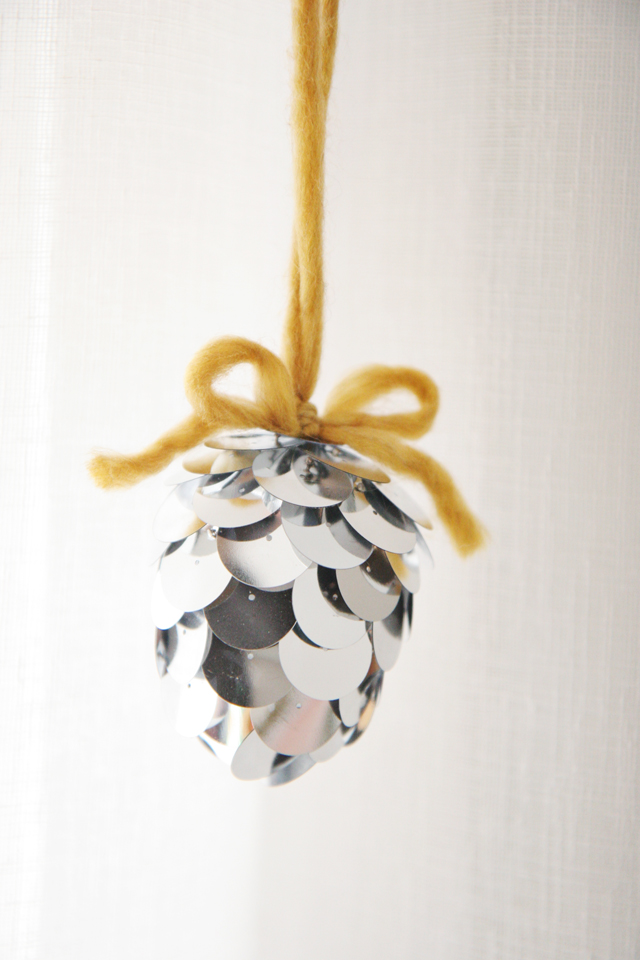
Every December Hope and I make a special Christmas ornament for our tree.  It's a really fun tradition that has gotten more fun the older she gets.  I originally planned for this to be our yearly ornament, but quickly found that this is more well-suited for adults.  That just means I need to come up with another ornament idea... which also means more DIY ornaments for the blog!  ;)

1. Supplies: Styrofoam eggs, sewing pins, large sequins, yarn
2-3. Starting at the bottom of the egg, begin pinning sequins into the egg.  I created new holes rather than using the existing holes.  It is best to stagger the sequins, as it makes for a more tiered/pinecone look rather than a fish scale look.
4. Once you have reached the top, tie your yarn in a knot with a bow.  Push a pin through the top of the bow.
5. Push the bow and pin through the center of a sequin to finish off the top.  You're all done!


Wednesday, December 7

Ice Skates Ornament DIY

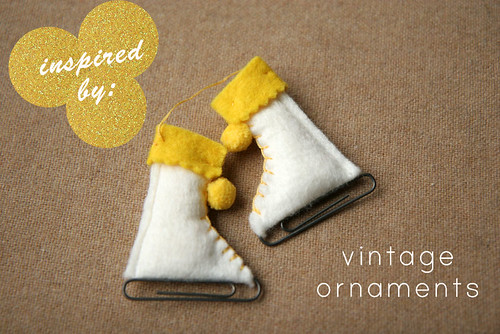
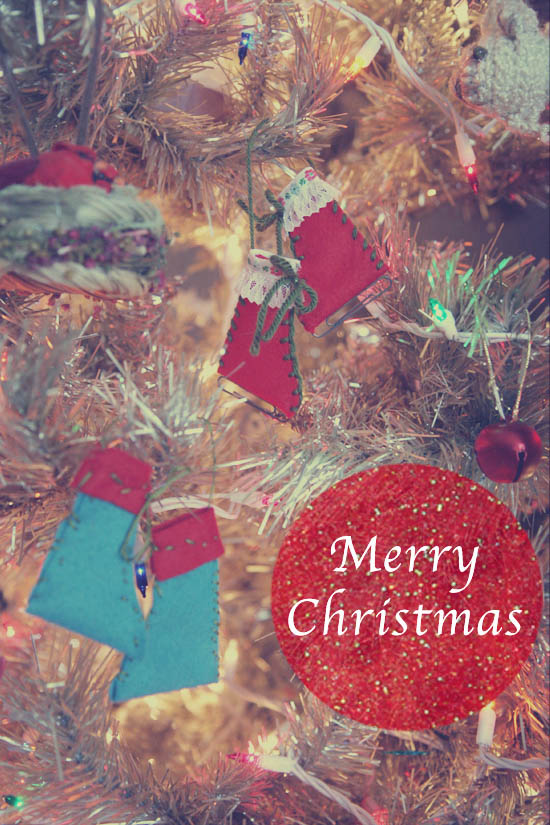
 We found these little vintage ice skates at a flea market last year, and decided it would be fun to make some more for our Christmas tree!  This DIY is easy enough for kiddos, too!

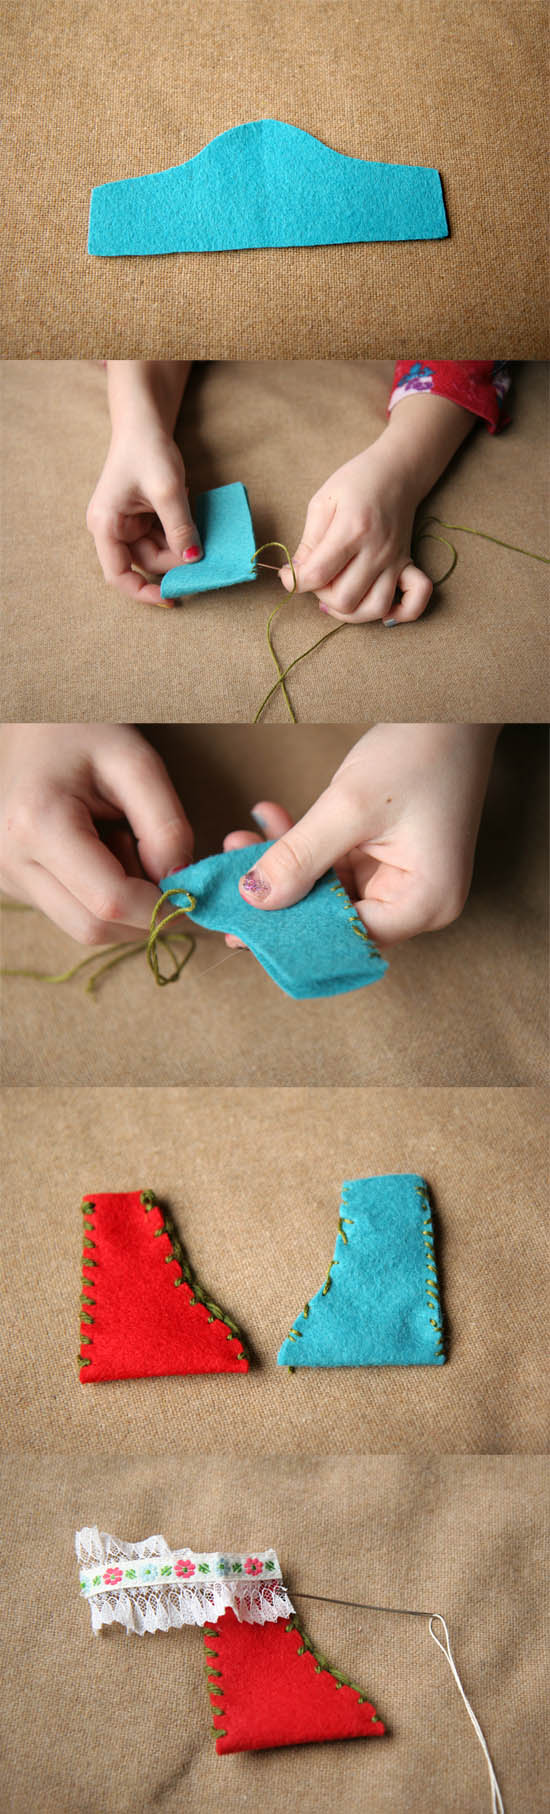
**Step 1: Start with this simple shape and fold in half.  
**Step 2: Begin stitching up the back side from the bottom to the top.
**Step 3: Stitch up the front side from the bottom to the top.  
Feel free to use a blanket stitch to make the boot look like it's laced.
**Step 3: Sew the trim around the top of the boot. 
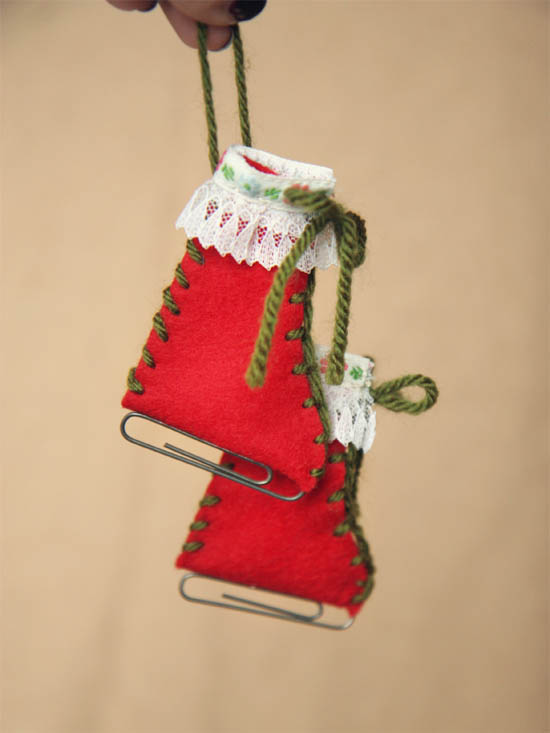
 **Step 4 (optional): Slide a paper clip in the bottom to make it look like an ice skate.  
Hope decided to skip the paper clip and let hers be elf booties.  :)

Glitter textures from Pugly Pixel.

Happy crafting!!!  xoxo Katie